Using Feature Flags in a Next.js Application


As developers, our job often involves regularly releasing new features. But how can we ensure these new features are working properly before safely releasing them to all users? It's simple: by using feature flags!
What are feature flags?
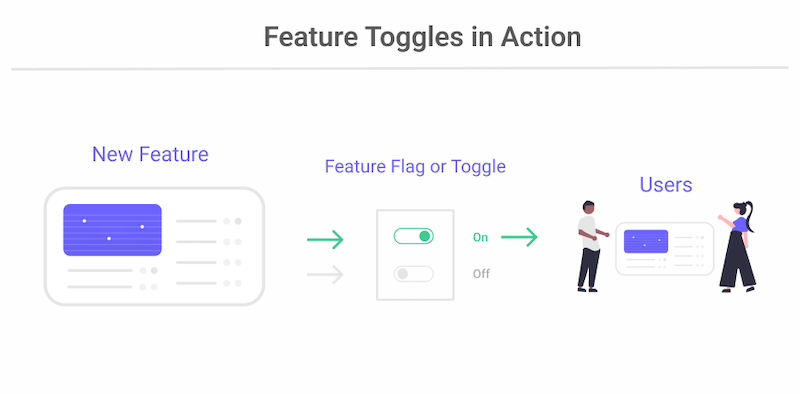
Many companies struggle to roll out new features and functionalities in an incremental way. Feature flagging is a mechanism used to control access to certain features with simple switches called feature flags, feature toggles, or feature switches.
Using feature flags, anyone can safely test code in production, perform canary releases, conduct A/B testing, and more. You can also deliver features and functionalities to specific groups of users by attaching targeting rules to your feature flags.
Using feature flags in a Next.js app
Here is the sample code on GitHub if you want to follow along.
Consider this scenario: Suppose we implemented a new feature in a Next.js application that allowed us to generate random user profiles on every page load, and we wanted to roll this out to our user base.
As you may have guessed already, wrapping this feature in a feature flag would give us the perfect control needed to plan a feature release to our users either through incremental roll-out via user segmentation or performing an all-out release.
We will examine how we can accomplish this by creating a Next.js application that incorporates the feature with a feature flag in a step-by-step process.
Requirements
Step 1: Create a feature flag
Rather than going through the hassle of building and managing an actual feature flag from scratch, I’ll be using ConfigCat's feature flag service to create and remotely manage our feature flag from its dashboard.
So quickly jump to ConfigCat and create a free account, then:
- Navigate to your dashboard.
- Click the Add feature flag button and provide the required details to create the flag.
- Copy your ConfigCat SDK Key - This will enable the Next.js app to connect to and query the status of your feature flag.
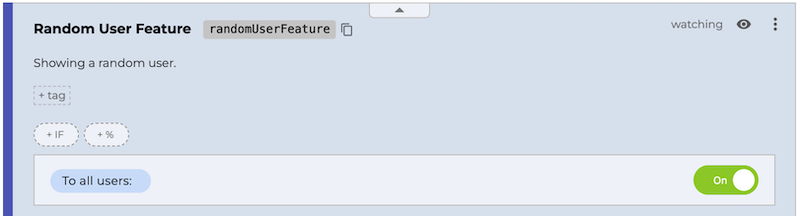
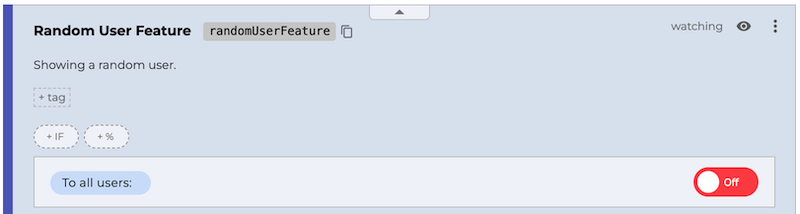
Step 2: Configure and set up targeting rules
As a feature flag management service, ConfigCat provides multiple ways to target your users with feature flags to achieve a controlled feature release. This can be done by targeting a certain percentage of your users or through user segmentation where you can specify the target audience for your feature release based on a list of predefined (or custom) shared attributes such as location, gender, age, etc.
To keep things simple, I'll be using the default settings, which target all users.
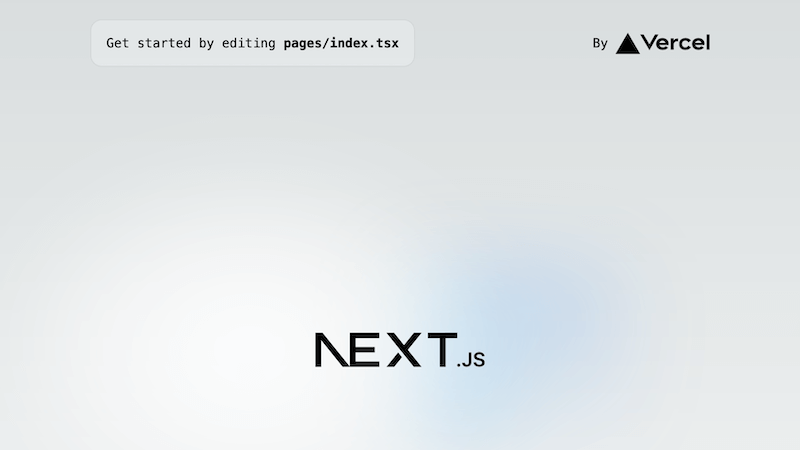
Step 3: Initialize a Next.js app
Now that we have our feature flag ready, It's time for us to create a Next.js application. Let's run the create-next-app command to quickly bootstrap a Next.js application:
npx create-next-app@latest
Afterwards, run the following command to start the local development server and visit http://localhost:3000 to view the app in your browser:
npm run dev
Step 4: Create the random user generator feature
There are two ways that Next.js pre-renders web pages: Static Generation and Server-side Rendering. In Static Generation, the pages are generated at build time while in Server-side rendering, the page is generated on the server on each request before being sent to the client.
We will be taking the Server-side rendering route. We'll be using a third-party Random User API to get new random user data on each user request (whenever the page is loaded/reloaded).
Let's get to it.
I'll start by clearing the code in the pages/index.js file. We'll add a getServerSideProps function that would be responsible for fetching requests on the server before sending the page to the client.
export const getServerSideProps = (async() = >{

  // Create the ConfigCat client with your SDK Key
  const configCatClient = configcat.getClient("YOUR-SDK-KEY");

  // Get your setting value
  const randomUserFeature = await configCatClient.getValueAsync("randomUserFeature", false);

  // Get a random user
  const randomUser = await getRandomUser();

  // Return the data as props
  return {
    props: {
      randomUser: randomUser.results[0],
      randomUserFeature,
    },
  };
}) satisfies GetServerSideProps <{
  randomUser: User;
  randomUserFeature: boolean;
}>
This random user API returns an array containing an object of randomly generated user details:
{
"results": [{
"gender": "male",
"name": {
"title": "Mr",
"first": "Batur",
"last": "Tekand"
},
"dob": {
"date": "1946-12-12T11:50:21.801Z",
"age": 77
},
"registered": {
"date": "2013-09-20T15:27:53.648Z",
"age": 10
},
"picture": {
"large": "https://randomuser.me/api/portraits/men/71.jpg",
"medium": "https://randomuser.me/api/portraits/med/men/71.jpg",
"thumbnail": "https://randomuser.me/api/portraits/thumb/men/71.jpg"
},
"nat": "TR"
}],
}
After making the request on the server, the next step is to use the data in our component's template to render the random user.
export default function Home({
  randomUser,
  randomUserFeature,
}: InferGetServerSidePropsType<typeof getServerSideProps>) {
  return (
    <>
      <Head>
      <title>Feature Flags in Next.js Sample</title>
      <meta name="description" content="Generated by create next app" />
      <meta name="viewport" content="width=device-width, initial-scale=1" />
      <link rel="icon" href="/favicon.ico" />
    </Head>
      <main>
        <UserCard user={randomUser}></UserCard>
      </main>
    </>
 );
}
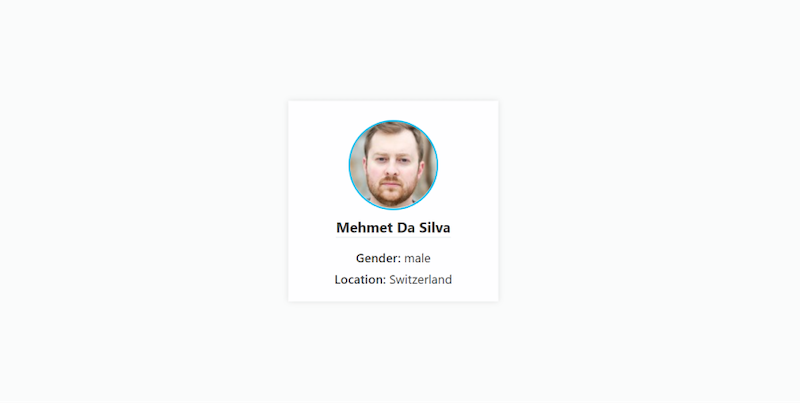
With that, we have a Next.js app with a feature that displays a random user on each page load/reload:
Step 5: Integrating the feature flag
Now that we have our feature ready, it's time to connect our Next.js application to ConfigCat.
I will start by installing their JavaScript (SSR) SDK via NPM:
npm i configcat-js-ssr
Afterward, I'll import the installed package into pages/index.js and refactor the getServerSideProps function by initializing the ConfigCat client with my SDK key copied from the dashboard:
export const getServerSideProps = (async () => {
 // Create the ConfigCat client with your SDK Key
  const configCatClient = configcat.getClient("YOUR-SDK-KEY");

 // Get your setting value
  const randomUserFeature = await configCatClient.getValueAsync(
    "randomUserFeature",
    false
 );

 // Get a random user
  const randomUser = await getRandomUser();

 // Return the data as props
  return {
    props: {
    randomUser: randomUser.results[0],
          randomUserFeature,
    },
 };
}) satisfies GetServerSideProps<{
  randomUser: User;
  randomUserFeature: boolean;
}>;
The next step is to refactor the template to only render the random profile card if the feature flag is toggled on, and to otherwise render a different message:
export default function Home({
  randomUser,
  randomUserFeature,
}: InferGetServerSidePropsType<typeof getServerSideProps>) {
  return (
    <>
      <Head>
        <title>Feature Flags in Next.js Sample</title>
        <meta name="description" content="Generated by create next app" />
        <meta name="viewport" content="width=device-width, initial-scale=1" />
        <link rel="icon" href="/favicon.ico" />
      </Head>
      <main>
        {randomUserFeature ? (
        <UserCard user={randomUser}></UserCard>
        ) : (
        <p>Feature has been toggled off</p>
        )}
      </main>
    </>
 );
}
With that final touch, our feature flag now has control over the random user card. If the feature is toggled on:
The users will see the random user card:

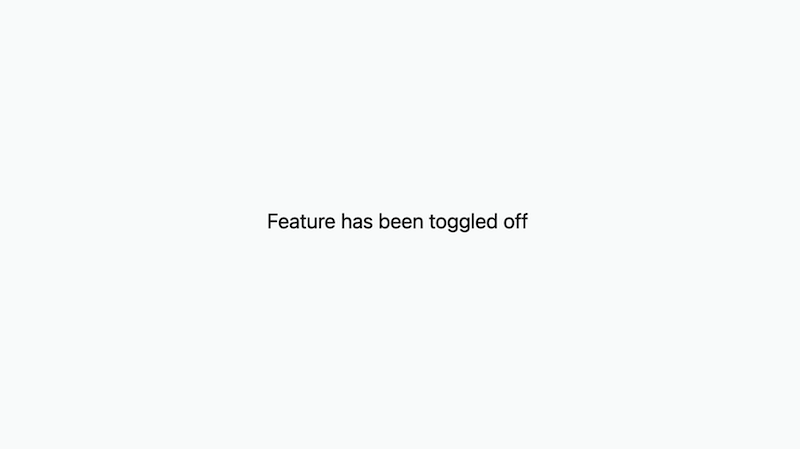
But when the feature flag is toggled off:
The users have no access to the feature:
Final thoughts
We have seen how feature flagging takes a simple concept - choosing between different code paths at runtime - to help teams introduce features in a controlled manner while in production.
Through feature flagging, you can ship code more frequently, test in production, perform canary deployment, and master feature releases to deliver high-quality software while also reducing some of the risks that come with continuous deployment.
You may find the following links helpful if you'd like to explore further:
ConfigCat supports simple feature toggles, user segmentation, and A/B testing and has a generous free tier for low-volume use cases or those just starting out.
For more information, follow ConfigCat on X, Facebook, LinkedIn, and GitHub.