How to Use Feature Flags in Inferno.js

The goal of software development workflows is geared toward releasing new features and updates, which can sometimes cause issues if not handled correctly. In my opinion, using feature flags has proven to be essential in situations like these. You can use them to easily deploy new features, and if there are bugs you can quickly turn a feature off, then turned it on again when they have been fixed without having to redeploy the app.
What are feature flags?
Feature flags help you decouple feature releases from code deployments. Feature flagging is a mechanism that allows you to assign a boolean value to a feature/component that needs to be deployed.
This value is commonly referred to as a feature flag. In order to display the feature when the flag holds a truthy value, you can use a conditional statement in your code.
This system can be adapted and used in many programming languages. Let's examine how to use it in an Inferno.js app.
About Inferno.js
Inferno.js is a lightweight JavaScript library that looks and feels similar to React. This makes it familiar to use and lowers the barrier of entry for new developers. A major benefit of Inferno is that it supports rendering on both client-side and server-side. With its lightweight nature, it solves many issues associated with other libraries, such as memory consumption and performance.
To get up and running, let's take a look at some prerequisites:
Pre-requisites
- A code editor (e.g. Visual Studio Code)
- NodeJS (version 16 or higher)
- Yarn (version 1.22.19)
- Basic JavaScript and React/Inferno knowledge
With that covered, let's turn our attention to the sample app I created and discuss how we can implement feature flagging.
Using the sample app
1. Clone the GitHub repository
2. Run the following commands to install the required packages and run the app:
yarn install
yarn start
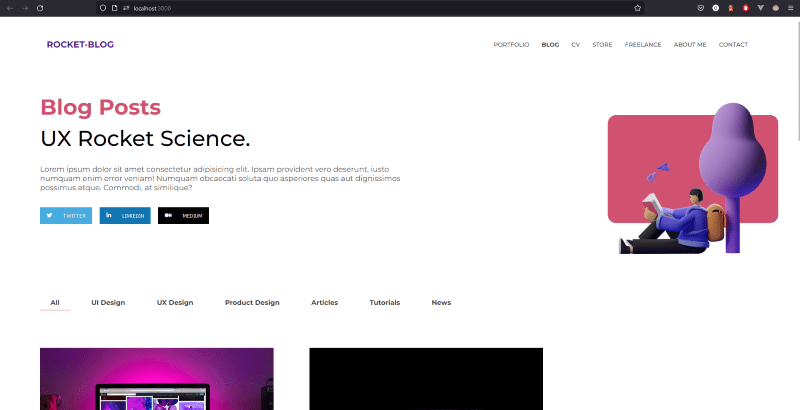
3. You should be able to view the app in your browser by visiting http://localhost:3000/ as shown in the screenshot below:
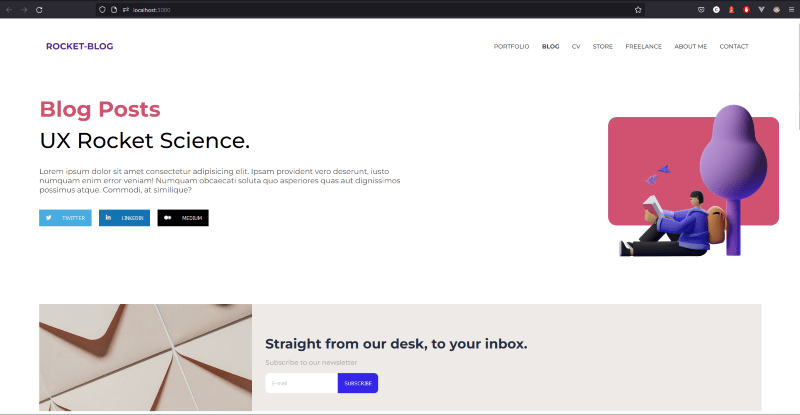
For this demo, I've created a Newsletter component, as shown above. To release this feature, I will link it to a feature flag. As a result, when I switch the feature flag on, the Newsletter section will appear on the website. To show you how this can be done, I'll use ConfigCat's feature flag service.
Integrating with ConfigCat
1. To use ConfigCat, you'll need to sign up for a free account.
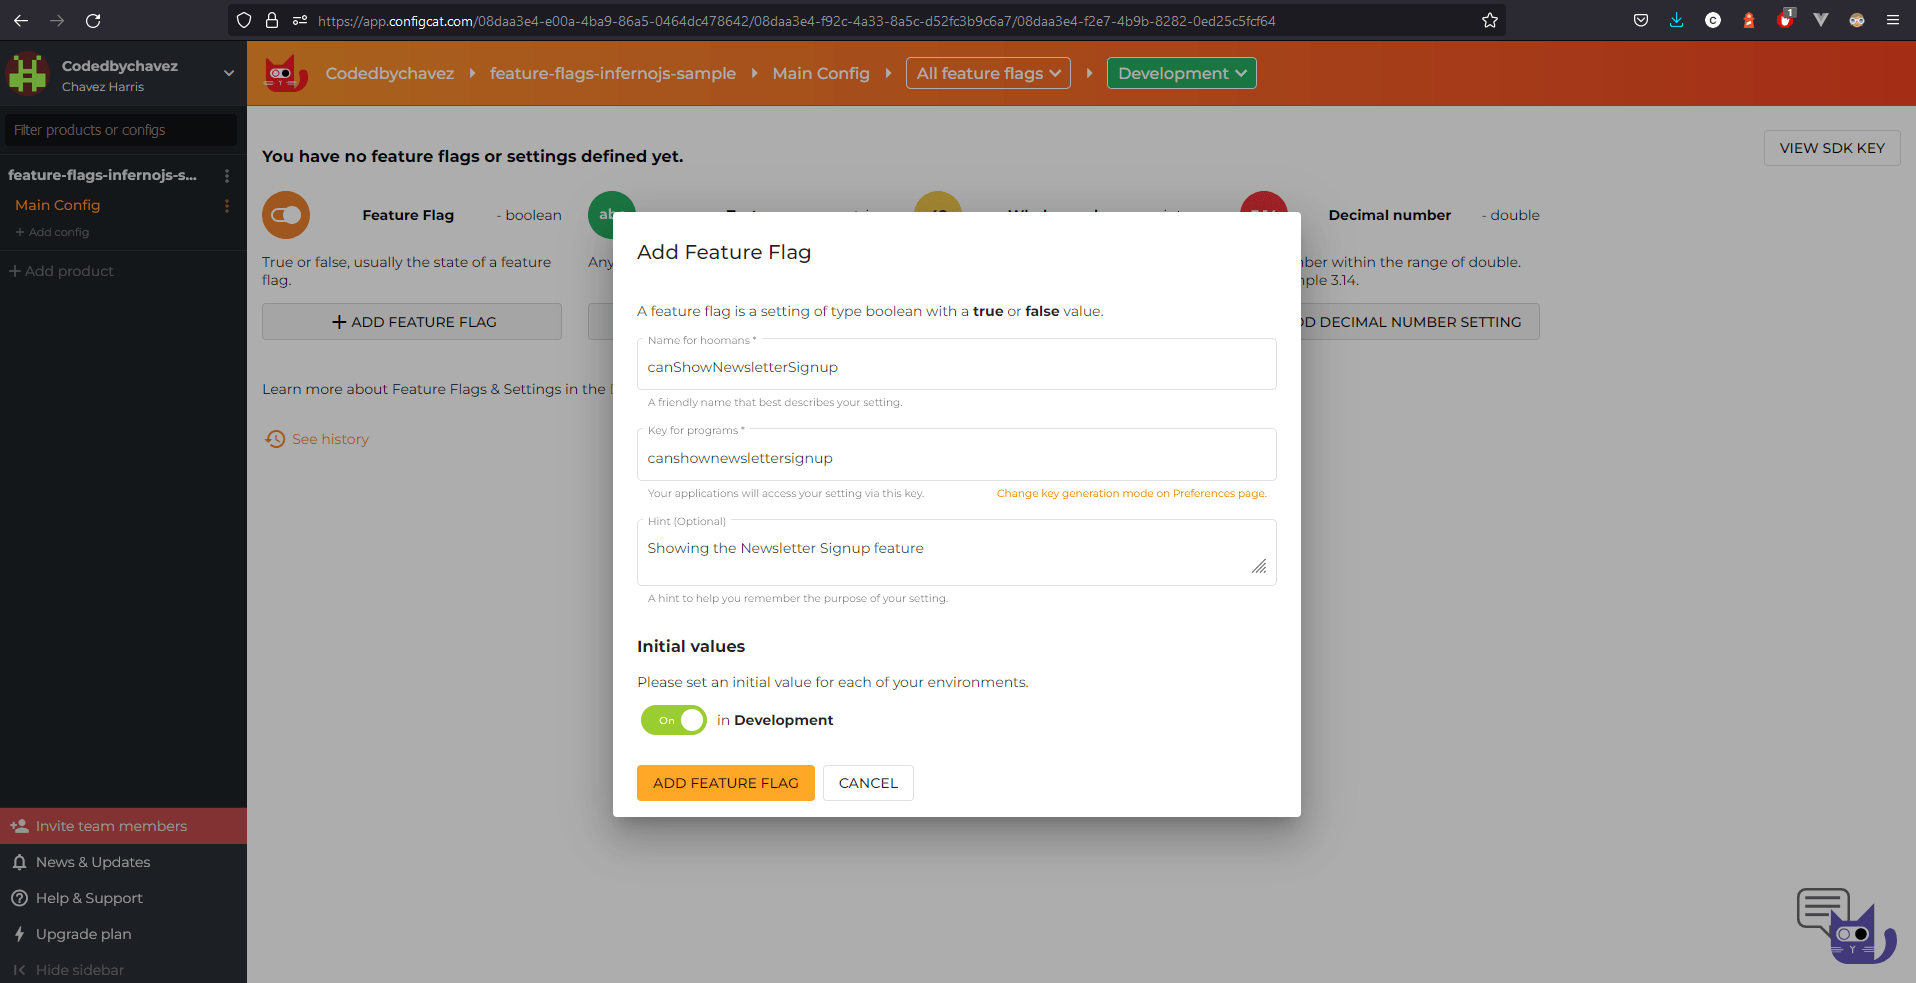
2. In the dashboard, create a feature flag with the following details:
3. Install the ConfigCat JavaScript SDK into your app with the command below. With this SDK, the app will be able to access the ConfigCat dashboard and probe the status of the feature flag. In the following step, we'll import and use it.
npm i configcat-js
4. In the src/App.js file, or in your .js file that includes the new component to be rolled out, import the SDK client:
import * as configcat from 'configcat-js';
5. Create the client with your SDK key. In general, it is advisable to keep this key private and not include it in your code repository.
let configCatClient = configcat.createClient('YOUR_SDK_KEY');
6. Create a state called canShowNewsletterSignup to store the status of the feature flag:
class App extends Component {
  // ...
  constructor() {
    super();
    this.state = {
      canShowNewsletterSignup: false,
    };
  }

  // ...
}
7. Add the below code in a componentDidMount lifecycle event. This code will check and update the value of canShowNewsletterSignup with the current status of the feature flag from ConfigCat when the App component is mounted.
class App extends Component {
  // ...
  componentDidMount() {
    let configCatClient = configcat.createClient('YOUR_SDK_KEY');
    configCatClient
      .getValueAsync('canshownewslettersignup', false)
      .then((value) => {
        this.setState({ canShowNewsletterSignup: value });
      });
  }
  // ...
}
8. Finally, add an inline conditional statement to render the NewsletterCTA component when the value of canShowNewsletterSignup is set to true.
class App extends Component {
  render() {
    return (
      // ...
        { this.state.canShowNewsletterSignup &&
          <NewsletterCTA />
        }
      // ...
    );
  }
}
You can find the complete code for the src/App.js file here.
Live demo
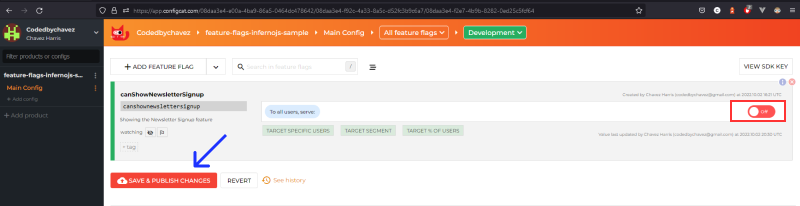
1. Head over to the ConfigCat dashboard and turn off the feature flag.
2. Refresh the page and you should no longer see the Newsletter component.
Using feature flags to roll out new features can enhance and simplify your feature deployment workflows. With the added advantage of simply controlling a feature using its flag, you can quickly toggle features on or off throughout your application. It is also possible to release features to specific user segments based on demographics and personal characteristics from your ConfigCat dashboard. As an example, this is useful when you need to make certain features available only to certain countries.
Final thoughts
Feature flagging applies to many languages and frameworks. They can be incredibly useful in situations where there are steady feature rollouts, canary deployments, and A/B testing. Decouple feature releases from code deployments. Using a hosted feature flagging service like ConfigCat gives you flexible control over your features from a central dashboard. Their 10-minute trainable interface makes it easy for you and your team to add feature flags to your apps using their supported SDKs.
Stay updated
For more posts like this and other announcements, follow ConfigCat on Twitter, Facebook, LinkedIn, and GitHub.