Playing with ConfigCat Feature Flags in Phaser.io

Let's take a look at how practical a feature flag can be in a Phaser.io application. Phaser is one of the most popular browser game libraries and with its help, I'll build a simple game that replicates the experience of being in a music studio. Let's get started!
An introduction to Feature Flags
What is a feature flag, exactly? You can think of a feature flag as an On/Off button for features. When pressed, the selected feature becomes available, and vice versa. Typically, these buttons are useful for targeting a specific audience or number of users, releasing an experimental feature, releasing it gradually, or customizing the product experience based on permission.
How will the app use a Feature Flag?
Note: Here's the full app's code, if you wish to follow along.
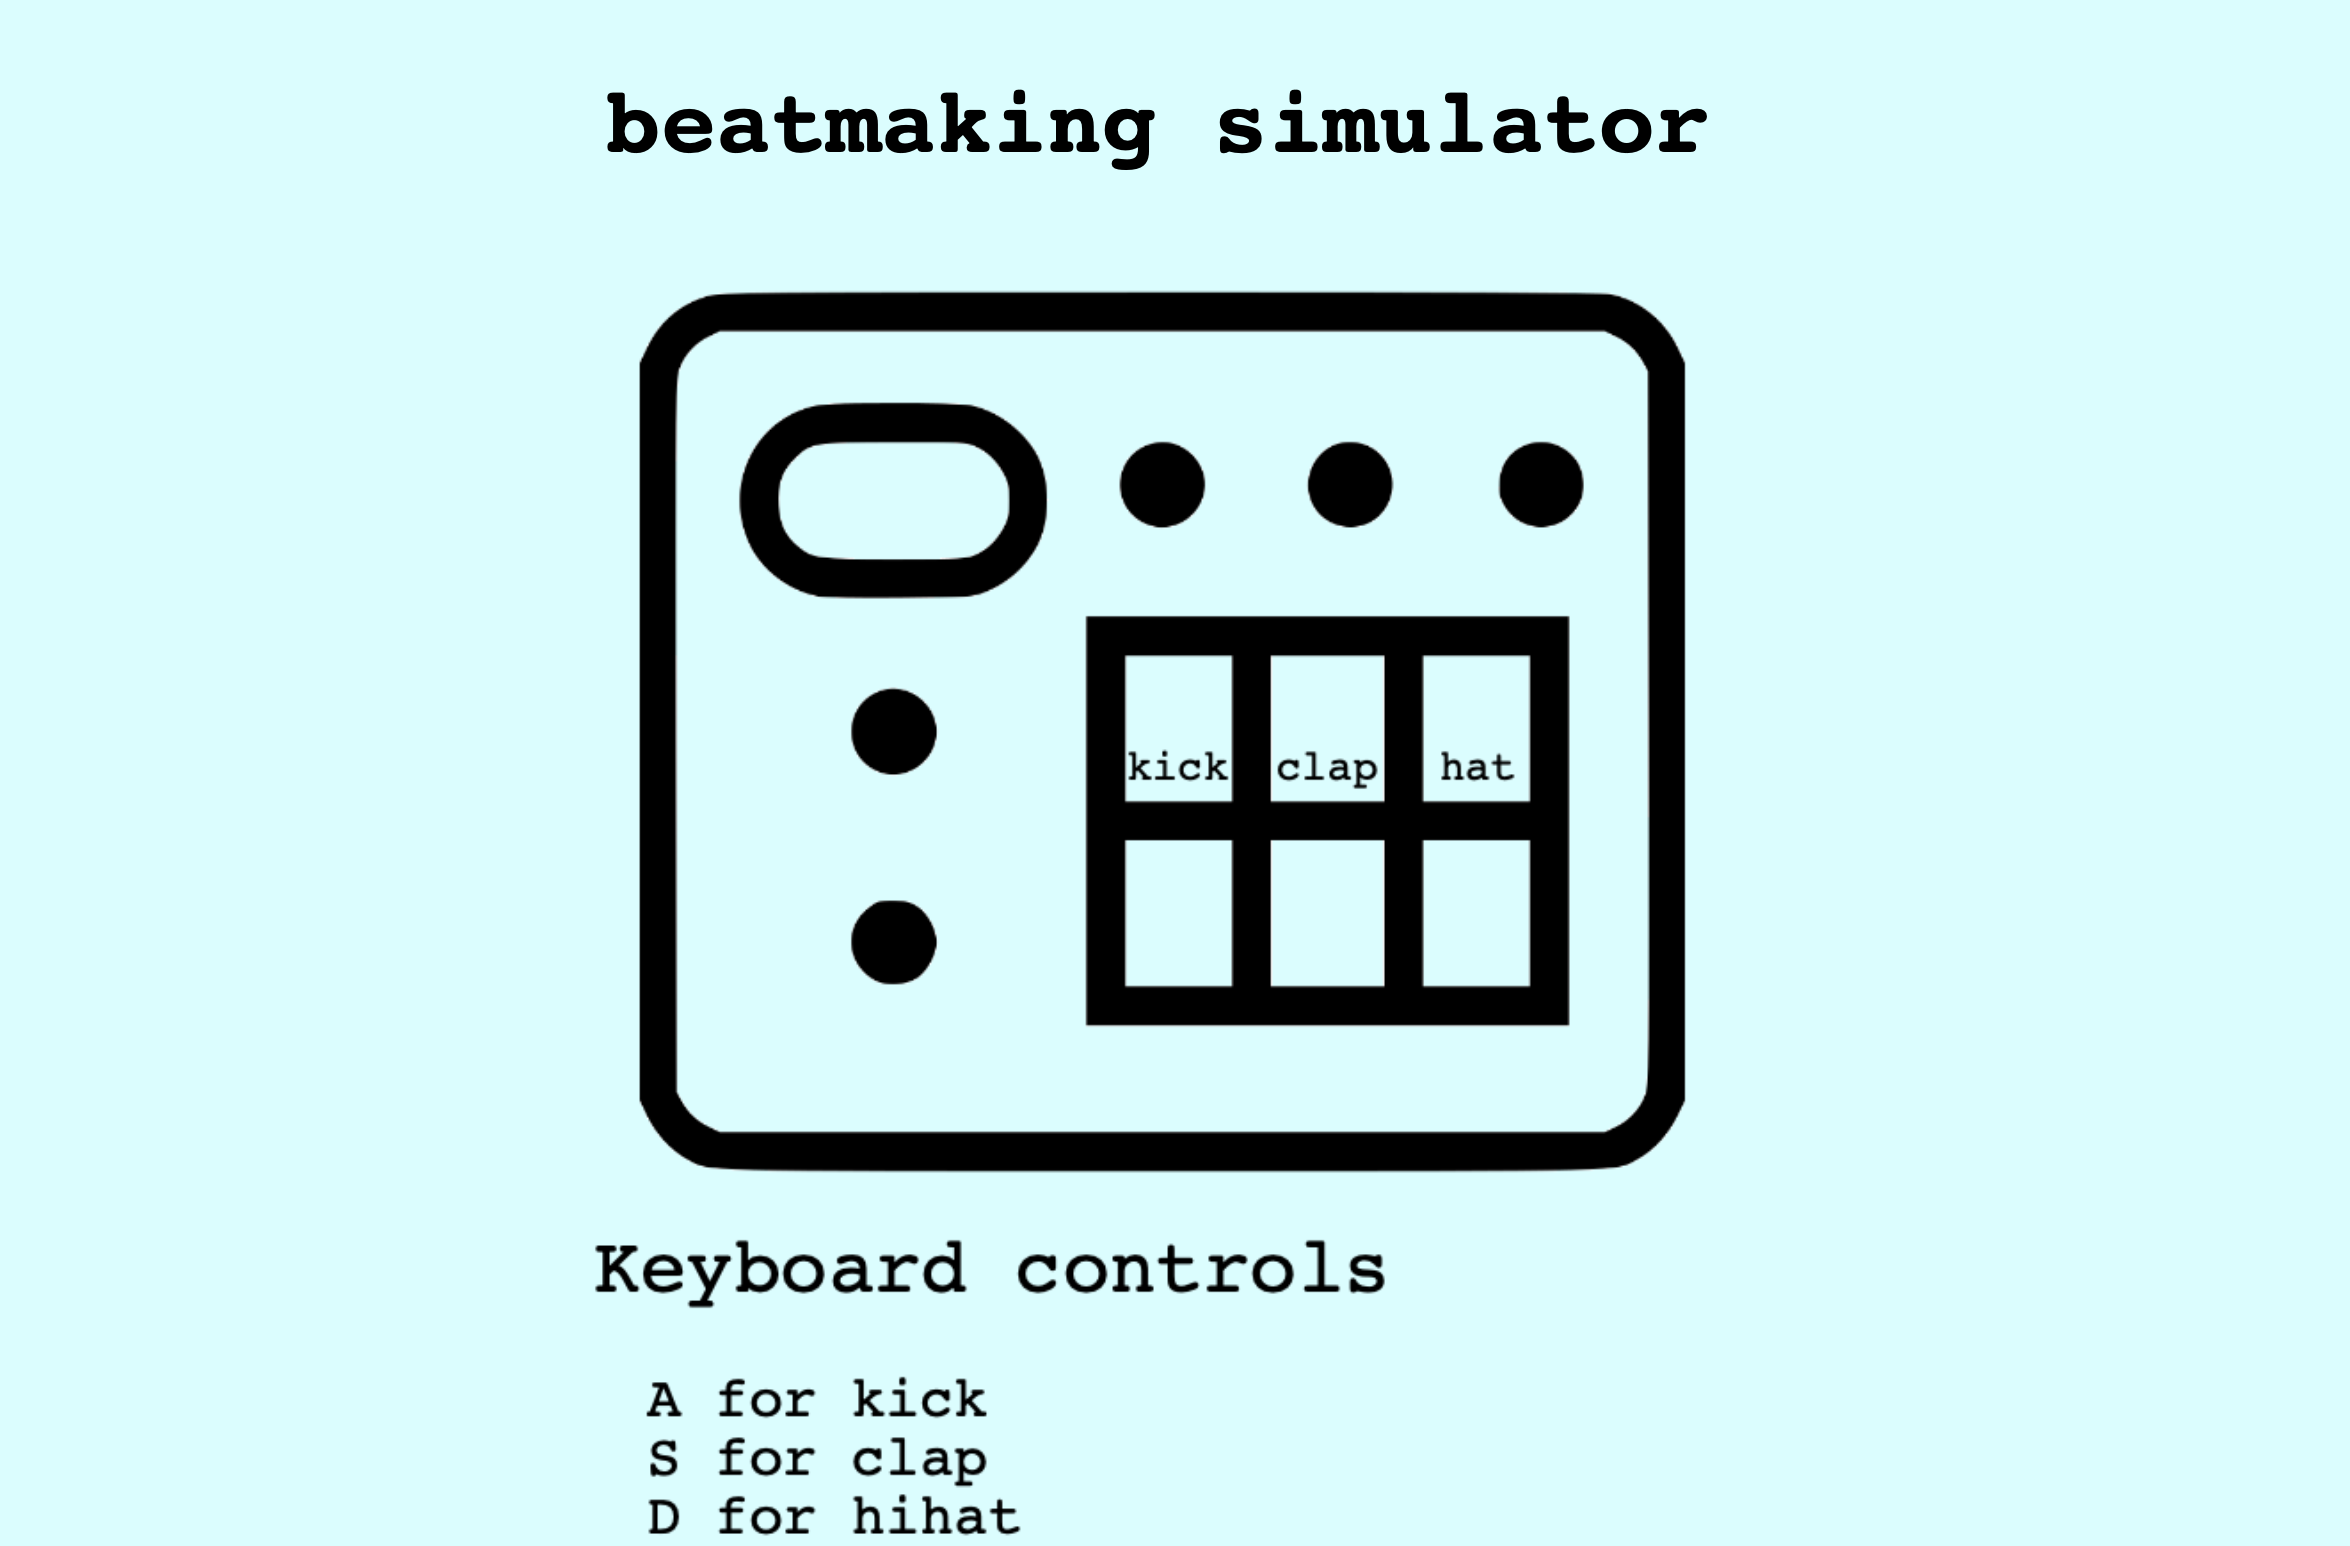
To begin with, why would I want a feature flag in my game? Let's assume that my game is a success and users love it. I still want to keep the application free to play and ad-free, so to monetize it, I'll add another feature (a paid one) that only premium users will have access to. In the free version of my Beatmaking Simulator, the player has access to an on-screen drum machine controlled by the keyboard, while the full version offers a piano with playable keys as well. Therefore, I am intending to integrate ConfigCat's feature management service to control which version of the game I would like to display.
Getting started with Phaser 3
Let's get to the most exciting part - developing the application. I'll create a new folder for it that contains a plain index.html file. There are several ways to get started with Phaser: you can clone it, you can get it via npm, or download pre-built versions of it. For the sake of simplicity, I'll use the last option. I'll download the phaser.js file from Phaser's downloads page and just drag it into my project folder. In order to import it, I'll include the following script in my index.html file:
<script type="text/javascript" src="phaser.js"></script>
And it's that easy - I'm ready to use the Phaser library! First, let's create a new Phaser.game object with the help of the initial configuration, containing mostly visual stuff such as the game's width, height, and background color. I now see an empty game canvas if I open my index.html file in a browser. Hot tip: If you're a newbie to web development, Visual Studio Code's Live Server extension will allow you to see your changes instantly in the browser.
const config = {
  width: 1200,
  height: 900,
  renderer: Phaser.AUTO,
  backgroundColor: '#d4feff',
  scale: {
    mode: Phaser.Scale.FIT,
    autoCenter: Phaser.Scale.CENTER_BOTH,
  },
  scene: { preload: preload, create: create, update: update },
};

const game = new Phaser.Game(config);
The most relevant part of the config object is the scene, which contains the following functions:
- preload, which is used for loading sounds and images
- create, used for generating game content
- update, responsible for redrawing game objects
Loading assets
Next up, I'm going to preload (hence the function name) a drum machine image and the drum sounds that I want to play.
function preload() {
  this.load.image('drumpad', 'assets/images/drumpad.png');
  this.load.setPath('assets/sounds');
  this.load.audio('kick', 'kick.wav');
  this.load.audio('clap', 'clap.wav');
  this.load.audio('hat', 'hat.wav');
}
I have implemented the following logic to load the image on the canvas and make the kick pad playable:
function create() {
  //loading the drum pad image and the kick sound
  const drumpad = this.add.sprite(340, 280, 'drumpad');
  const kick = this.sound.add('kick');

  //linking the A key to the kick sound
  this.input.keyboard.on('keydown-A', function () {
    kick.play();
  });
}
Now, let's do this a couple more times for the clap and hi-hat sounds. Let's add some text over the pads as well so I know which one's which, maybe some user instructions, and boom! I have a working drum machine right at my fingertips.
Importing ConfigCat for my feature flag
I'm going to load the piano image and sounds in the same manner, and now I can view it and play as well! However, as I mentioned before, I only want to display the piano in the full version of the game. For that, I'm intending to use a ConfigCat feature flag: if the feature flag holds a truthy value, the piano keys will be shown and otherwise only the drum pad will be available.
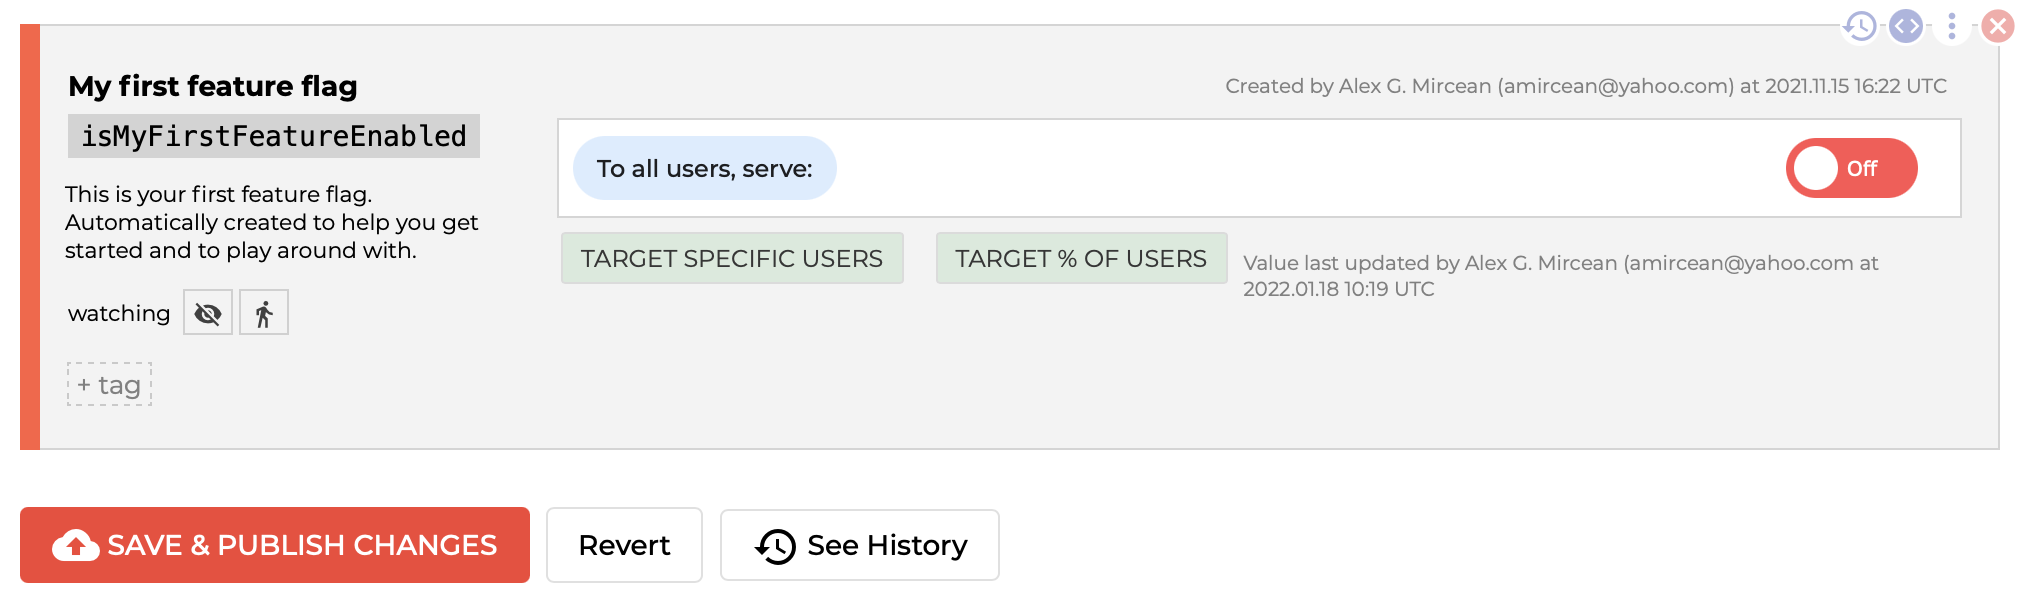
If I navigate to the ConfigCat dashboard, I can see a feature flag already created for me. From here I can change my flag's value, change some targeting options, view my SDK key, and more.
Let's import ConfigCat via CDN in our index.html file:
<script
  type="text/javascript"
  src="https://cdn.jsdelivr.net/npm/configcat-js@latest/dist/configcat.min.js"
></script>
Next, I will need to create a configcatClient, which will link my application to the actual feature flag. I will need my SDK key from the dashboard for this. The createClient function also supports various options such as pollIntervalSeconds, which is pretty self-explanatory, configChanged - a callback that notifies you when a change occurs, and logger, which lets you choose what log level you want to use. These (and more) options are described in more detail in the ConfigCat docs. Here's an example of a level 3 logger, that will log pretty much everything: warnings, errors, and feature flag evaluation:
const logger = configcat.createConsoleLogger(3);

let configCatClient = configcat.createClient('YOUR_SDK_KEY', {
  logger: logger,
});
And that's pretty much it! Now that my game is hooked up to ConfigCat, if I open the console, I can see the logger giving me some information about the feature flag. But how can I put the flag to proper use for what I want to display?
Making use of the feature flag
Before moving any further let's move all the logic for the drum pad and piano in separate functions (initializeDrumpad and initializePiano) to tidy up the code and allow for a better understanding of how feature flags work. Finally, I need the actual value of the feature flag. I can get it via the callback way or the asynchronous way, using the getValueAsync function.
function create() {
  this.add.text(20, 560, 'Keyboard controls', {
    font: '44px Courier',
    fill: '#000000',
  });

  initializeDrumpad(this);

  let configCatClient = configcat.createClient('YOUR_SDK_KEY');

  configCatClient
    .getValueAsync('isMyFirstFeatureEnabled', false)
    .then((flagValue) => {
      if (flagValue) {
        initializePiano(this);
      }
    });
}
This function has two parameters: the name of the feature flag and the default flag value. Now we have access to the value of the flag, and depending on it, I can choose if I want to display the piano. Lastly, let's head back to the dashboard and set the flag value to a truthy one. The game will display the piano keys by flipping the switch!

Summary
To sum it up, we got to learn a little bit about two awesome pieces of technology today - Phaser.io and Feature Flags. Here's a walkthrough of what I did:
- installing Phaser and ConfigCat and importing them via CDN
- developing a small game
- creating a ConfigCat client that links the app to the feature flag service
- handling what the game will display based on the flag value
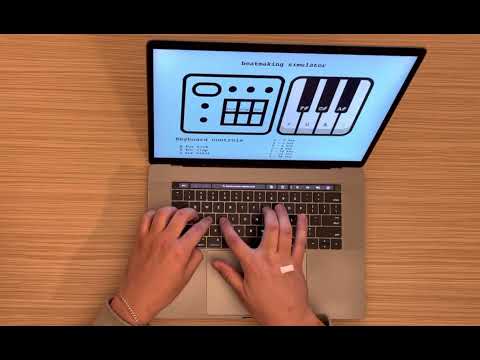
I also did a short demo video on this because I figured screenshots wouldn't do justice to a music creation app, right? You can check it out here.
Conclusion
ConfigCat’s feature flag management service can be practical in a Phaser application as well. It is also easy to understand and use, with its 10 minutes trainable user interface. I hope you've enjoyed this article, and if you want to take a peek at the source code from this demo, it's available on GitHub.
For more informative and fun articles, you can also check out ConfigCat's blog. You can also stay in the loop with all the latest developments by following ConfigCat on: