OneLogin Identity Provider
Connect ConfigCat with OneLogin via SAML.
Introduction
Each SSO Identity Provider requires specific information to configure a SAML integration. The following guide will walk you through how you can connect ConfigCat with OneLogin as a SAML Identity Provider.
1. Create an Application in OneLogin
-
Log in to OneLogin, and select
Applications.
-
Click on
Add App.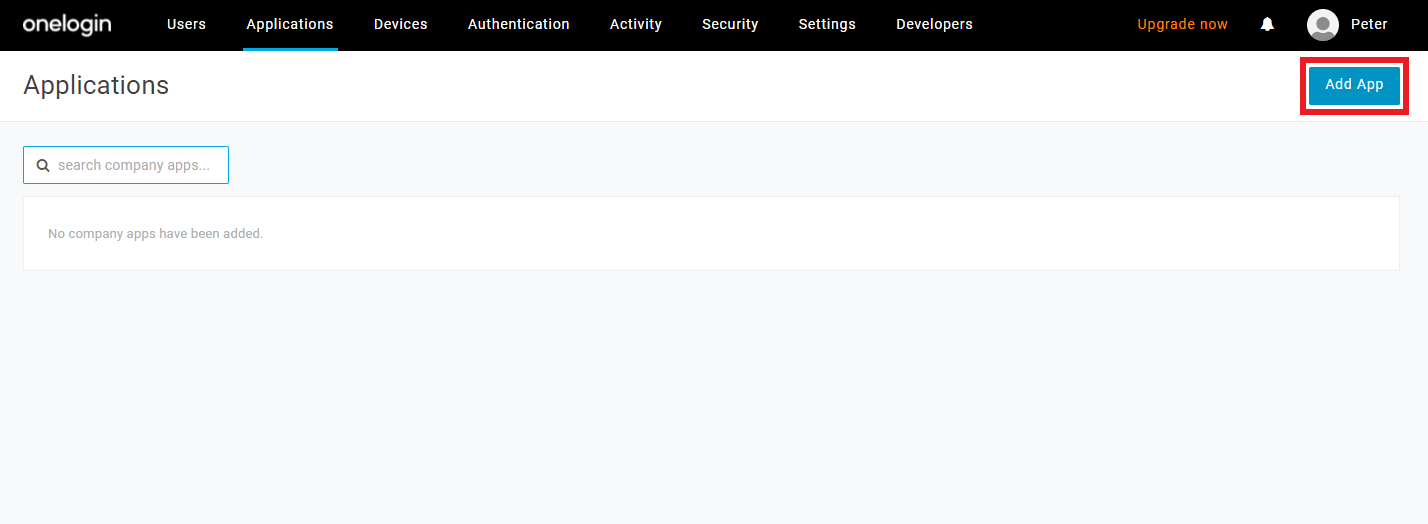
-
Type
SAMLinto the search bar, and selectSAML Custom Connector (Advanced).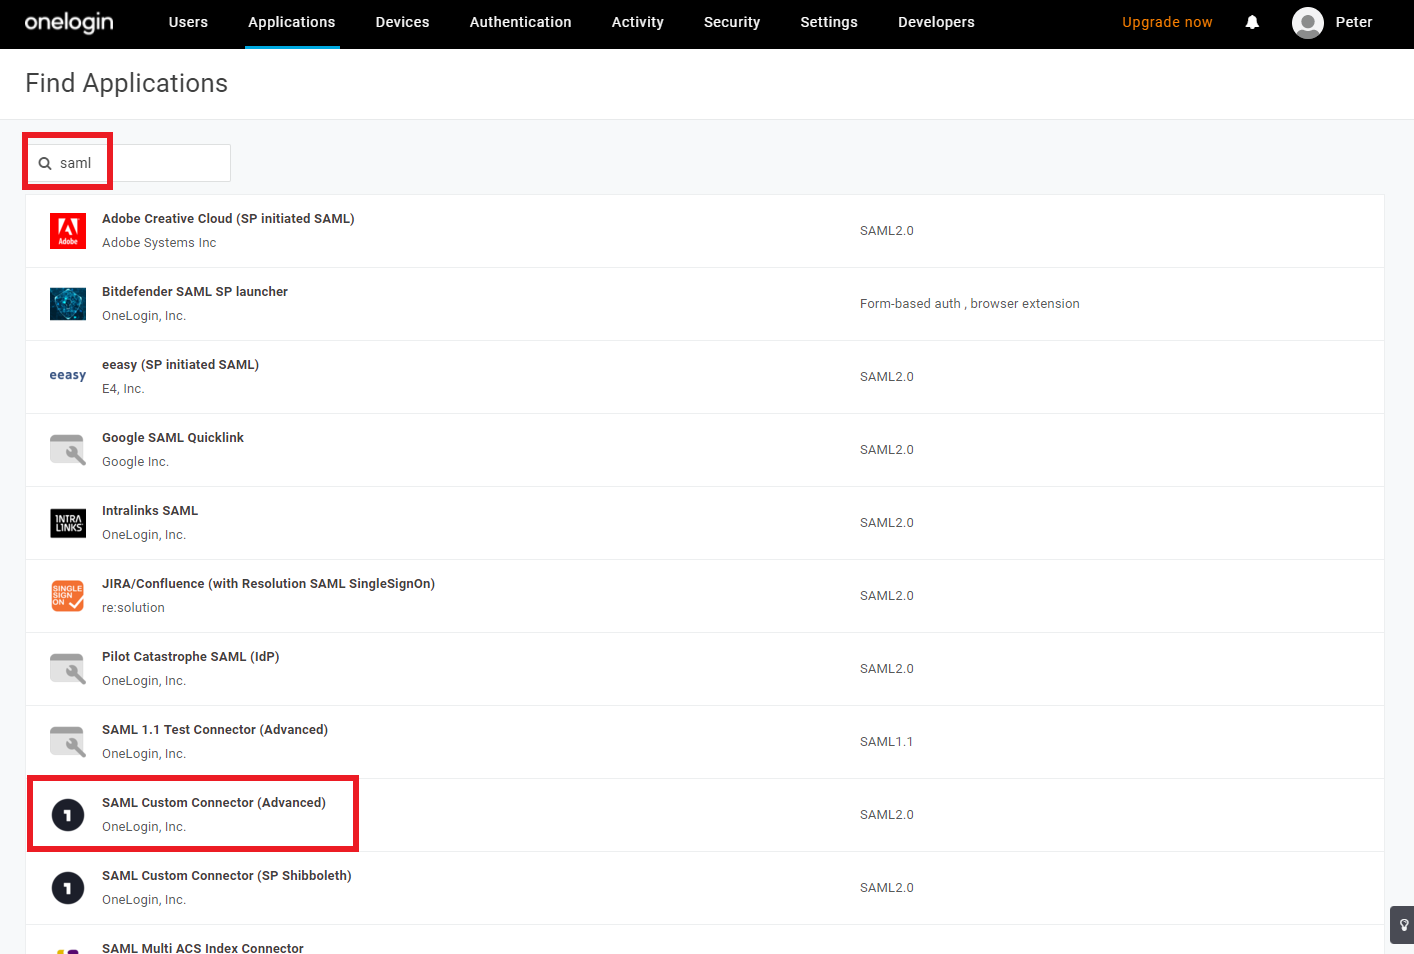
-
Enter a descriptive
Display Name, then clickSave.
The next step will guide you on how to collect the information required for the appearing Configuration page.
2. Configure SAML for the OneLogin Application
-
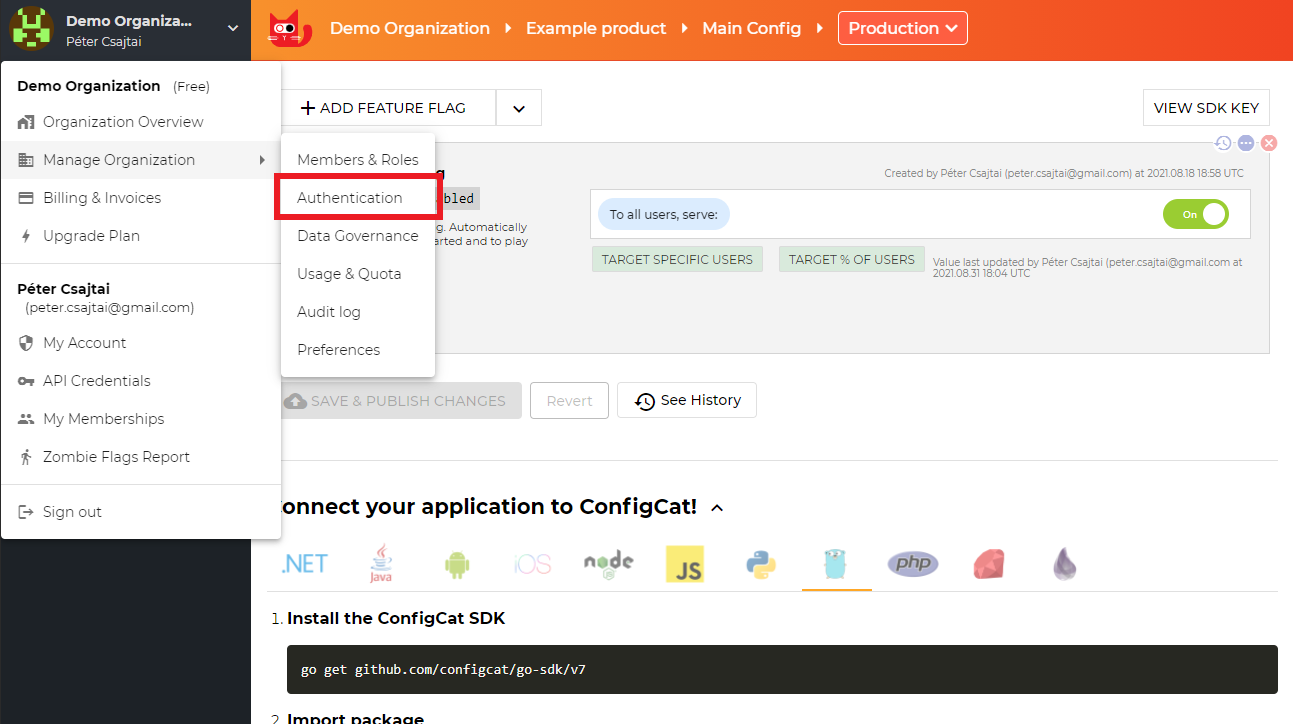
Open your organization's authentication settings on the ConfigCat Dashboard.
-
Click
ADD SAML IDENTITY PROVIDER.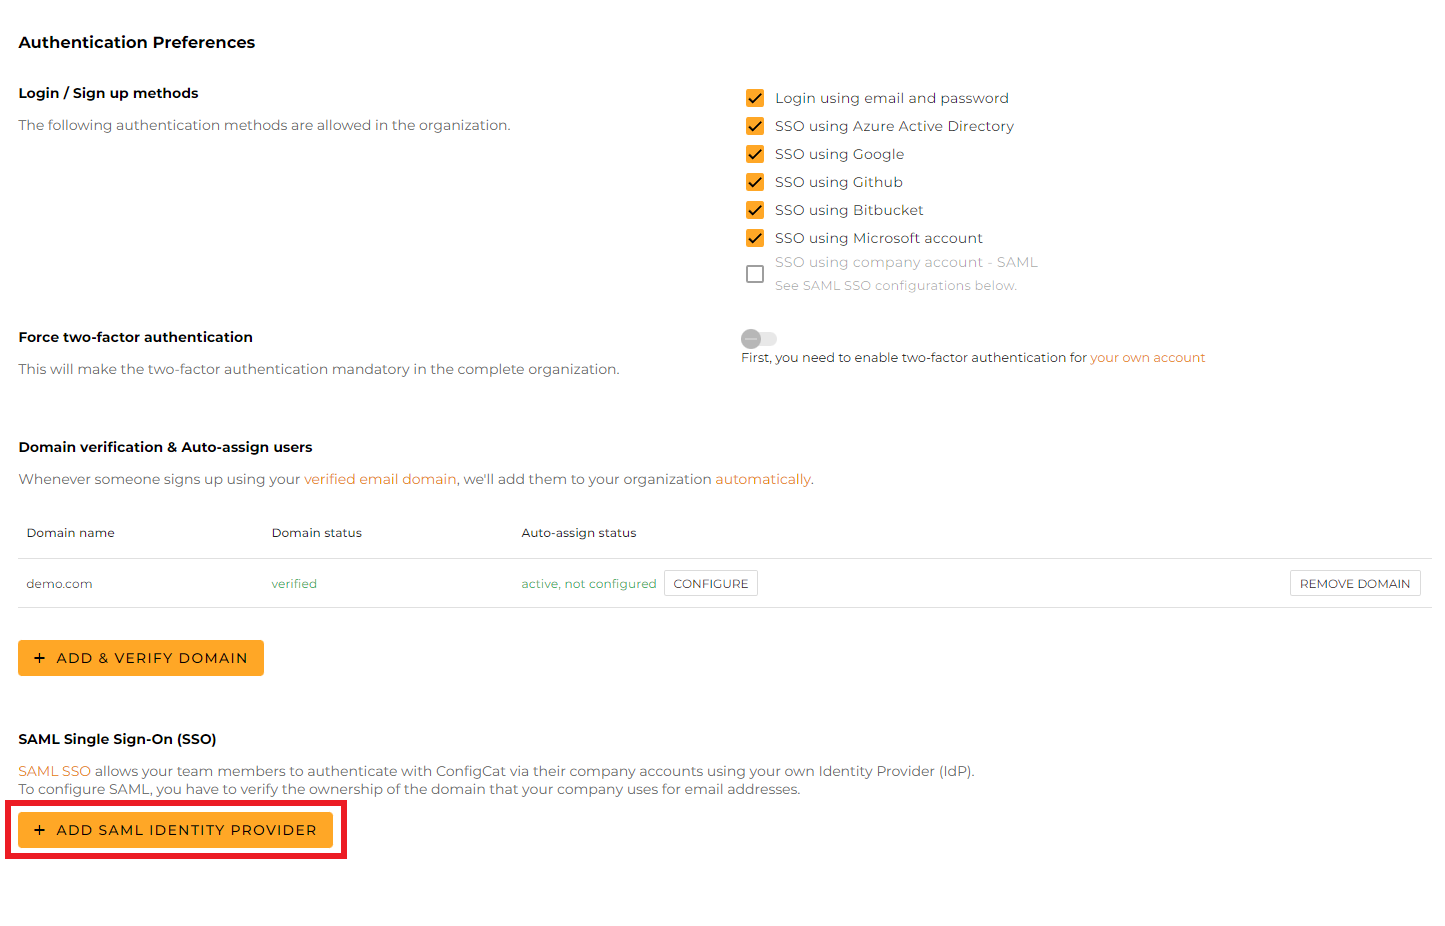
-
Give a name for your Identity Provider, and click
Create.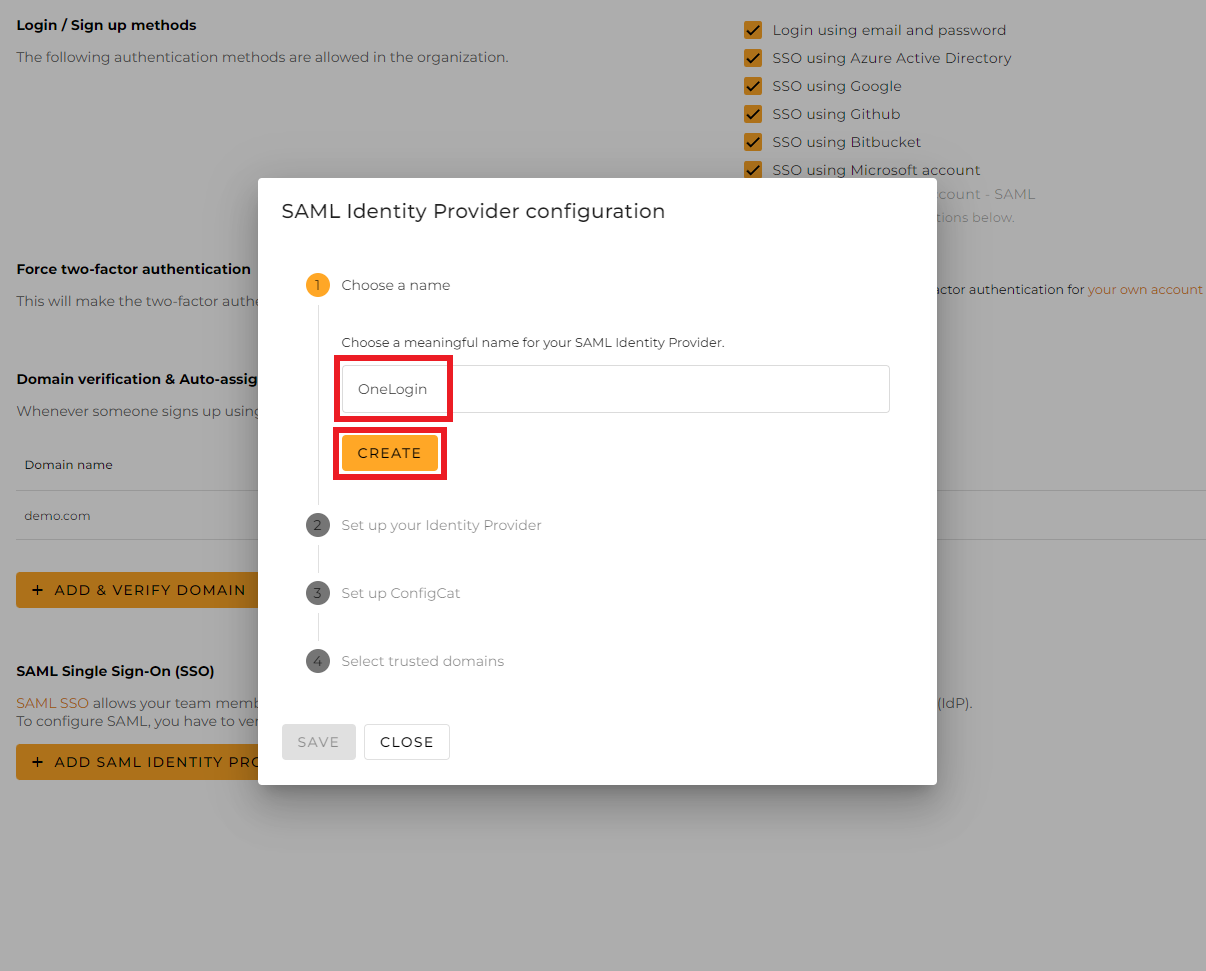
-
From the next section of the dialog, copy the following values and paste them into the OneLogin application's configuration page.
-
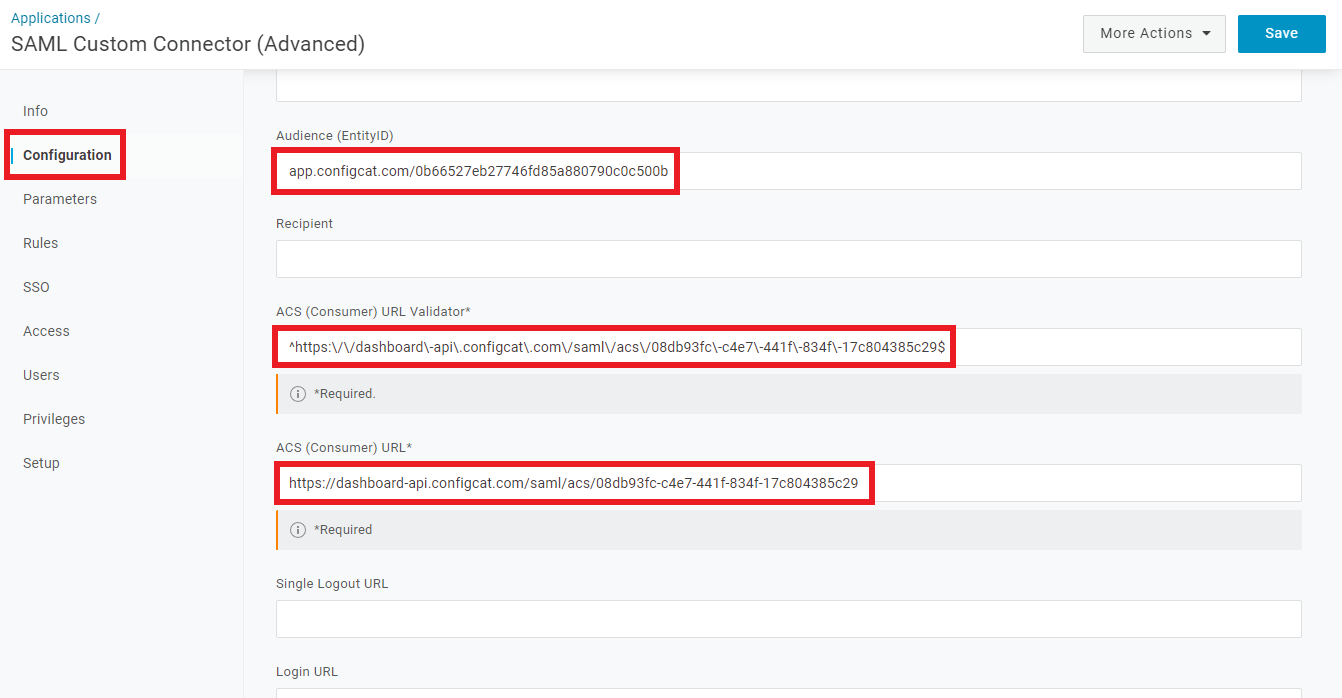
Copy
Entity IDand paste it into theAudience (EntityID)field. -
Copy
Assertion Consumer Serviceand paste it into theACS (Consumer) URLfield. -
Paste the same
Assertion Consumer Serviceinto theACS (Consumer) URL Validatorfield in regex format e.g.^https:\/\/dashboard\-api\.configcat\.com\/saml\/acs\/08db93fc\-c4e7\-441f\-834f\-17c804385c29$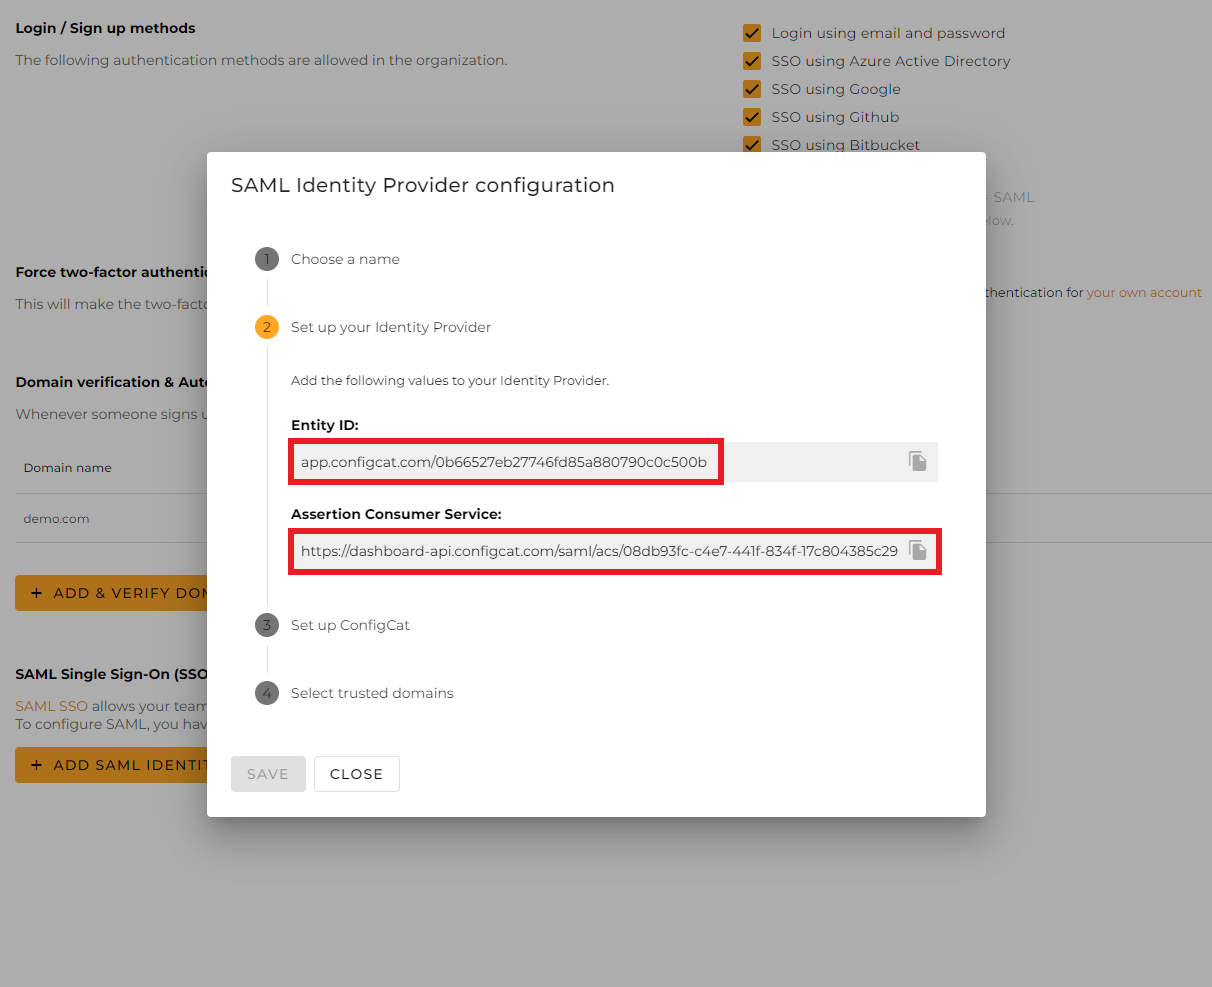
-
-
Scroll down a bit on this page and configure the following:
-
Select
OneLoginasSAML Initiator. -
Select
EmailasSAML nameID format. -
Select
BothasSAML signature element.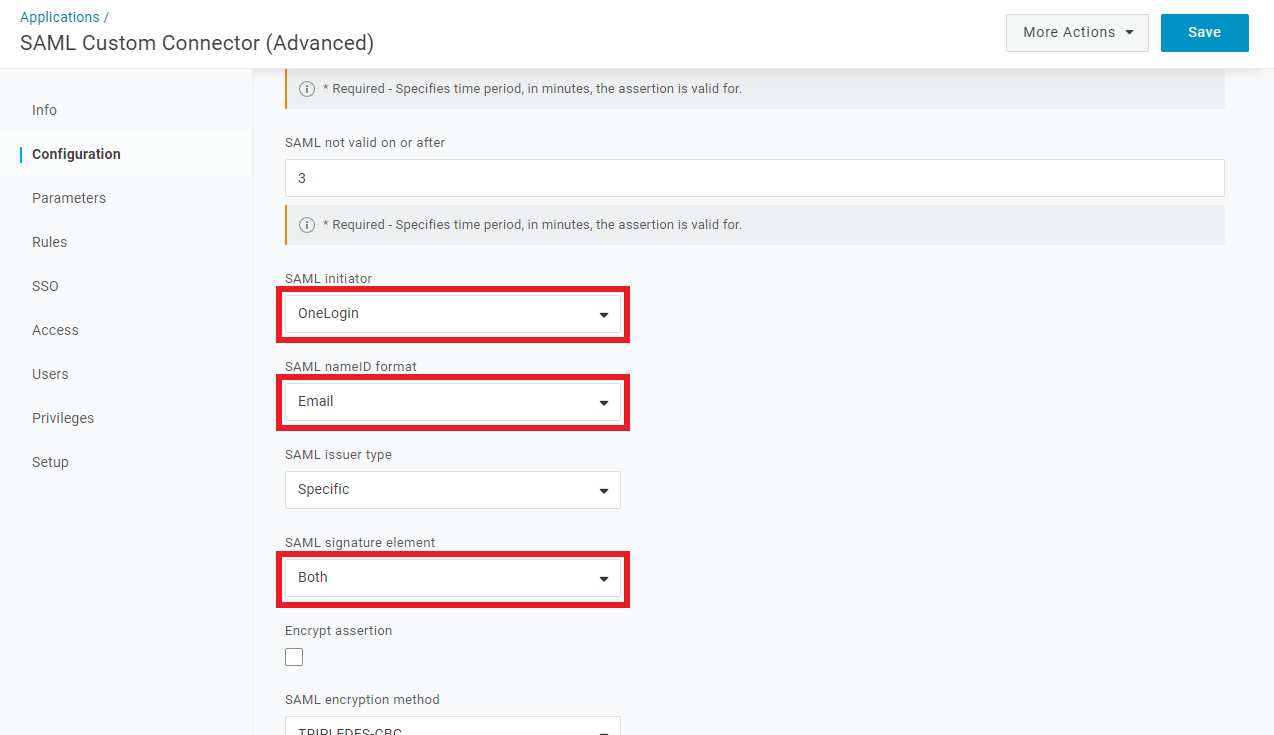
-
-
Select
Parameters, and make sure there is aNameID valueentry under theSAML Custom Connector (Advanced) Fieldwith the valueEmail.
-
Select
SSO, then selectSHA-256asSAML Signature Algorithm.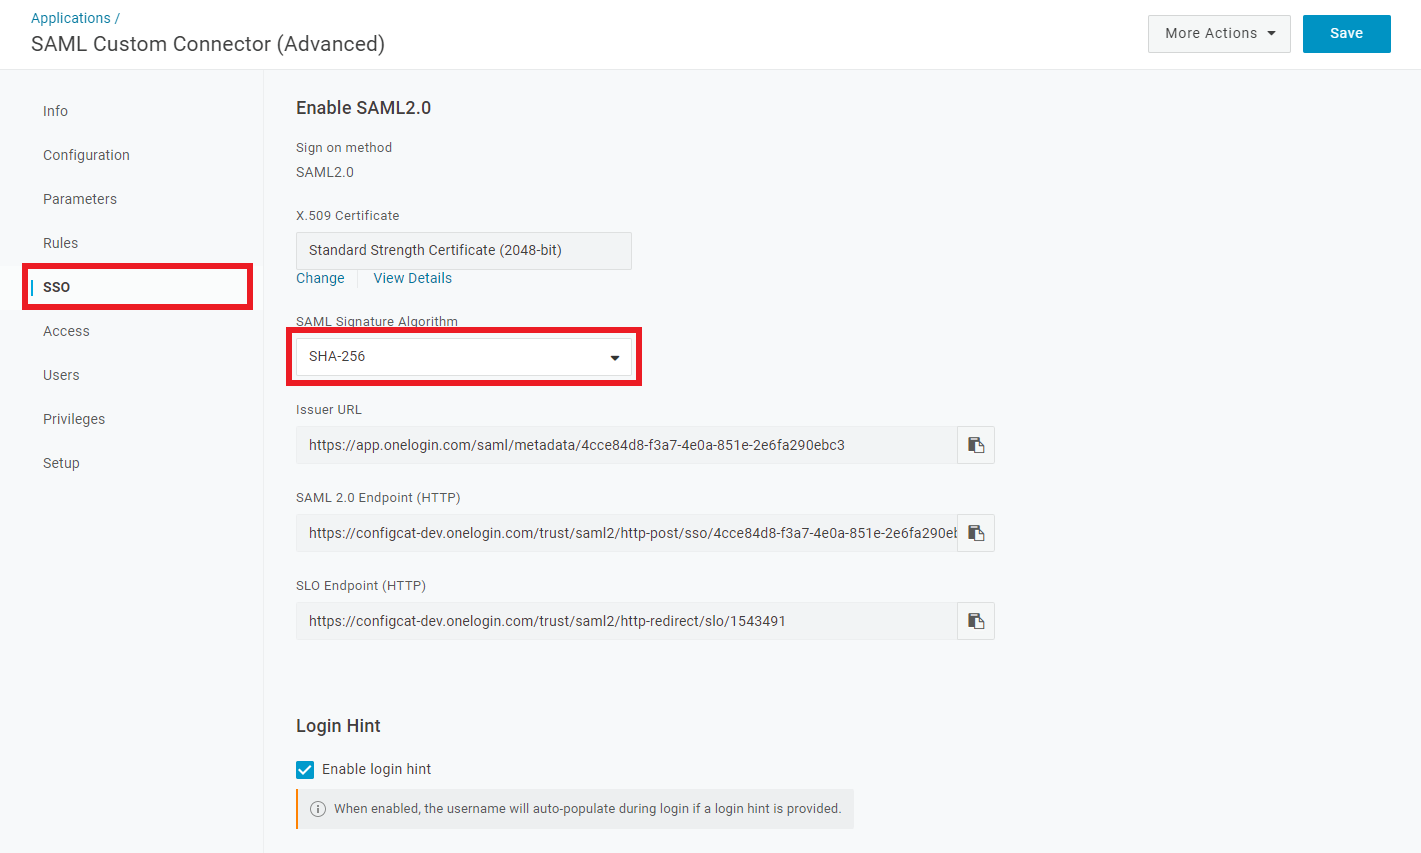
3. Configure ConfigCat with SAML Details from OneLogin
You can choose one of the following options to configure ConfigCat with SAML Identity Provider metadata.
- Metadata URL
- Manual Configuration
Select
SSO, and copy the value ofIssuer URL.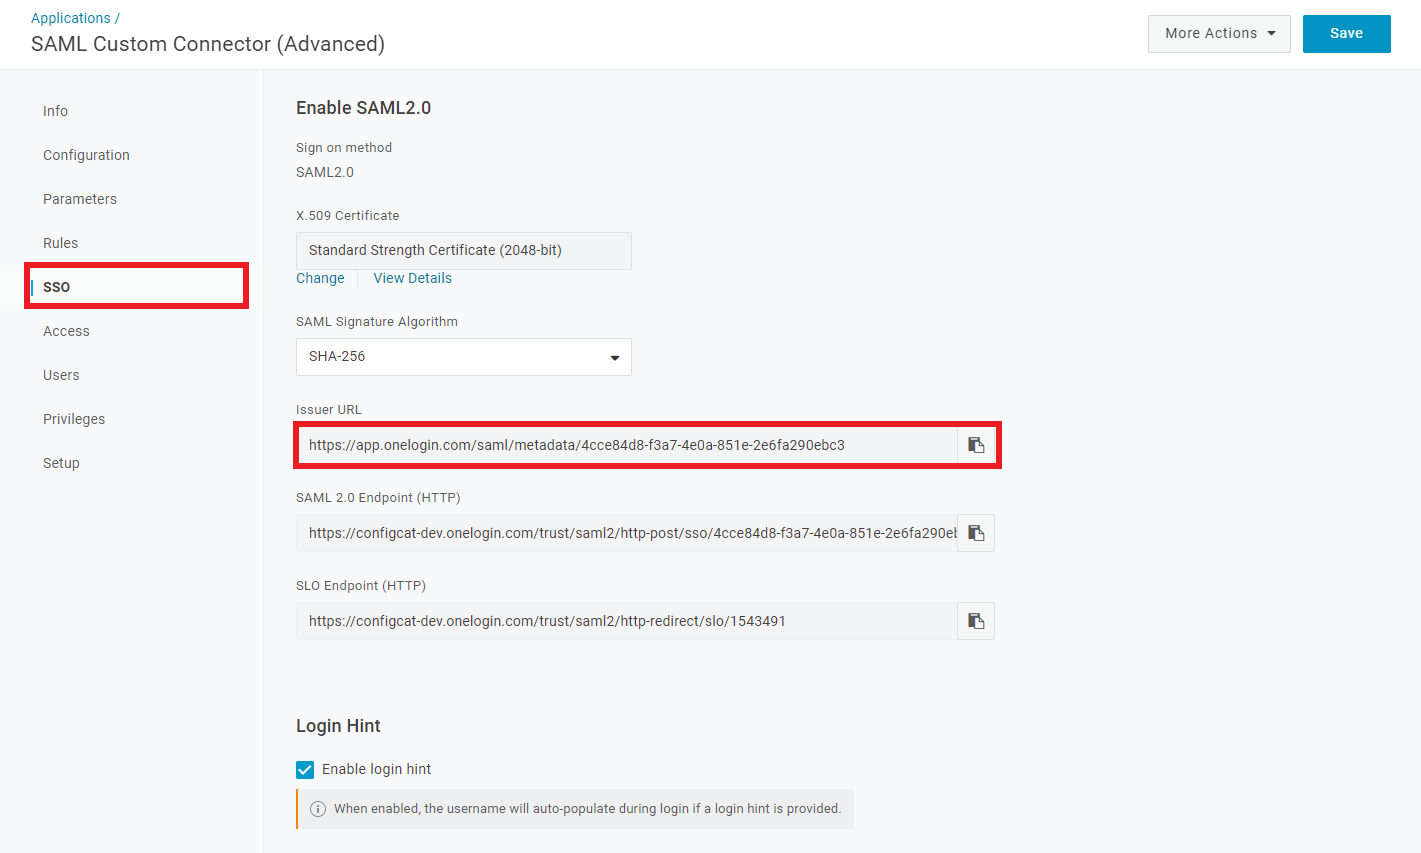
Paste the copied value into the
Metadata URLfield at ConfigCat.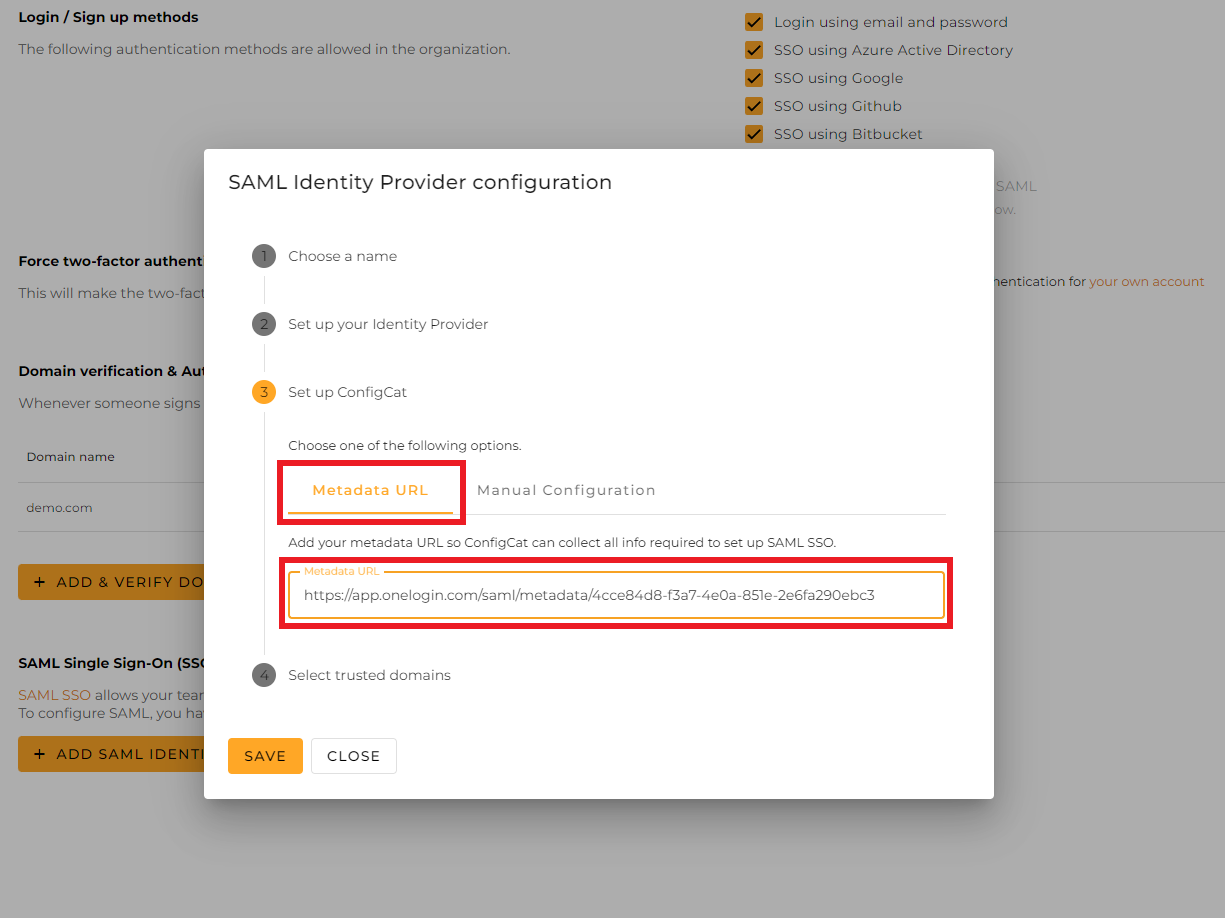
Select the trusted domains. Only user accounts from trusted domains can login with SAML SSO. You can bind multiple verified domains to a SAML Identity Provider.
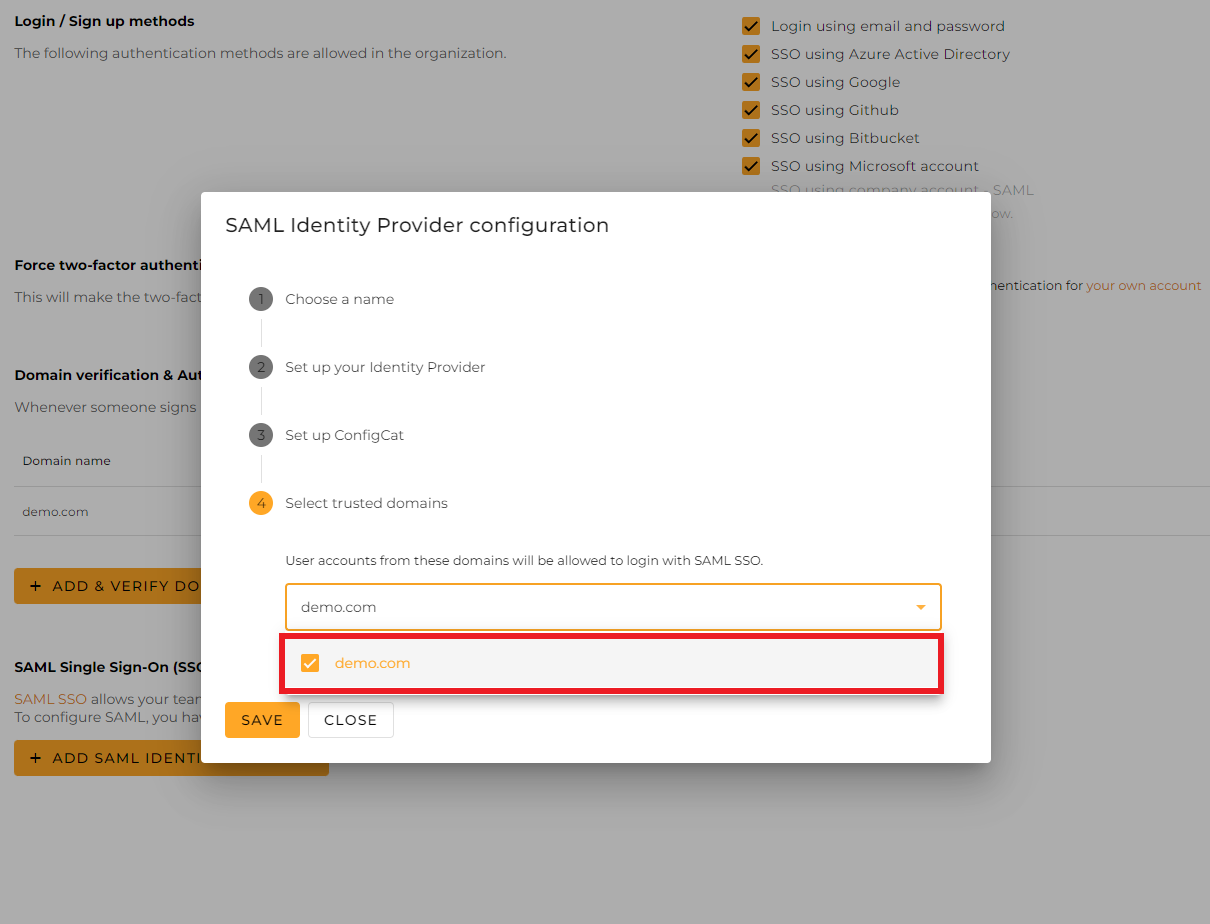
Click on
Save.
Select
SSO, and copy the value ofSAML 2.0 Endpoint (HTTP), then clickView Detailsunder theX.509 Certificate.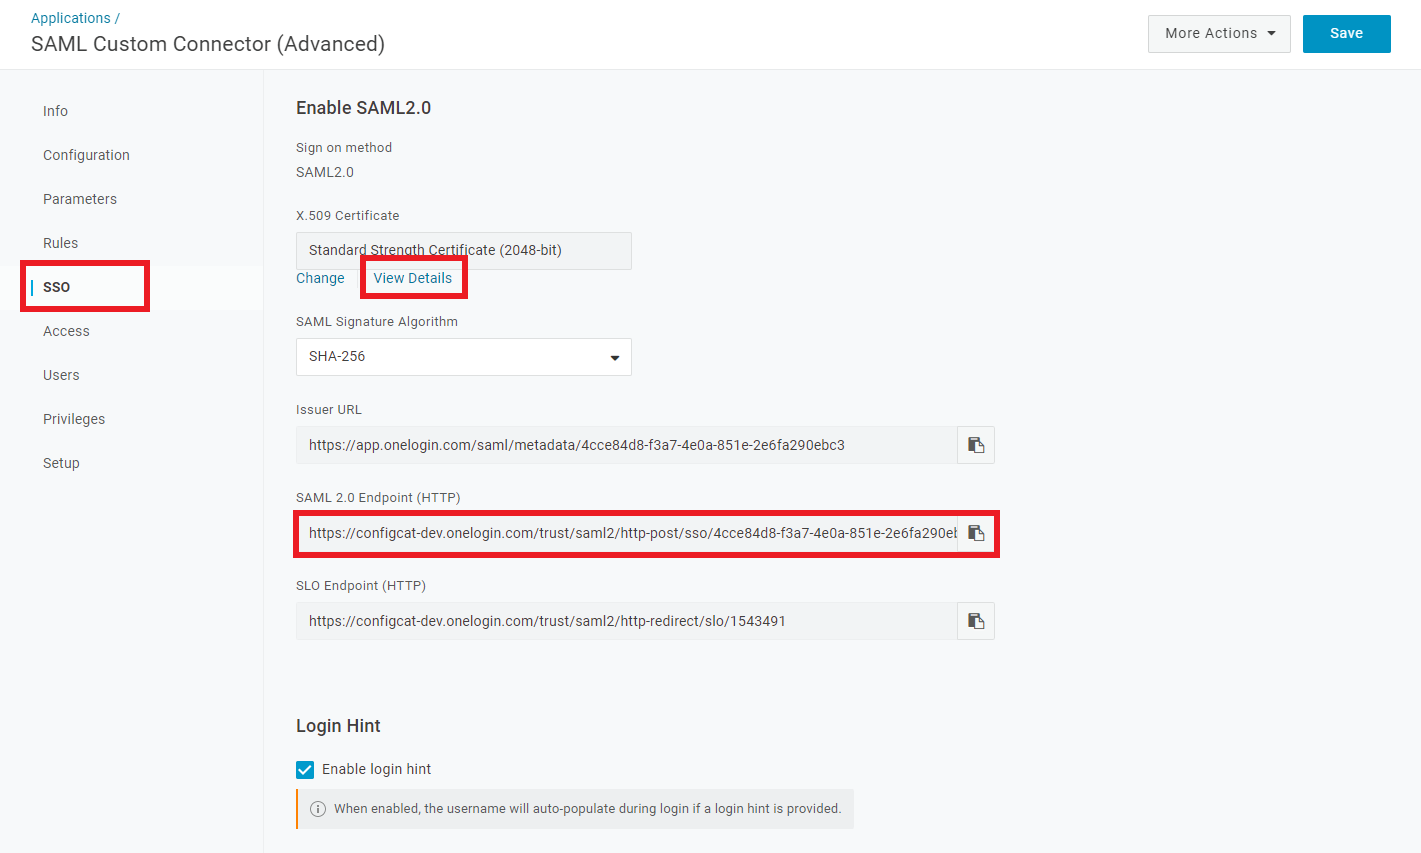
Copy the value of the
X.509 Certificate.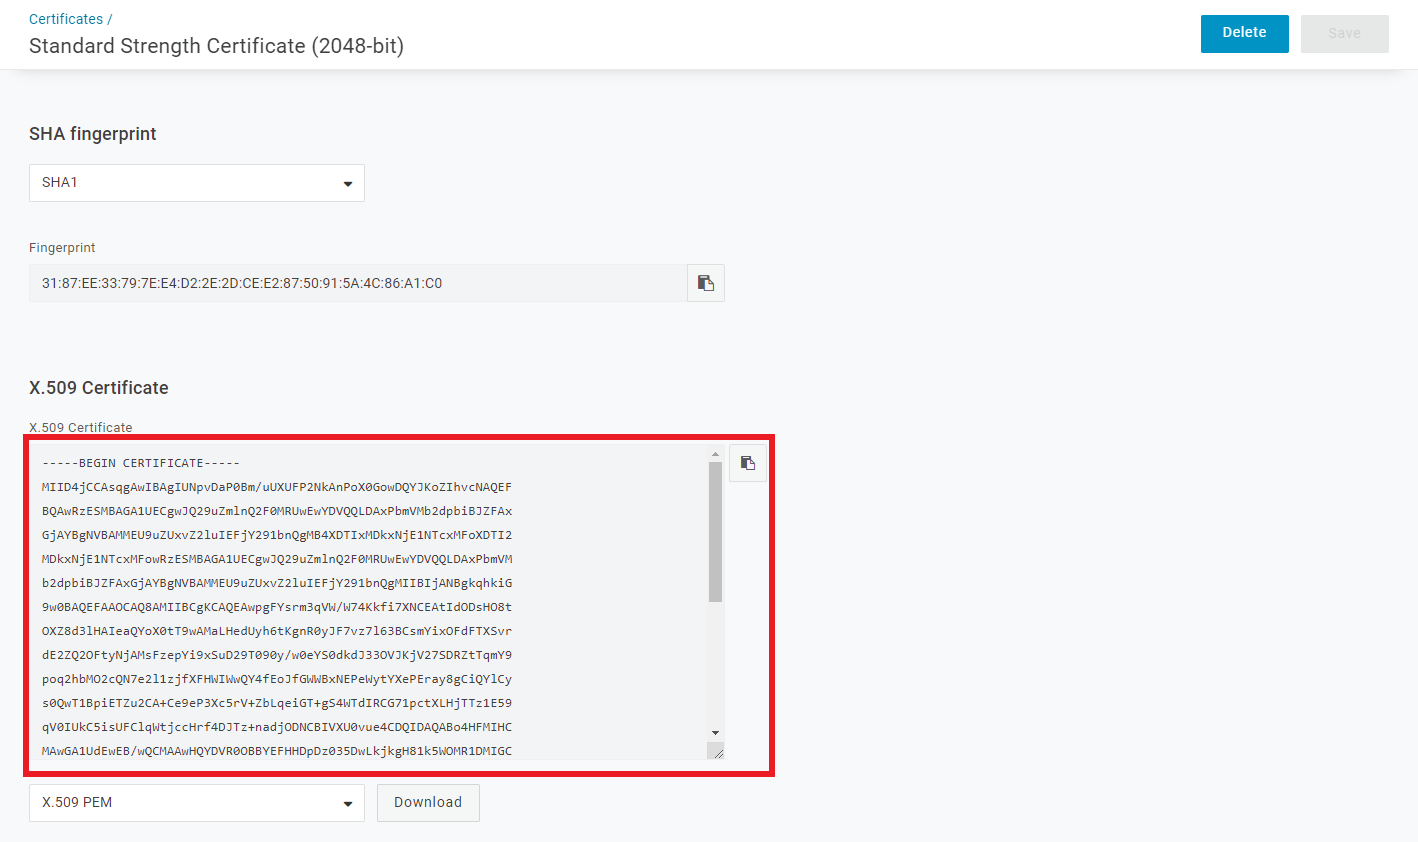
Paste the value of the
SAML 2.0 Endpoint (HTTP)and theX.509 Certificateinto the Configuration dialog at ConfigCat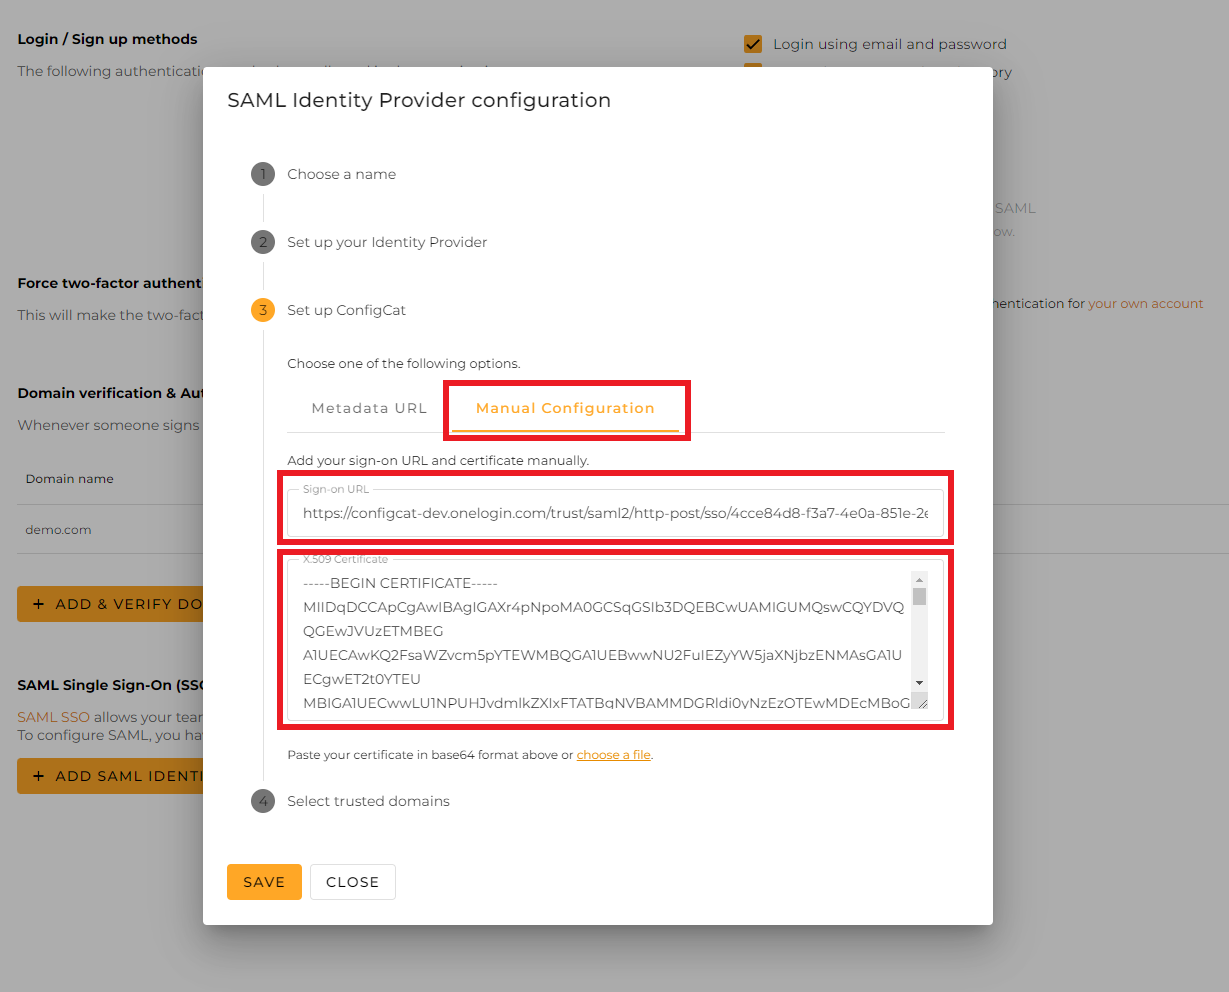
Select the trusted domains. Only user accounts from trusted domains can login with SAML SSO. You can bind multiple verified domains to a SAML Identity Provider.
Click on
Save.
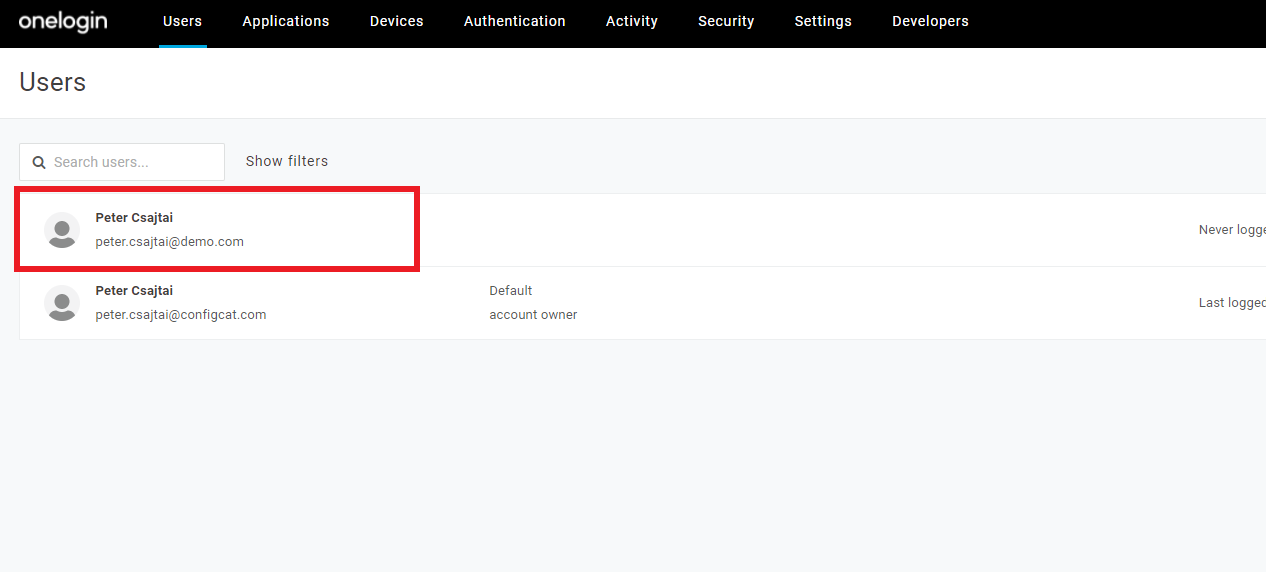
4. Assign the OneLogin Application to Users
To let users authenticate via SAML, you need to assign the newly created application to them.
-
Select
Users.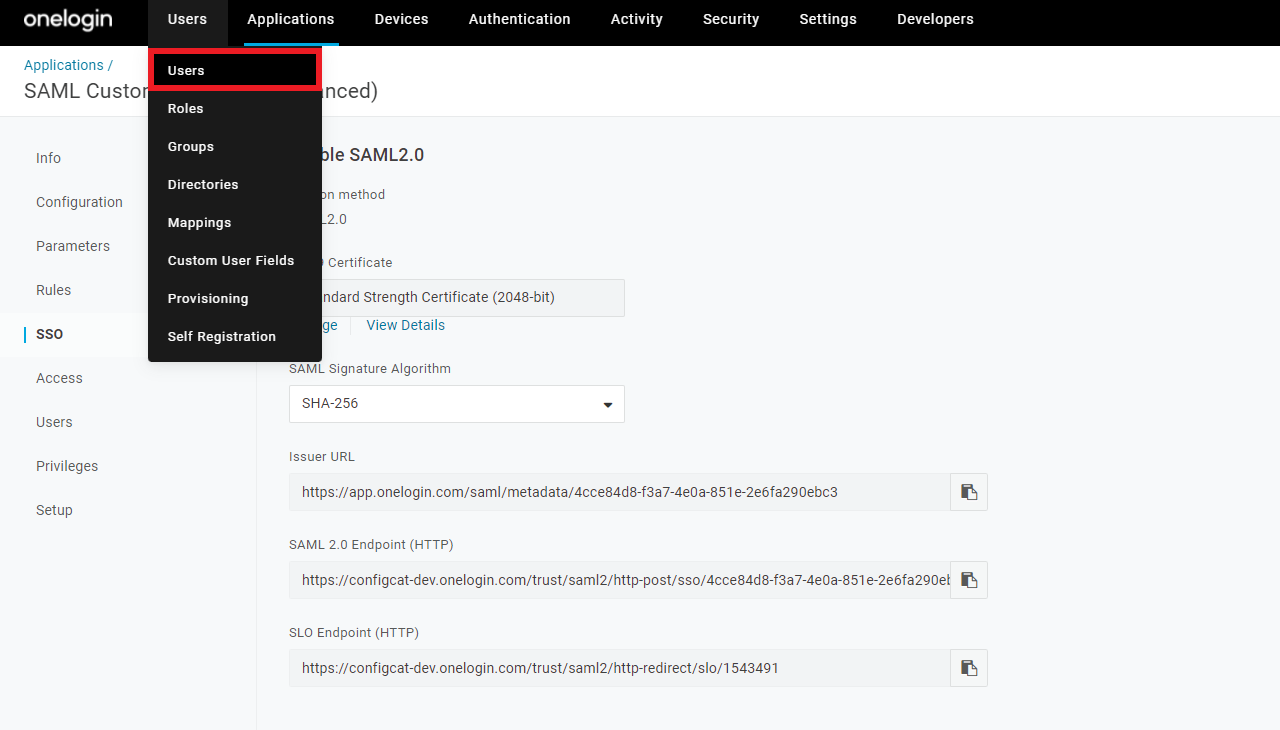
-
Select the user you want to get access to the application.
-
Select
Applications, then click on the+sign.
-
Select your application, then click
Continue.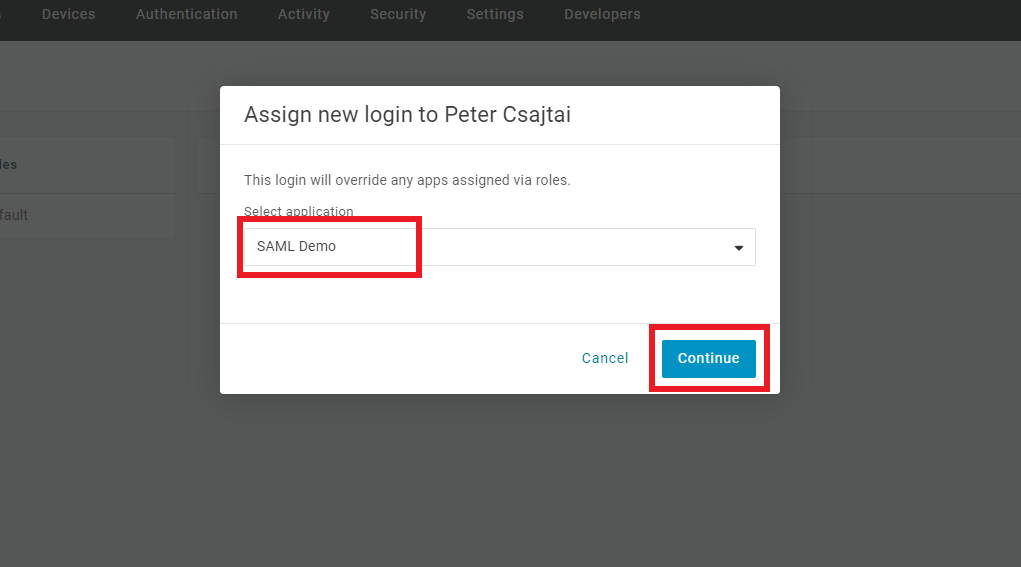
-
Click
Save.
5. Sign In
-
Go to the ConfigCat Log In page, and click
COMPANY ACCOUNT - SAML.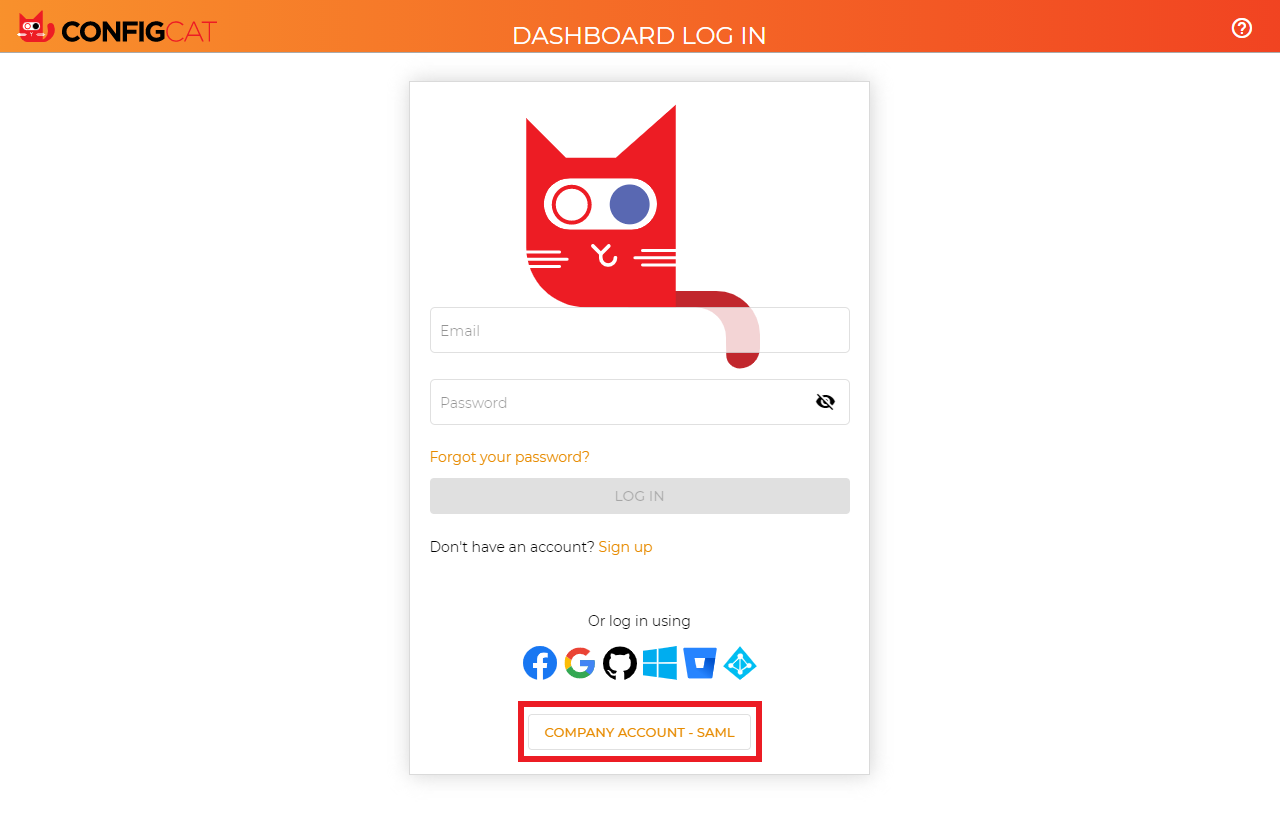
-
Sign in with your company email address assigned to the OneLogin application.
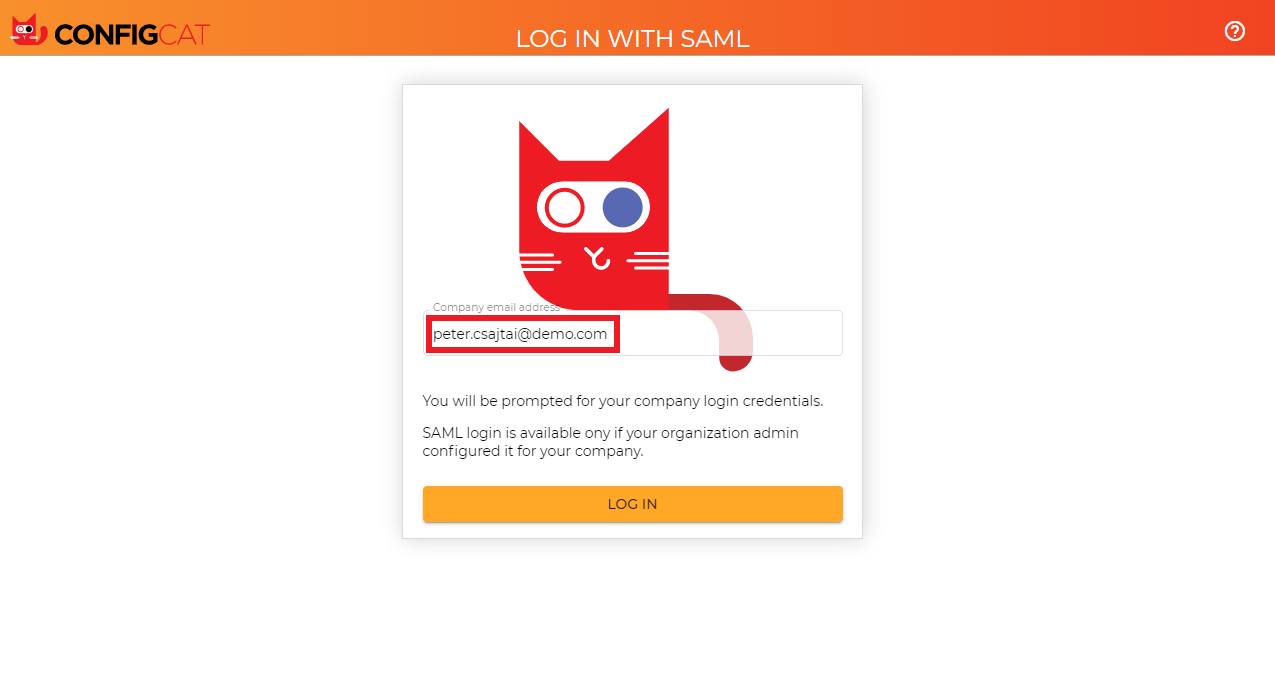
-
ConfigCat will redirect you to OneLogin's sign in page. Type your credentials, and click
Continue.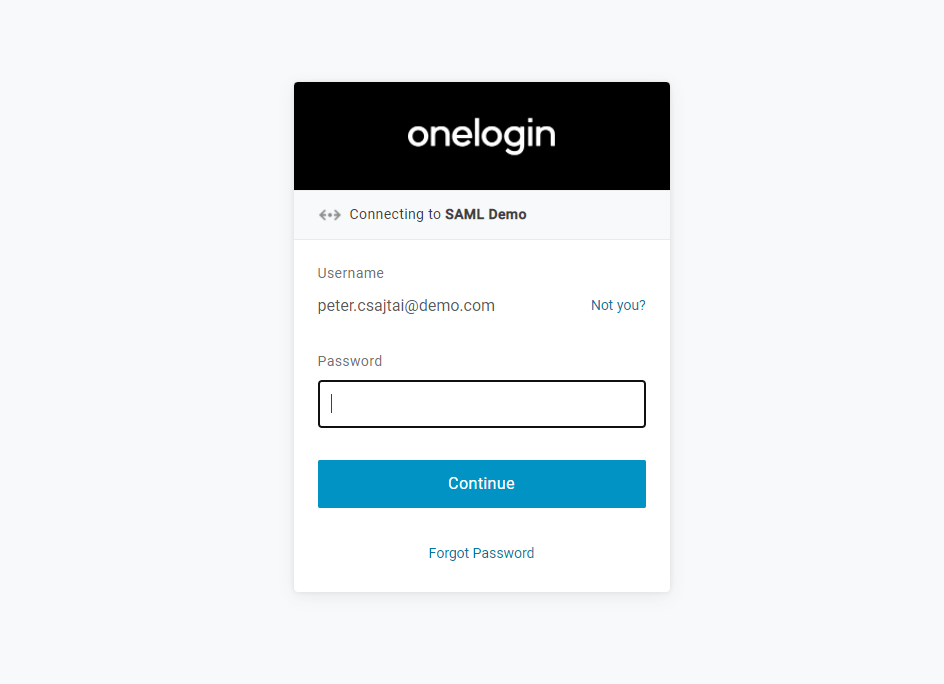
-
You should be redirected to ConfigCat signed in with your company account.
6. Next Steps
- Configure User provisioning (SCIM)
- or configure the auto-assignment of users if you don't want to provision your users with your Identity Provider.