Google Identity Provider
Connect ConfigCat with Google via SAML.
Introduction
Each SSO Identity Provider requires specific information to configure a SAML integration. The following guide will walk you through how you can connect ConfigCat with Google as a SAML Identity Provider.
1. Create a SAML Application in Google
-
Log in to Google Admin console, select
Appsfrom the side menu, then selectWeb and mobile apps.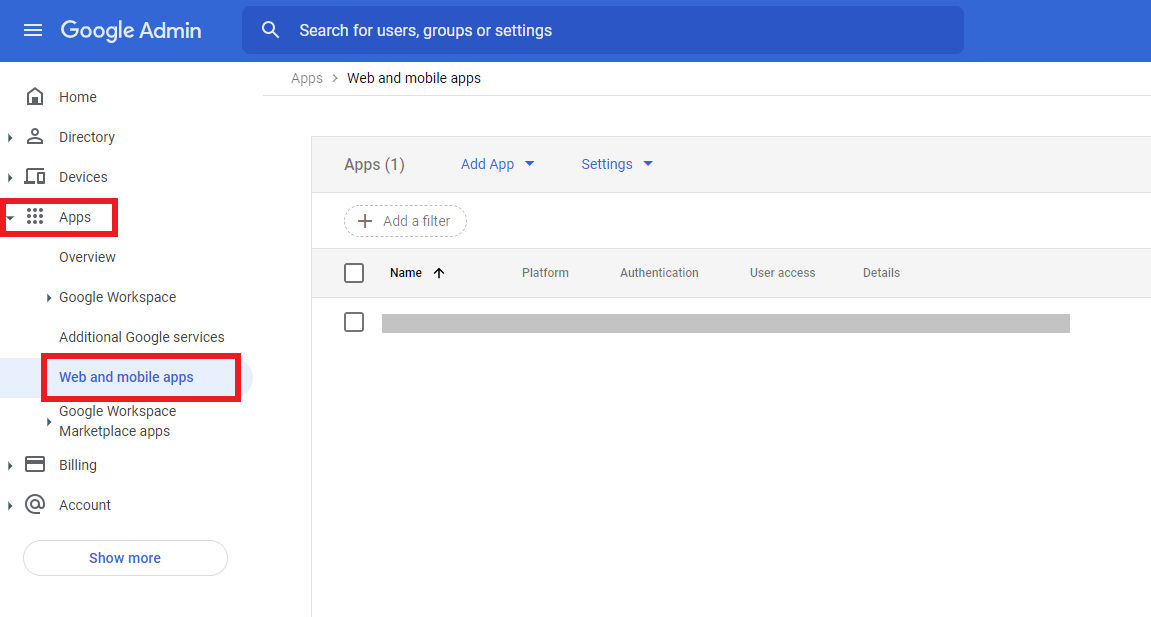
-
Click
Add App, then selectAdd custom SAML app.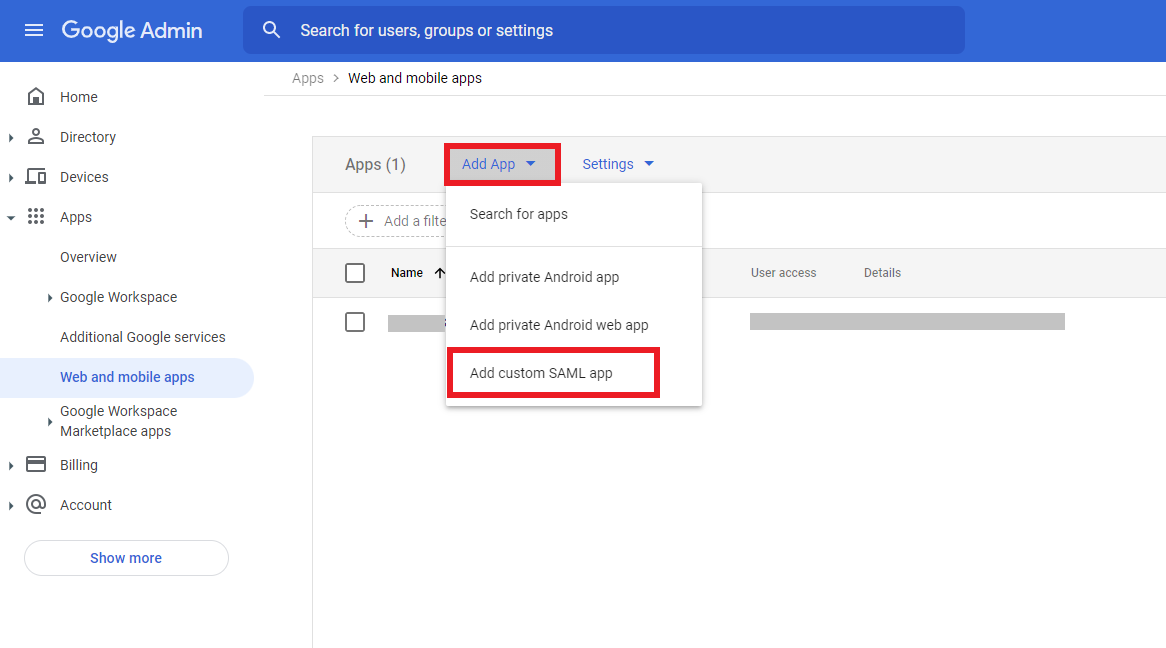
-
Enter a descriptive
App name, then clickCONTINUE.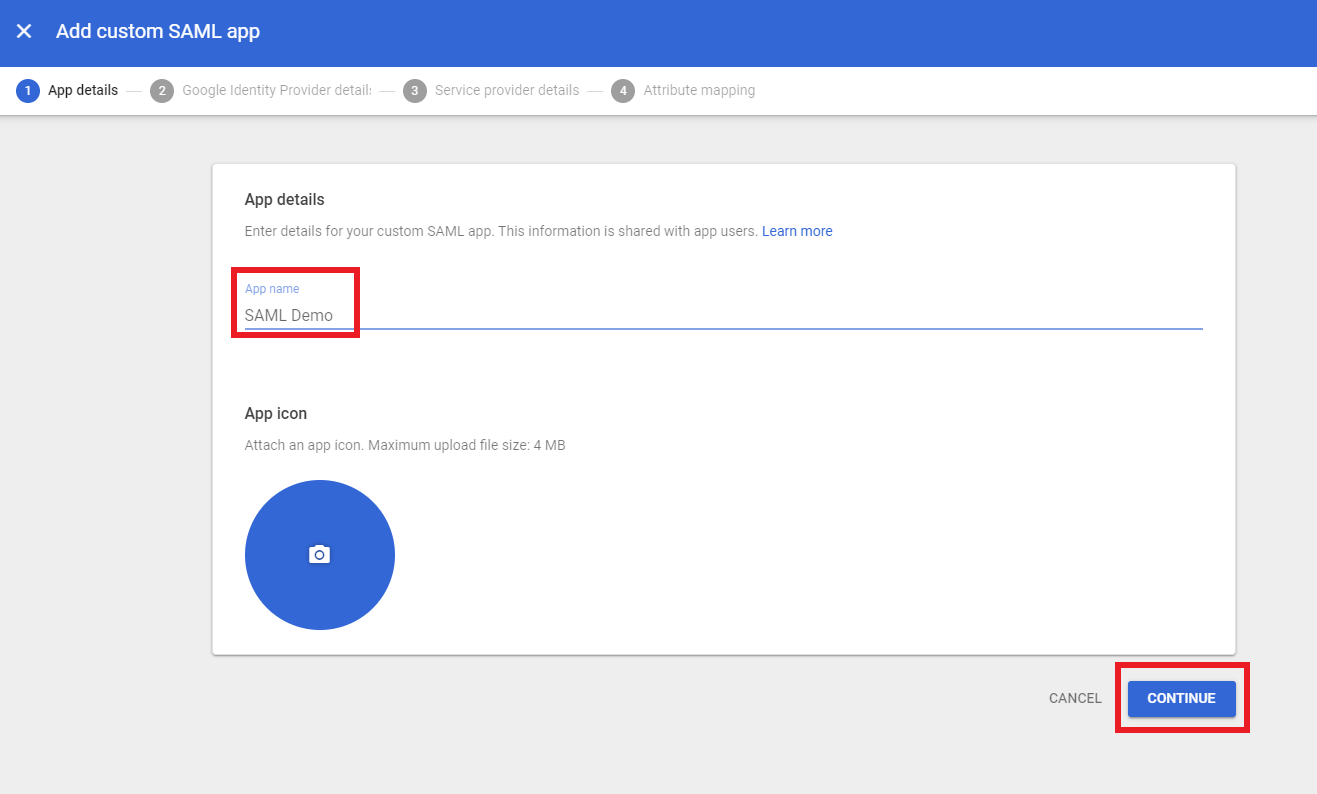
The next step will guide you on how to configure ConfigCat with appearing information.
2. Configure ConfigCat with SAML Details from Google
-
Copy the value of
SSO URLandCertificatefields and save them for further use.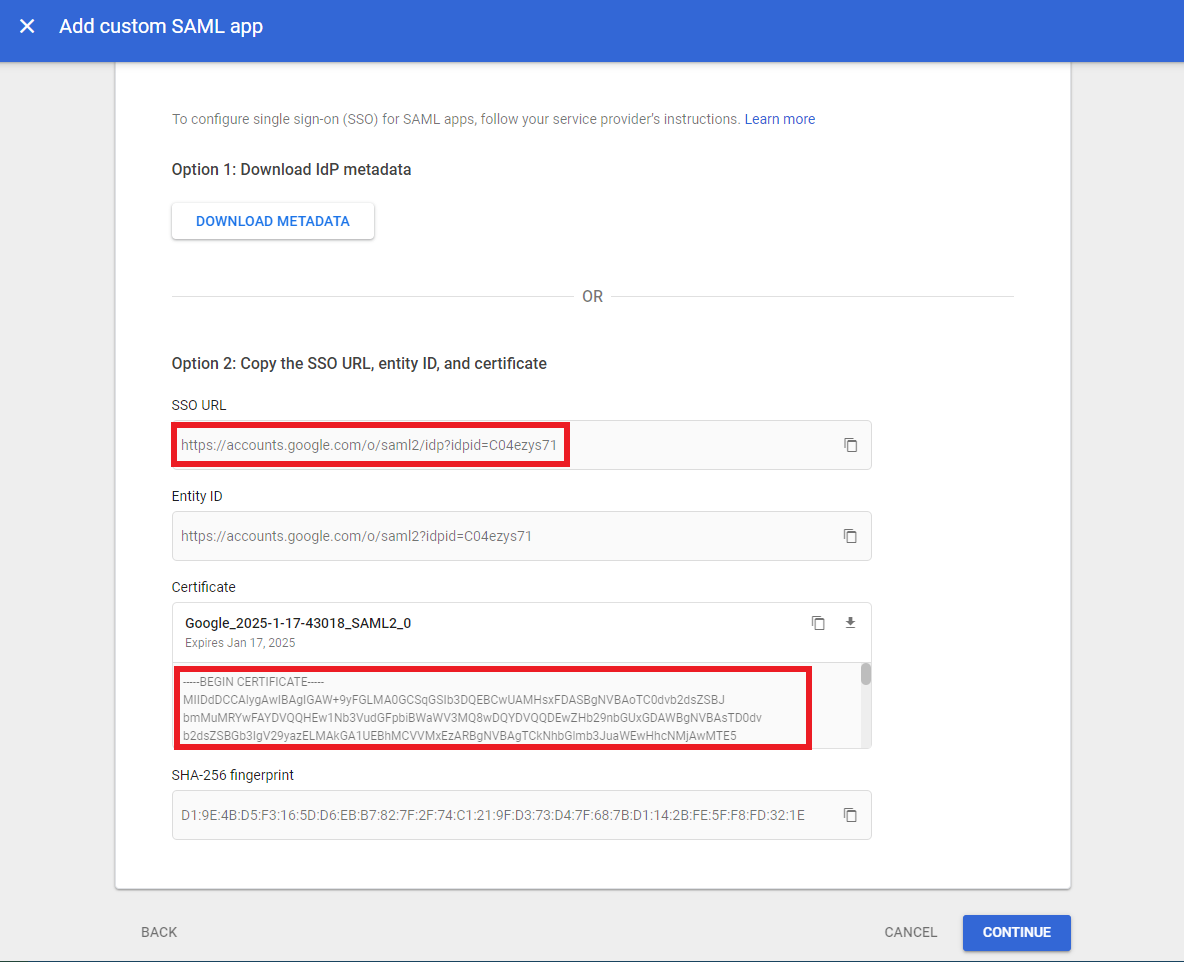
-
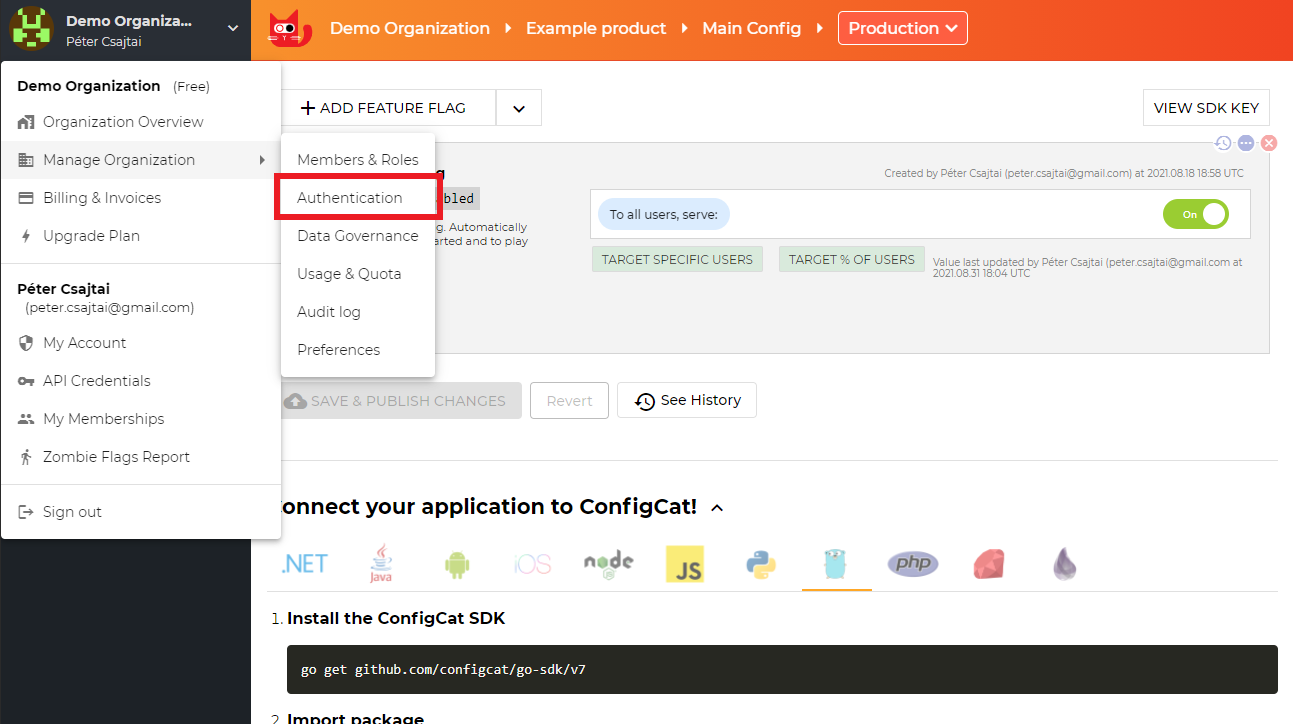
Open your organization's authentication settings on the ConfigCat Dashboard.
-
Click
ADD SAML IDENTITY PROVIDER.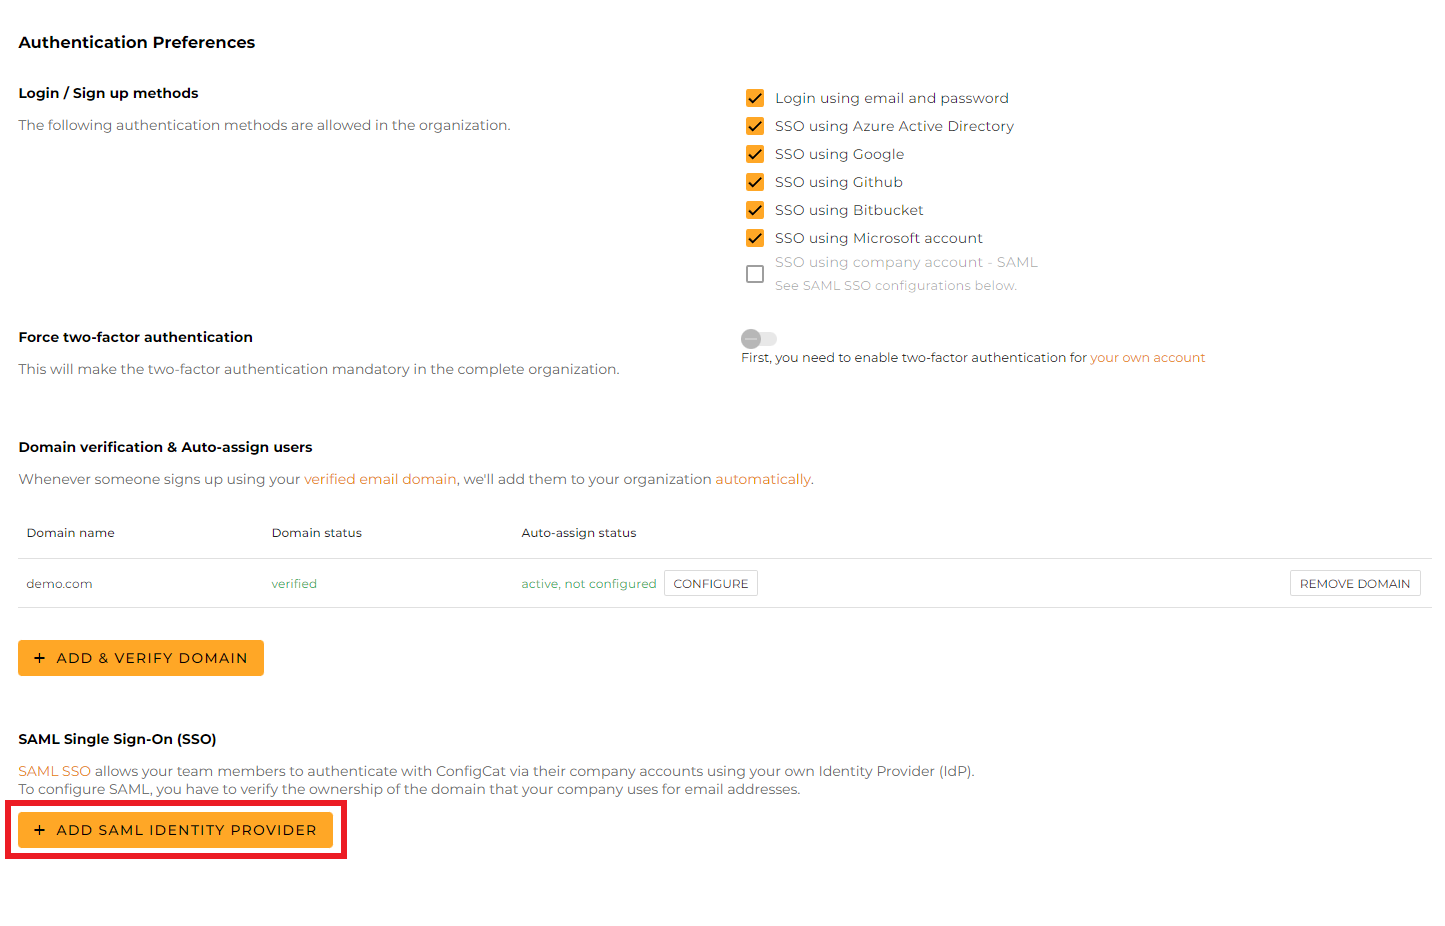
-
Give a name for your Identity Provider, and click
Create.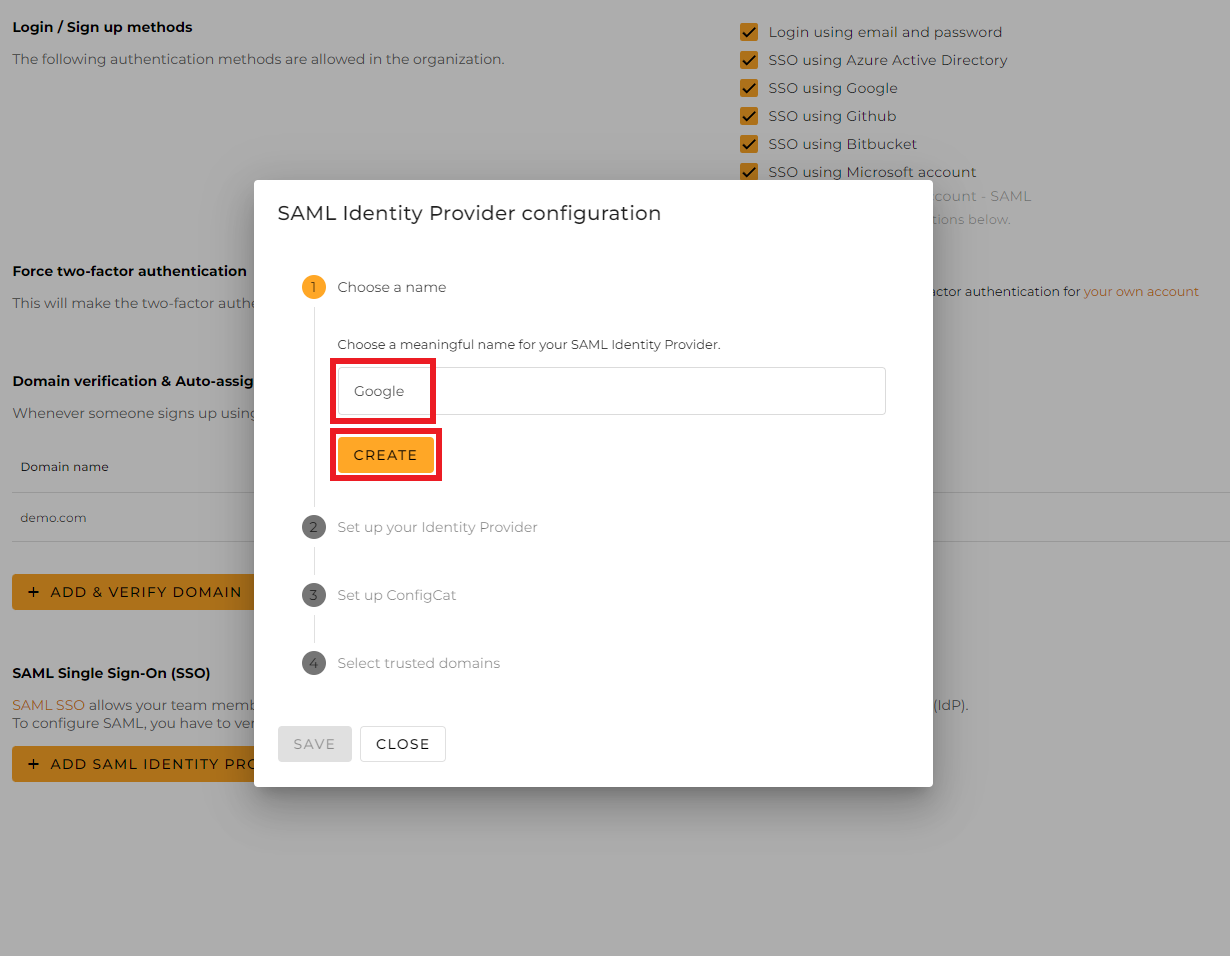
-
Select the
3. Set up ConfigCatstep, clickManual Configuration, then paste the copied values into the appearing fields.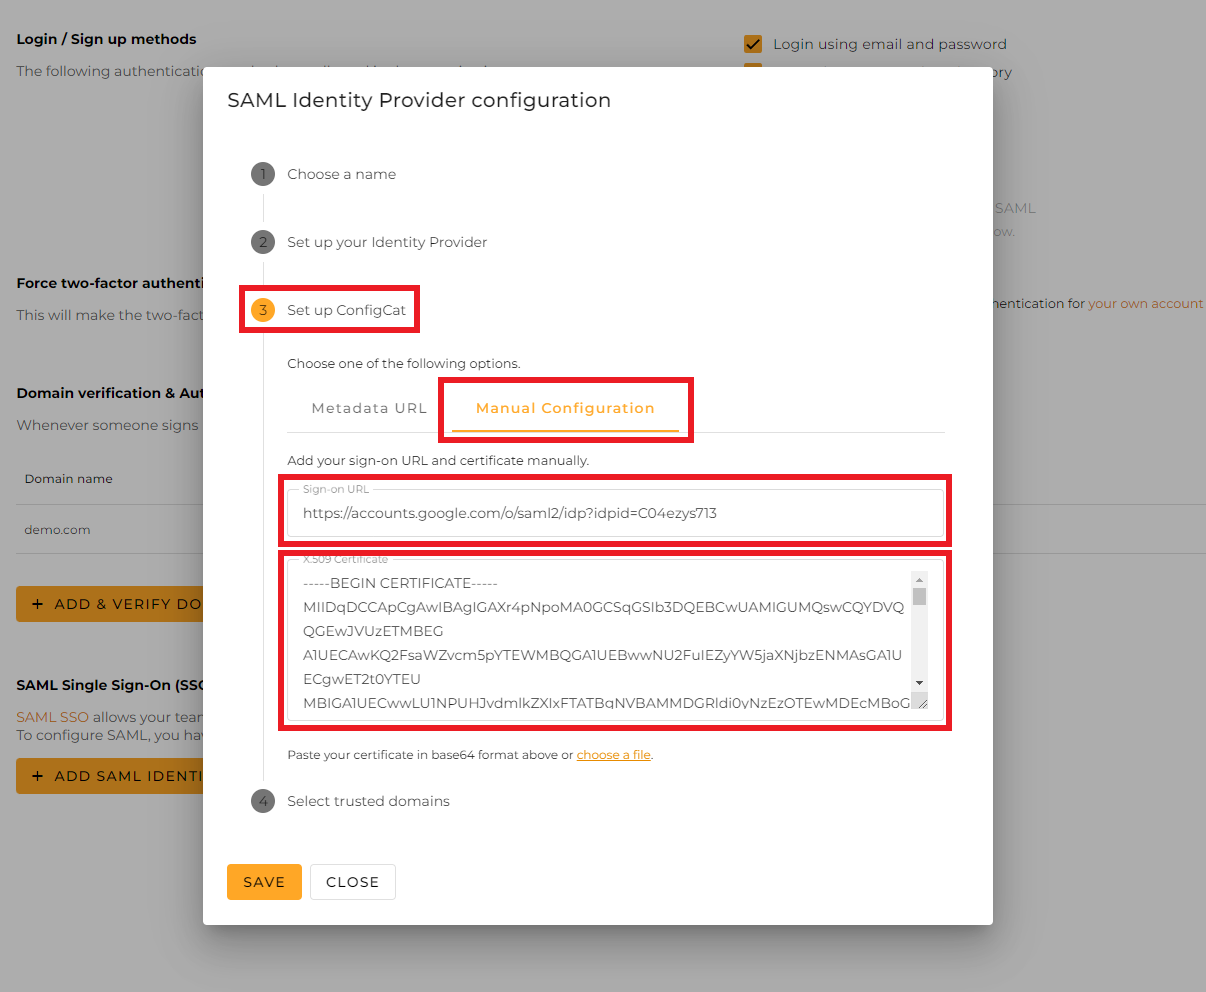
-
Click
CONTINUEon the Google App configuration.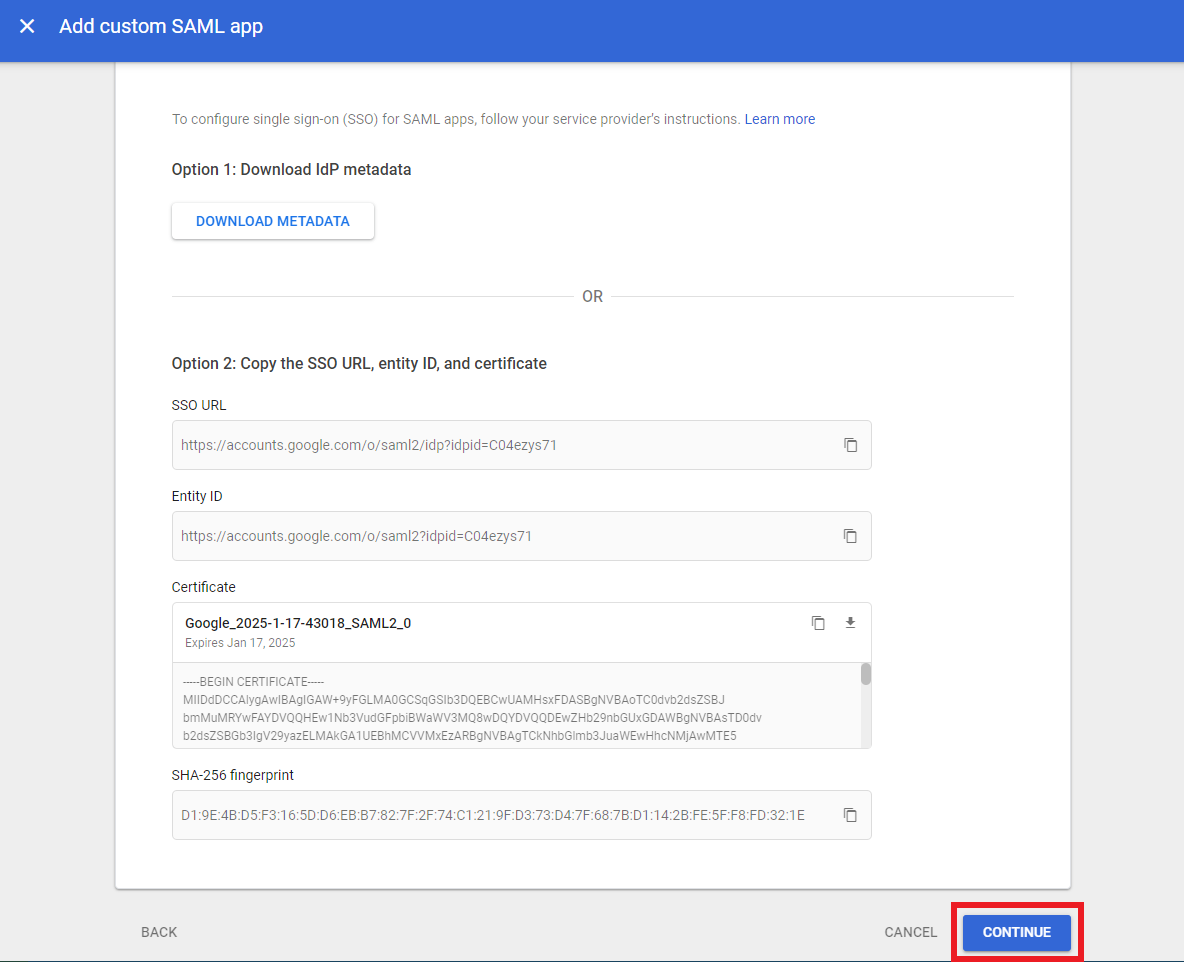
The next step will guide you on how to configure the Google App with details provided by ConfigCat.
3. Configure the Google Application with Service Provider Details from ConfigCat
-
Select
2. Set up your Identity Providerstep on the ConfigCat configuration dialog, and copy the following values to the Google App.-
Entity ID->Entity ID -
Assertion Consumer Service->ACS URL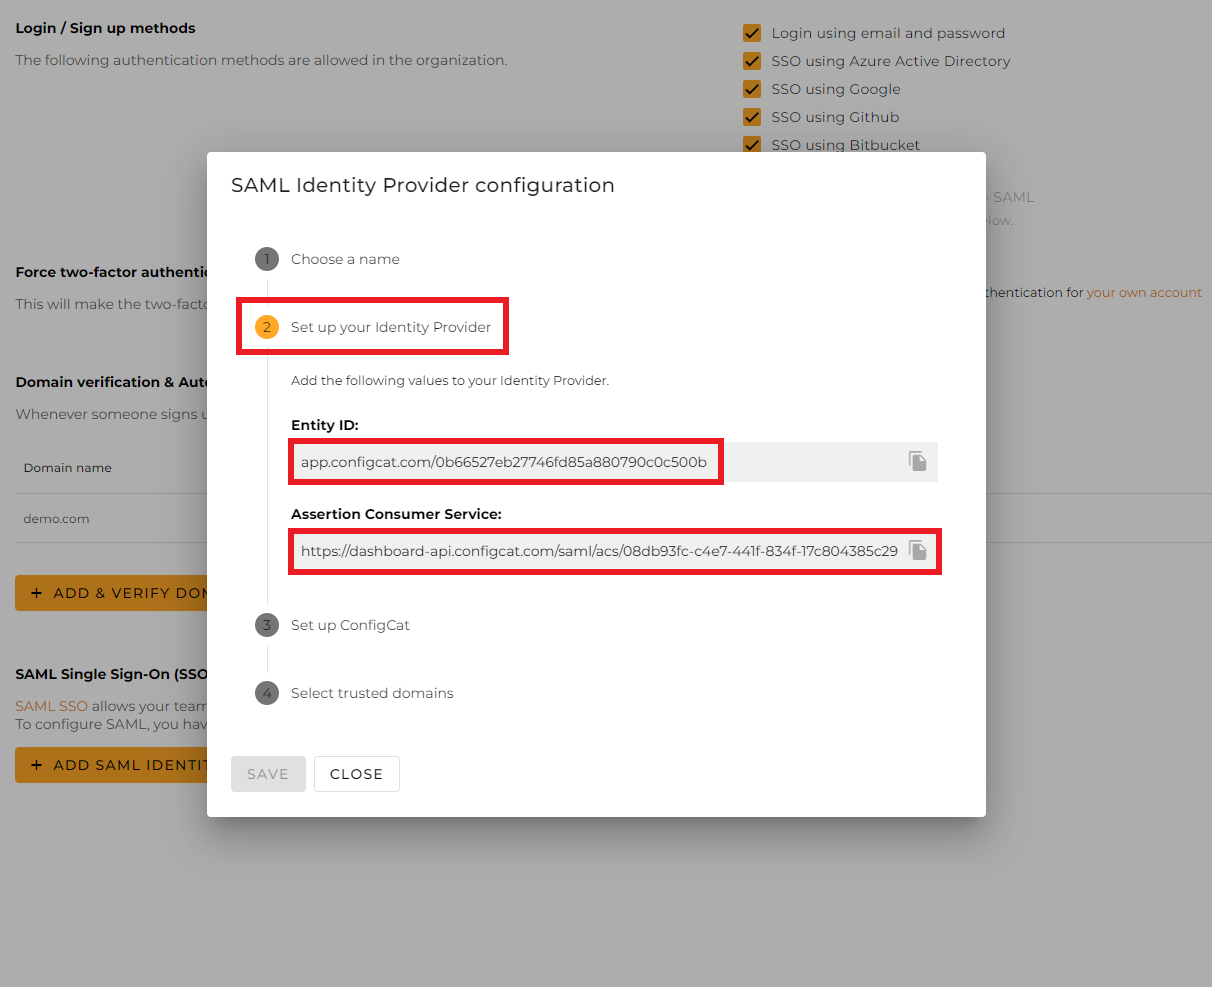
-
Make sure the
Signed responseoption is checked. -
Select
EMAILasName ID format. -
Select
Basic Information > Primary emailasName ID. -
Click
CONTINUE.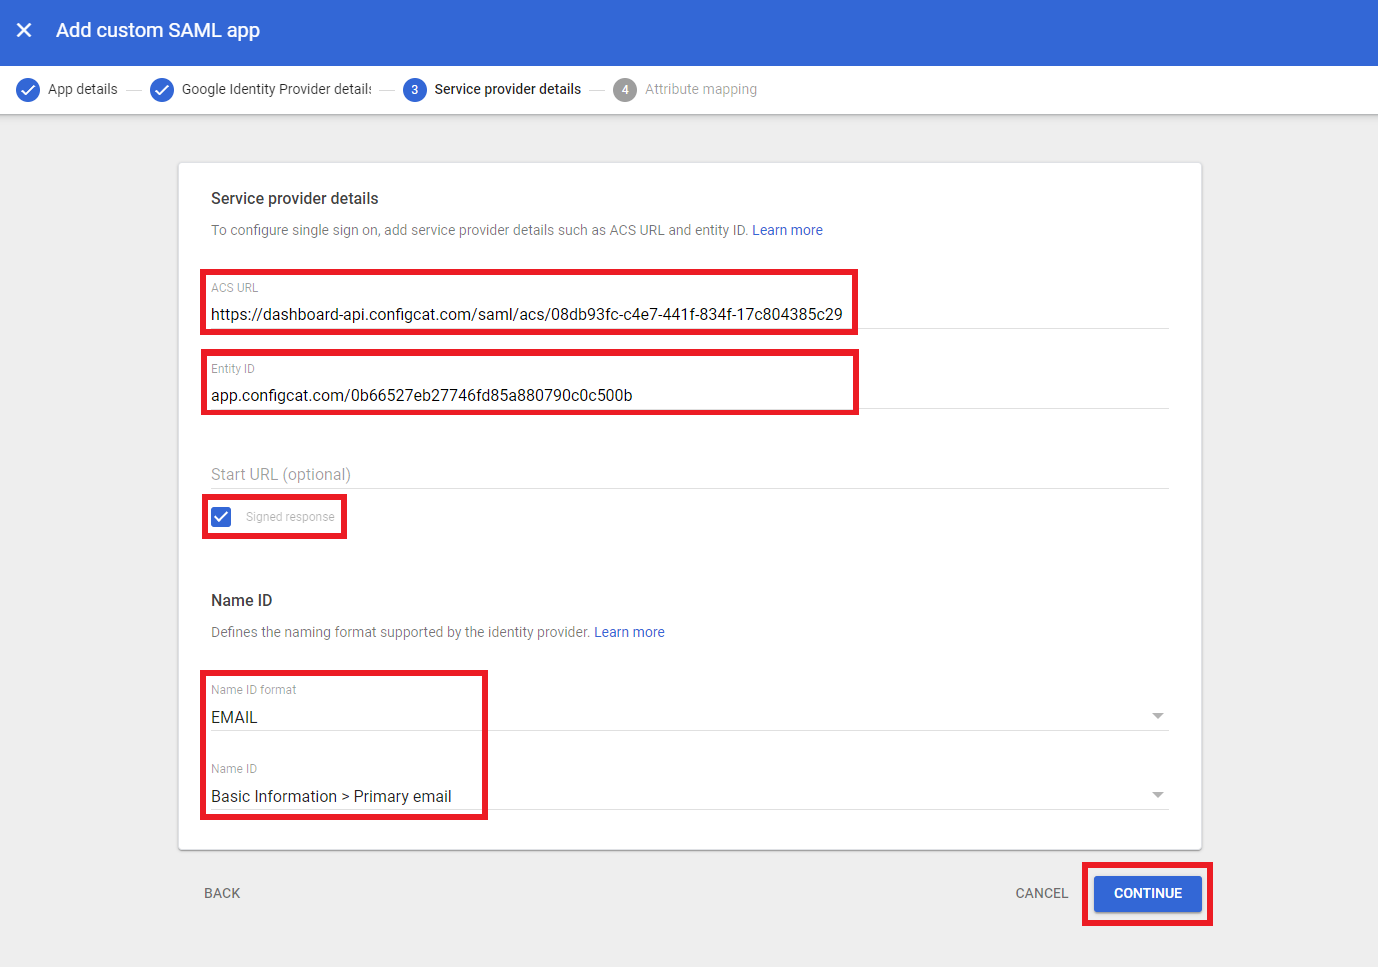
-
-
Click
FINISH.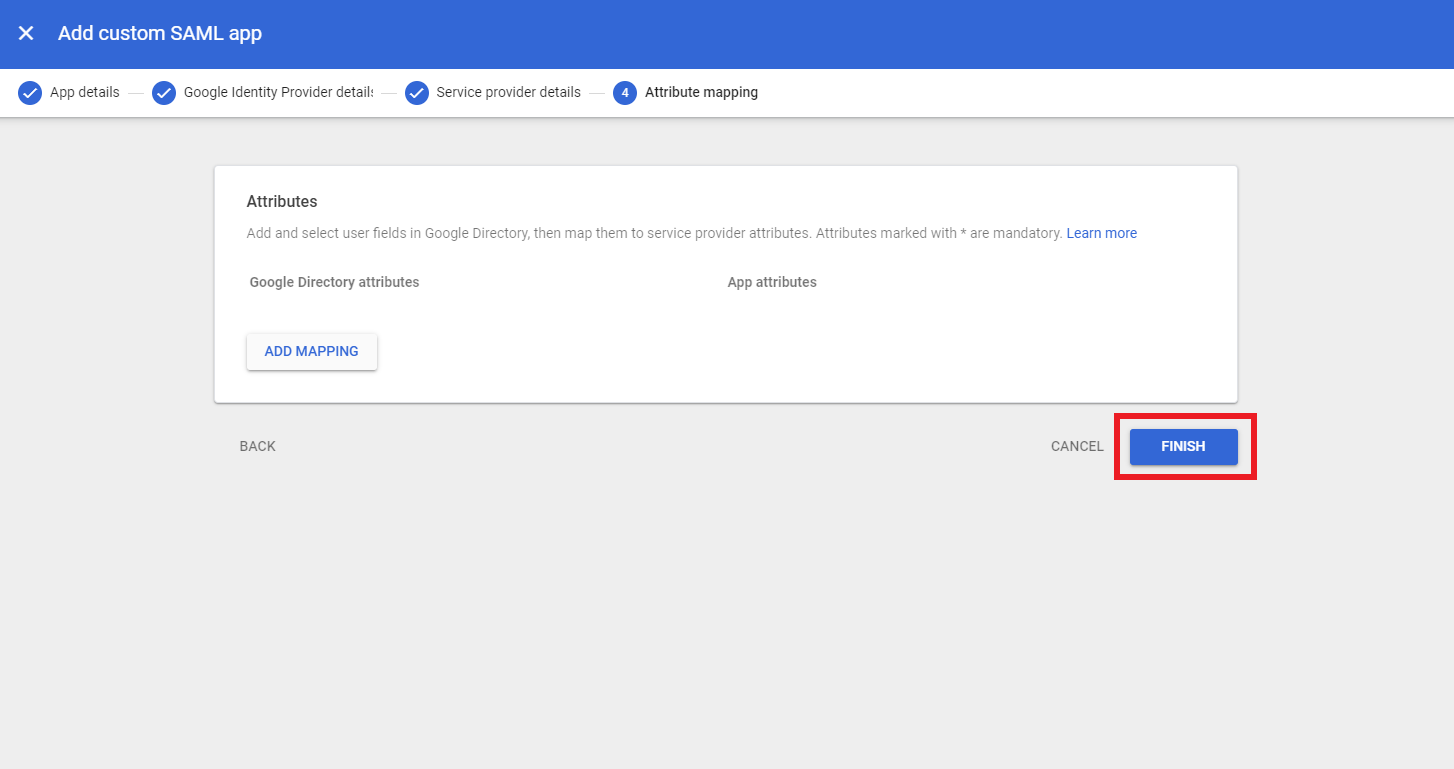
4. Select Trusted Domains on the SAML Configuration Dialog
-
Only user accounts from trusted domains can login with SAML SSO. You can bind multiple verified domains to a SAML Identity Provider.
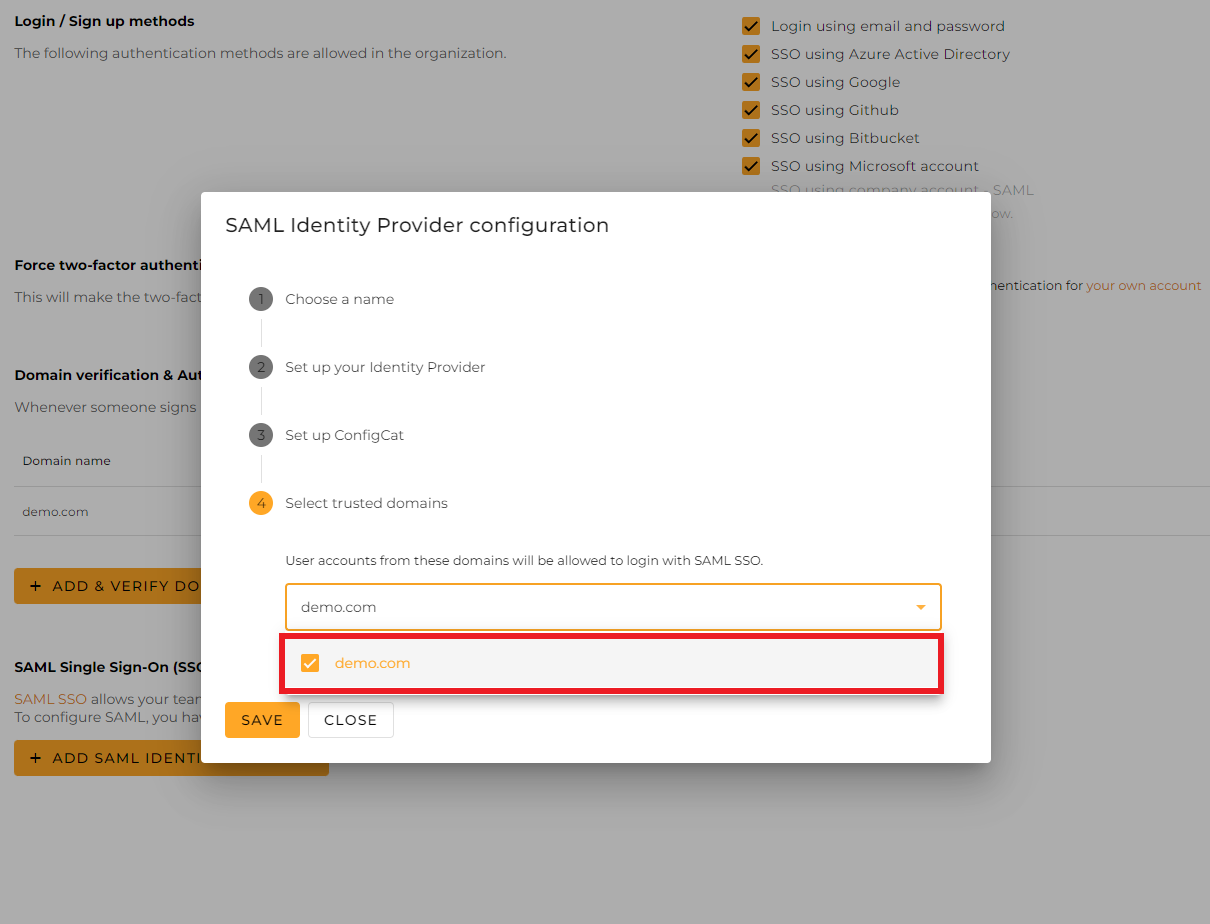
-
Click
Save.
5. Give Users Access to the Application
-
Click on
View detailsunder theUser accesssection.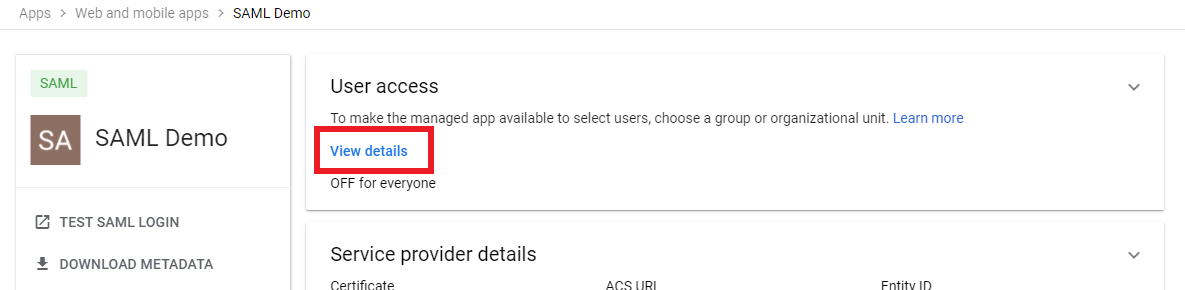
-
Select
ON for everyone, then clickSAVE.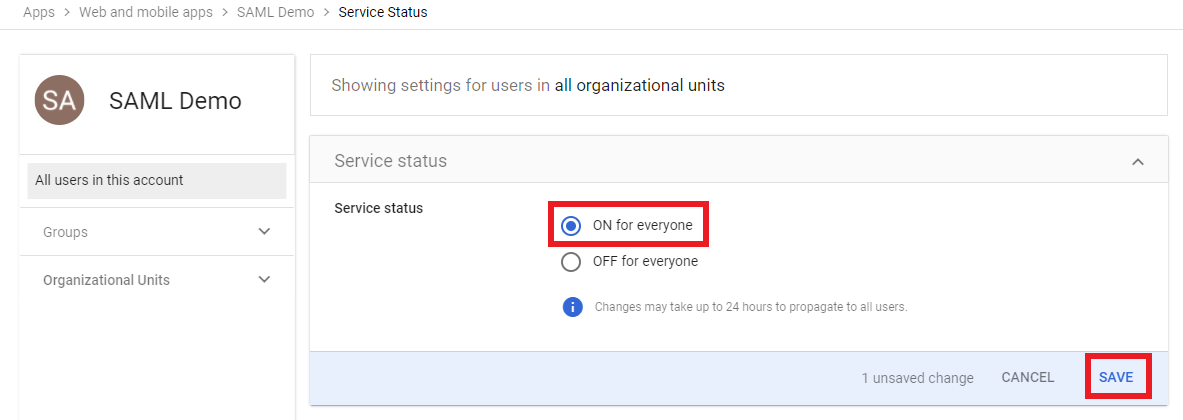
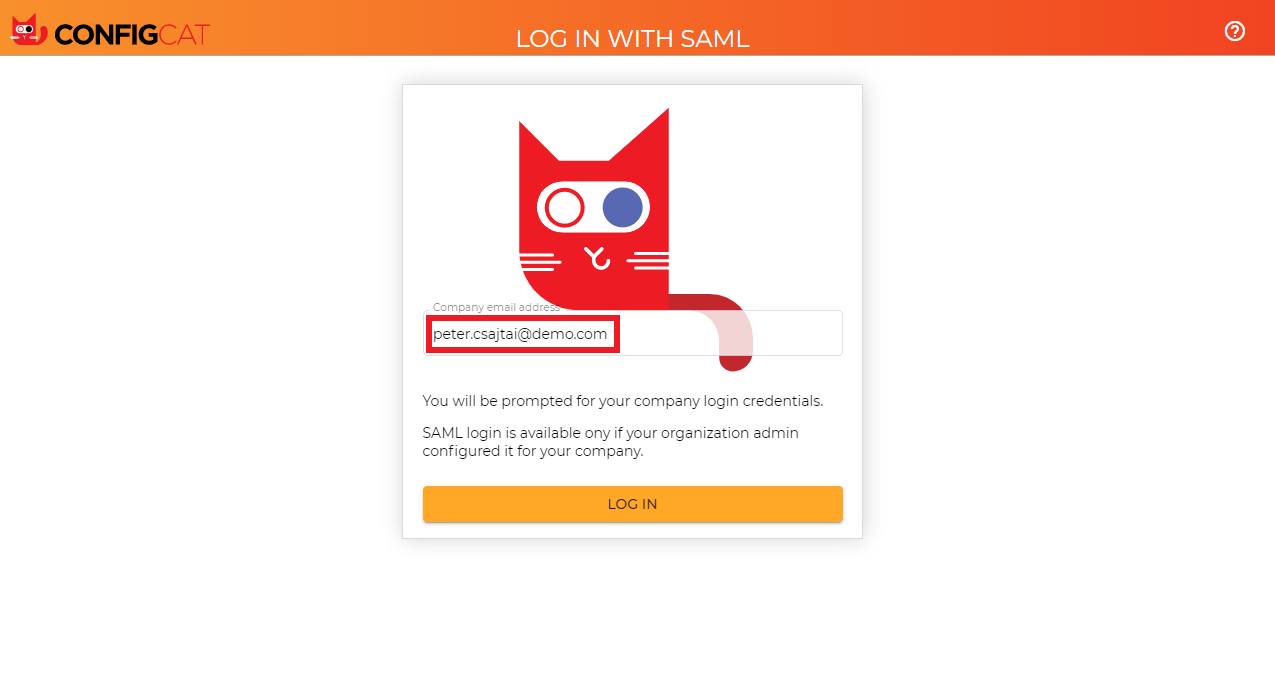
6. Sign In
-
Go to the ConfigCat Log In page, and click
COMPANY ACCOUNT - SAML.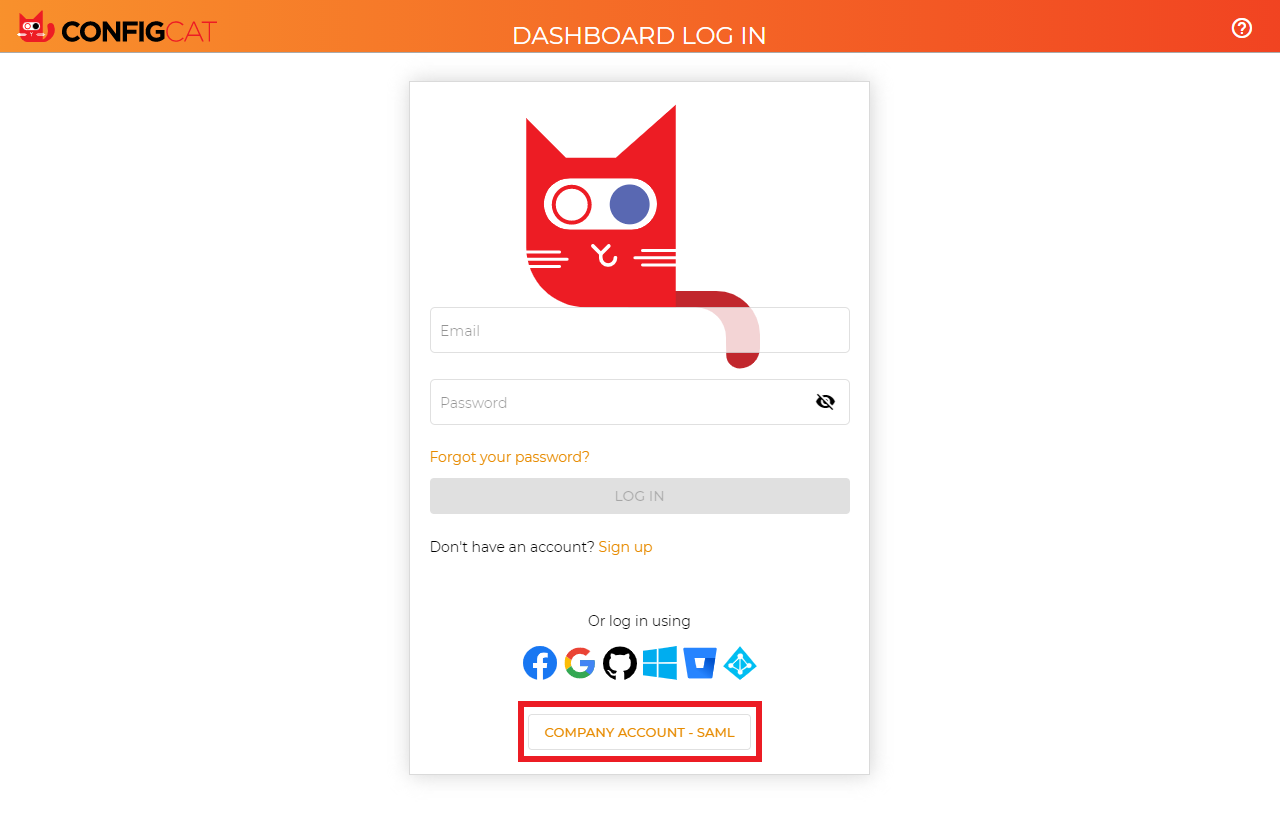
-
Sign in with your company email address used in Google.
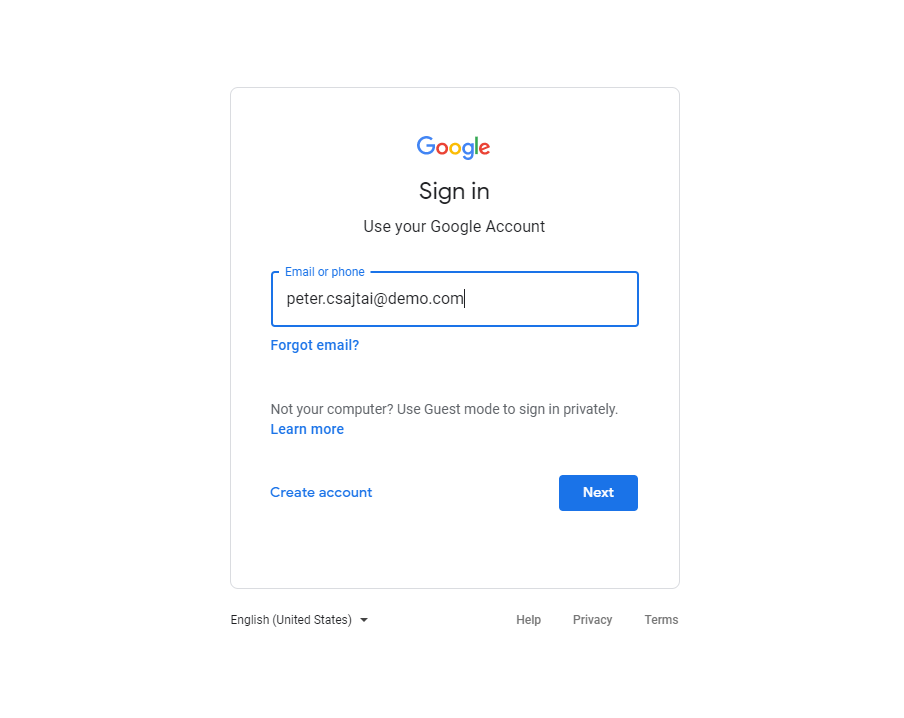
-
ConfigCat will redirect you to Google's sign in page. Type your credentials, and sign in.
-
You should be redirected to ConfigCat signed in with your company account.
7. Next Steps
- Configure the auto-assignment of users.