Using Feature Flags in React Native

React Native is a popular framework created by Meta (formerly Facebook) that simplifies the development of cross-platform mobile applications. In short, React Native lets you build mobile apps using JavaScript, which gets automatically transpiled into native code for Android and iOS.
If you've ever wanted to release a React Native feature to users without waiting for app store approval, you're not alone.
In this guide, you'll learn how to use feature flags in React Native to control features without redeploying your app, using ConfigCat.

What Are Feature Flags?
Feature flags (also called feature toggles) let you control application behavior remotely. Instead of releasing a feature to all users at once, you wrap it in a condition and decide whether it should be enabled or disabled.
In React Native apps, this is especially useful because:
- app store approvals can delay releases
- fixing issues quickly is harder after deployment
- rolling back changes isn't instant
With feature flags, you can turn features on or off in real time without shipping a new version of your app.
Why Use Feature Flags in React Native?
Mobile development comes with constraints that web apps don't have.
Every update usually requires:
- submitting a new build
- waiting for review
- hoping nothing breaks in production
Feature flags help you avoid these bottlenecks.
You can:
- disable a feature instantly if something goes wrong
- roll out features gradually to a subset of users
- test new functionality safely in production
It's a simple way to reduce risk and move faster.
How to Use Feature Flags in a React Native App
Take the following example scenario: you have an app where sign-ups need to be restricted. You want to block new users from signing up while still allowing existing users to log in. A simple solution is to use a feature flag to toggle the sign-up button. This way, you can stop new registrations at any time, and just as easily re-enable them when you're ready.
Let's see how to do this using ConfigCat's feature management platform.
Prerequisites
To get started, you will need to set up your environment for React Native development.
Step 1: Create a React Native App
- Start by creating a new React Native project using a blank TypeScript template:
npx create-expo-app@latest login-project --template blank-typescript
- Since React Native is a JavaScript framework, I'm going to install the ConfigCat React SDK with the following command:
npm i configcat-react
- Next, it's time to start the app for the first time to see if all went well.
cd login-project
npm run android
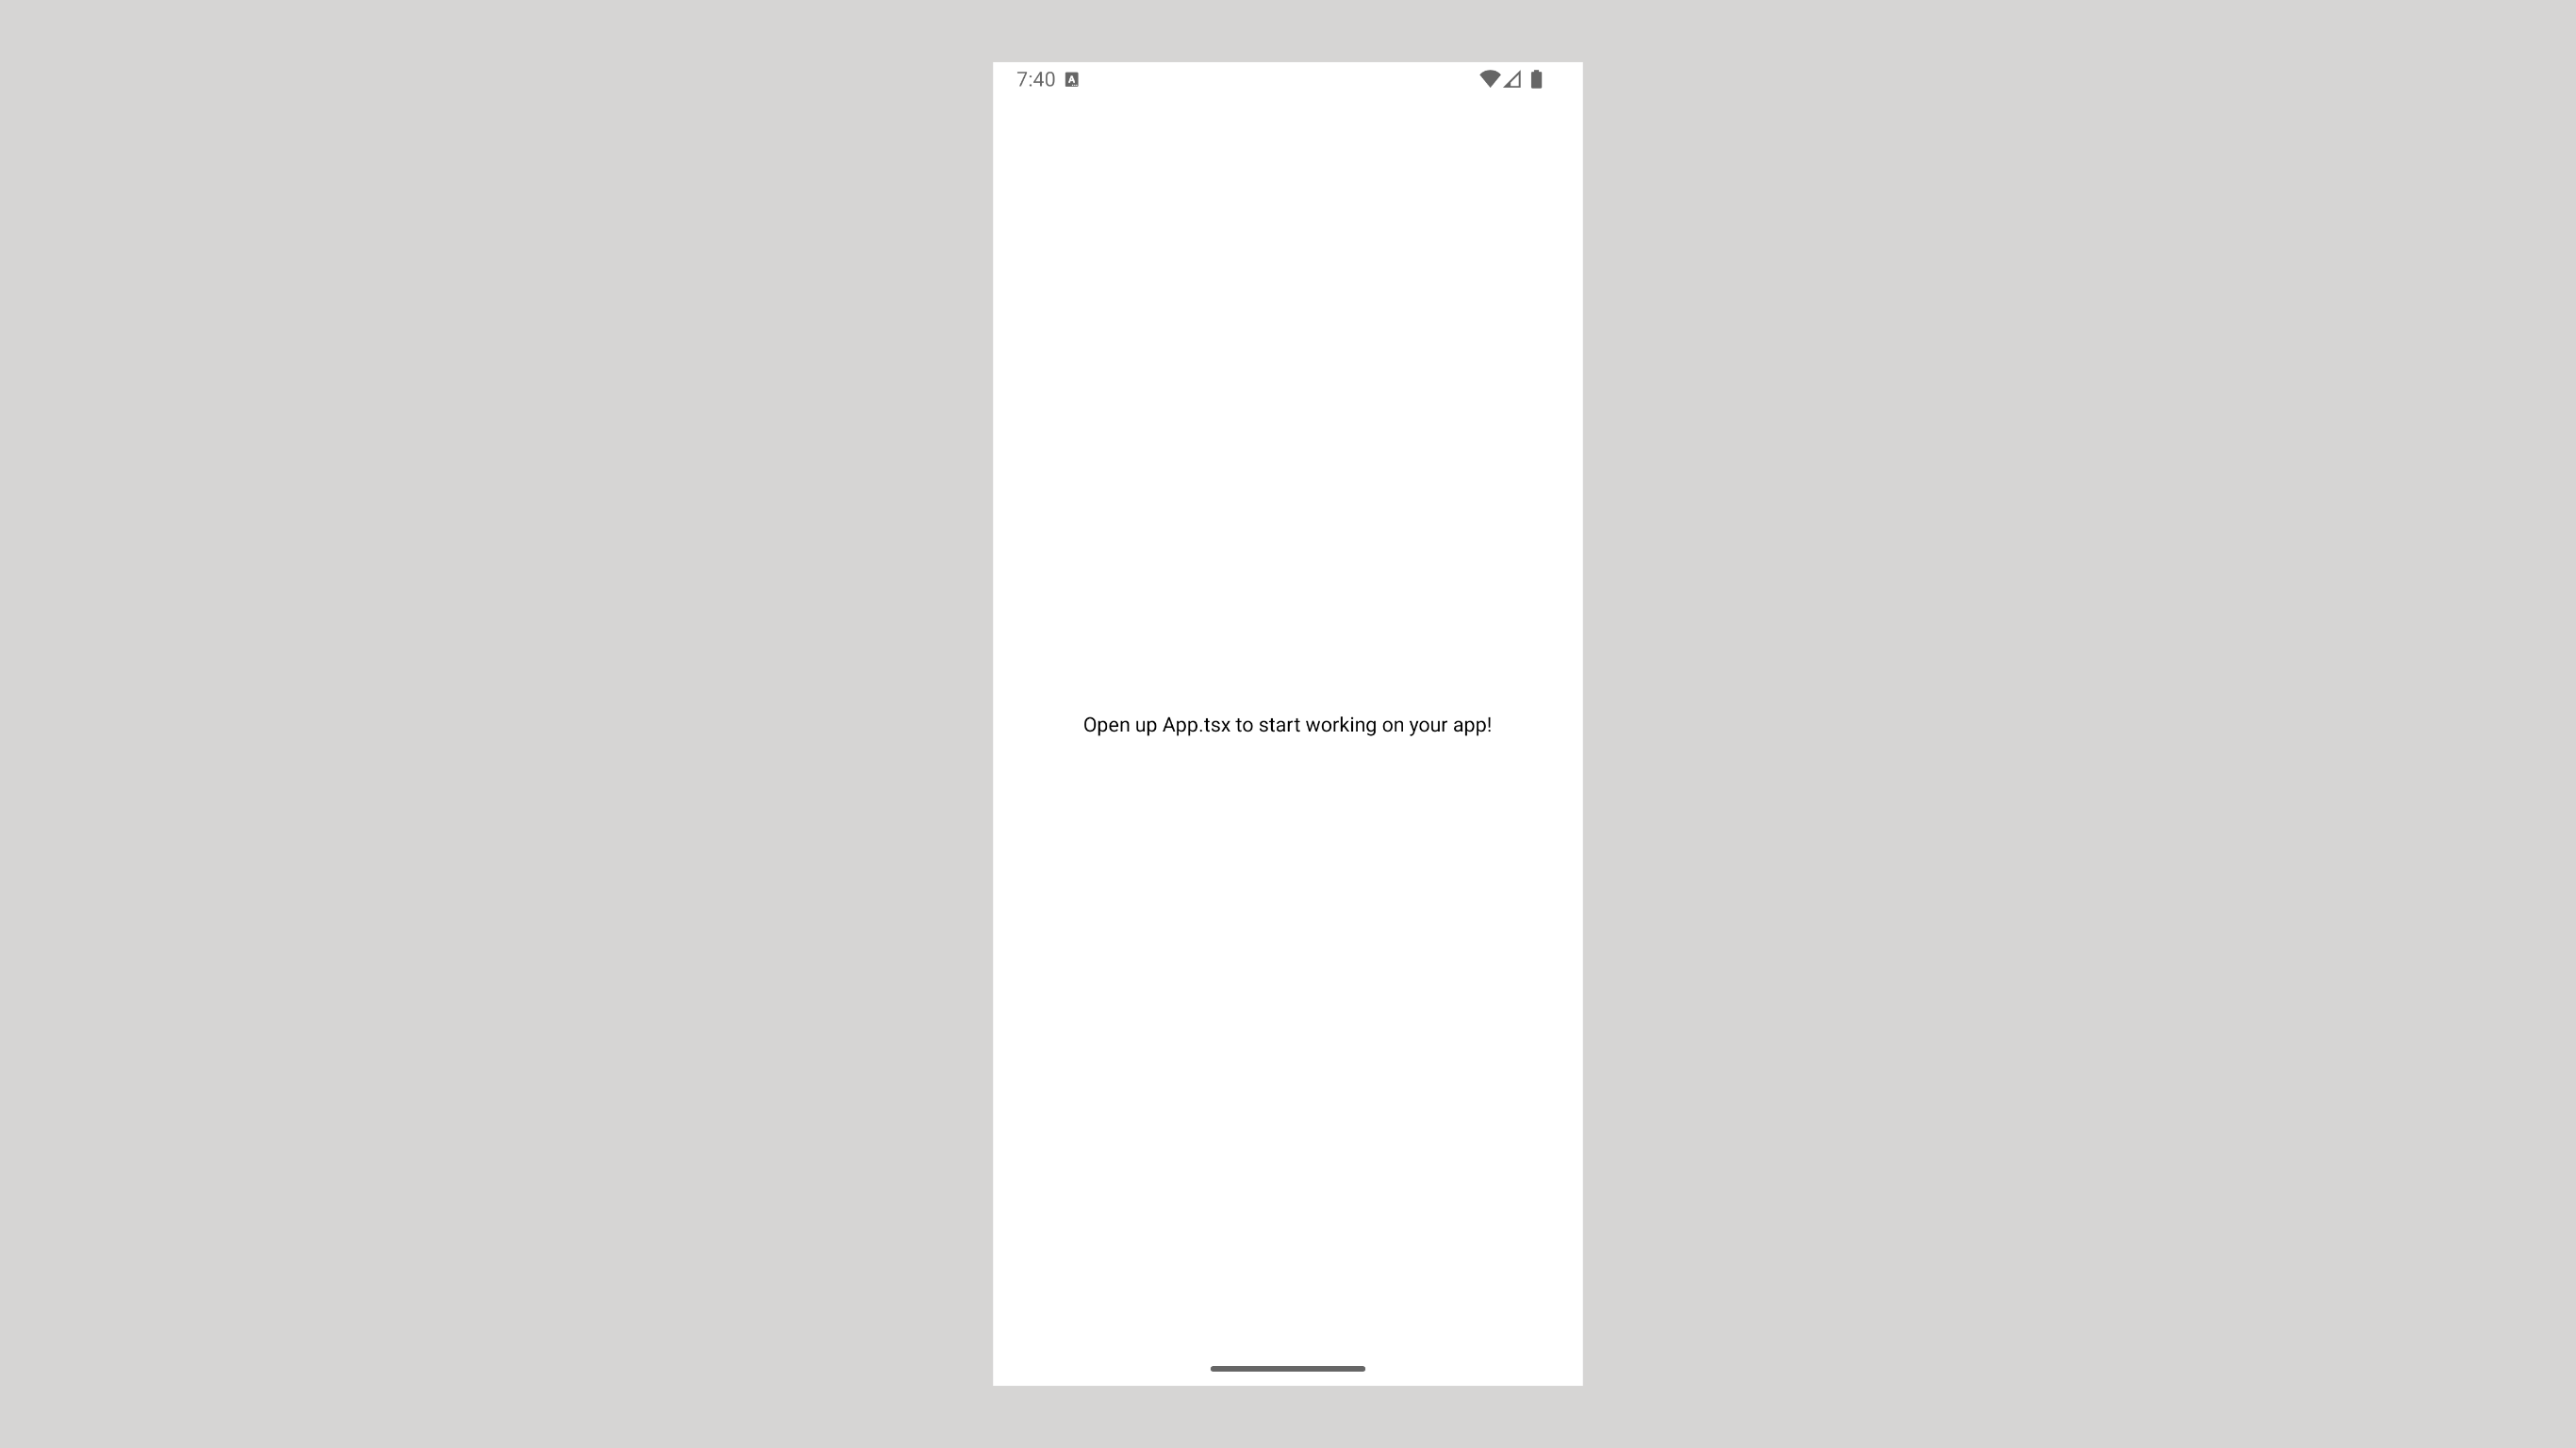
It may take a minute or two for the Android emulator to start and bundle your React Native code. When it's done, you should see the following screen:
Step 2: Create a Simple UI
Launch the project in your IDE or code editor and open to the App.tsx file. Delete its content and then paste the following:
import { StyleSheet, Text, TouchableOpacity, View, StatusBar } from "react-native";

export default function App() {
  return (
    <View style={styles.container}>
      <TouchableOpacity style={styles.button}>
        <Text>LOGIN</Text>
      </TouchableOpacity>
      <TouchableOpacity style={styles.button}>
        <Text>SIGNUP</Text>
      </TouchableOpacity>
      <StatusBar barStyle="default" />
    </View>
  );
}

const styles = StyleSheet.create({
  container: {
    backgroundColor: "#fff",
    flex: 1,
    flexDirection: "column",
    justifyContent: "center",
    alignItems: "center",
  },
  button: {
    backgroundColor: "#4CBE72",
    borderRadius: 10,
    margin: 12,
    height: 40,
    width: 200,
    justifyContent: "center",
    alignItems: "center",
  },
});
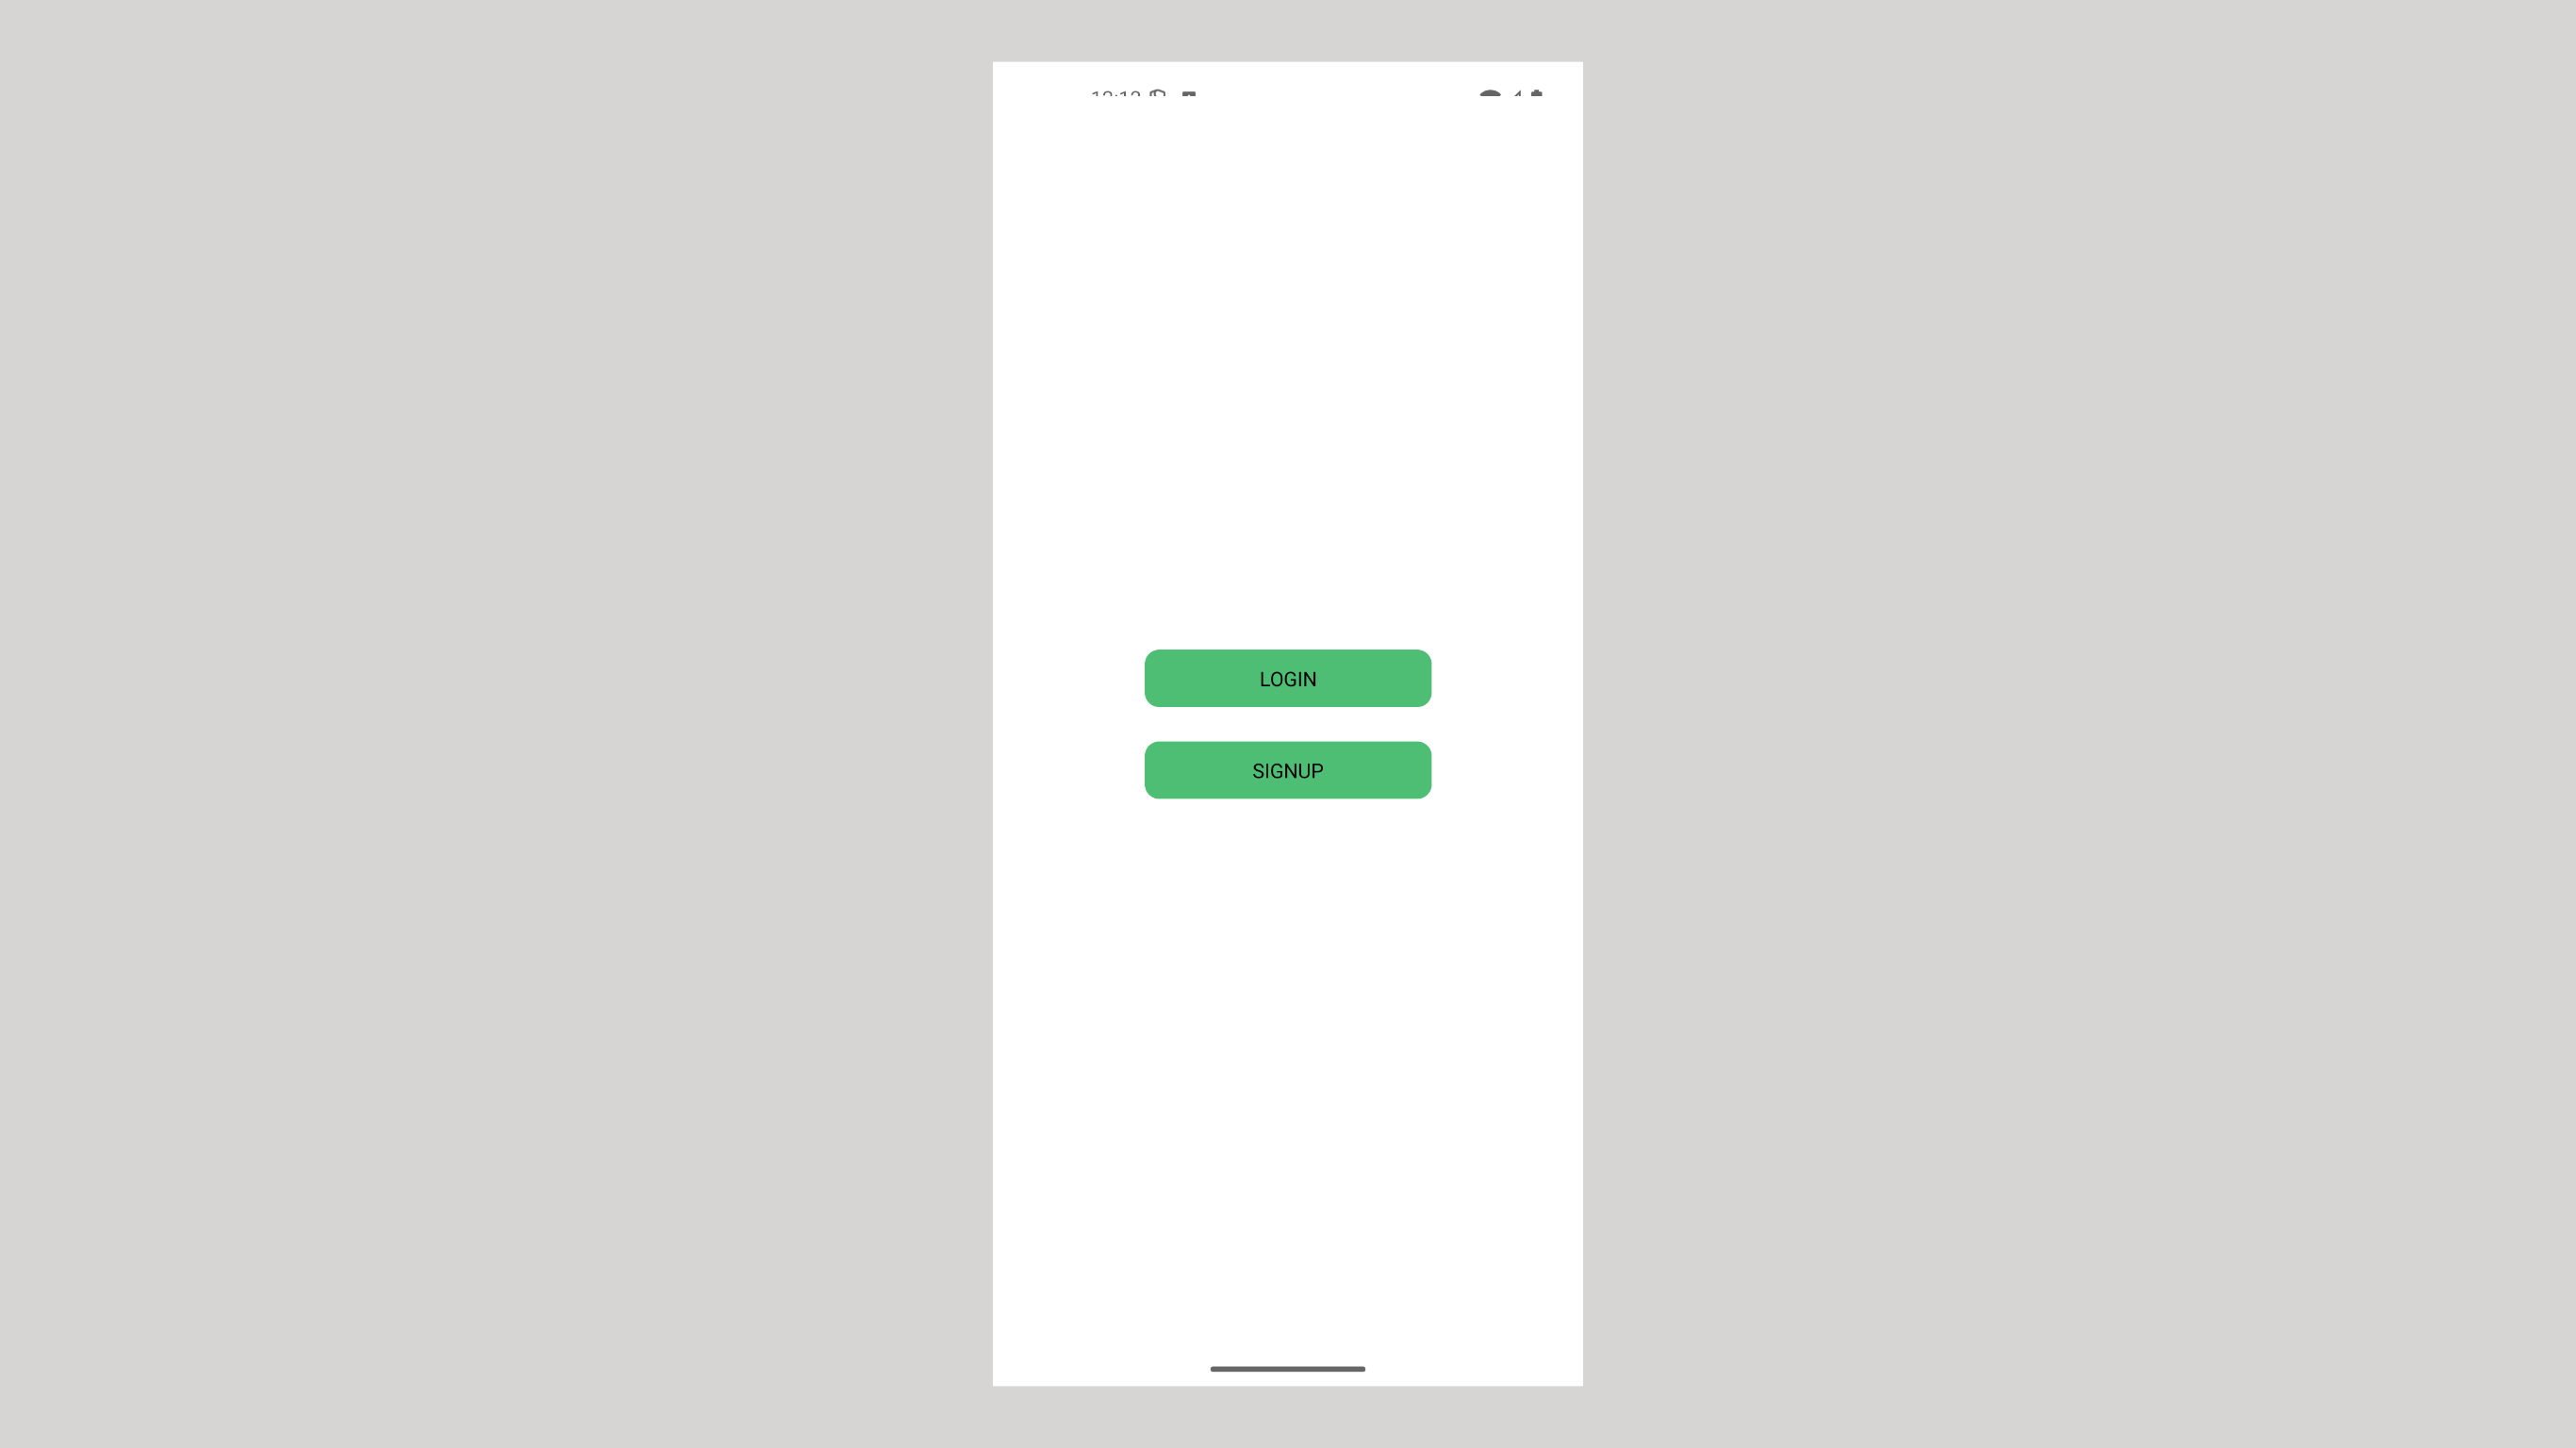
I've imported the necessary React components and updated the App component to include a login and a signup button, along with some styling. After saving, you'll see:
Step 3: Create a Feature Flag
- Head over to the ConfigCat dashboard and click the "Add Feature Flag" button to create a new feature flag:
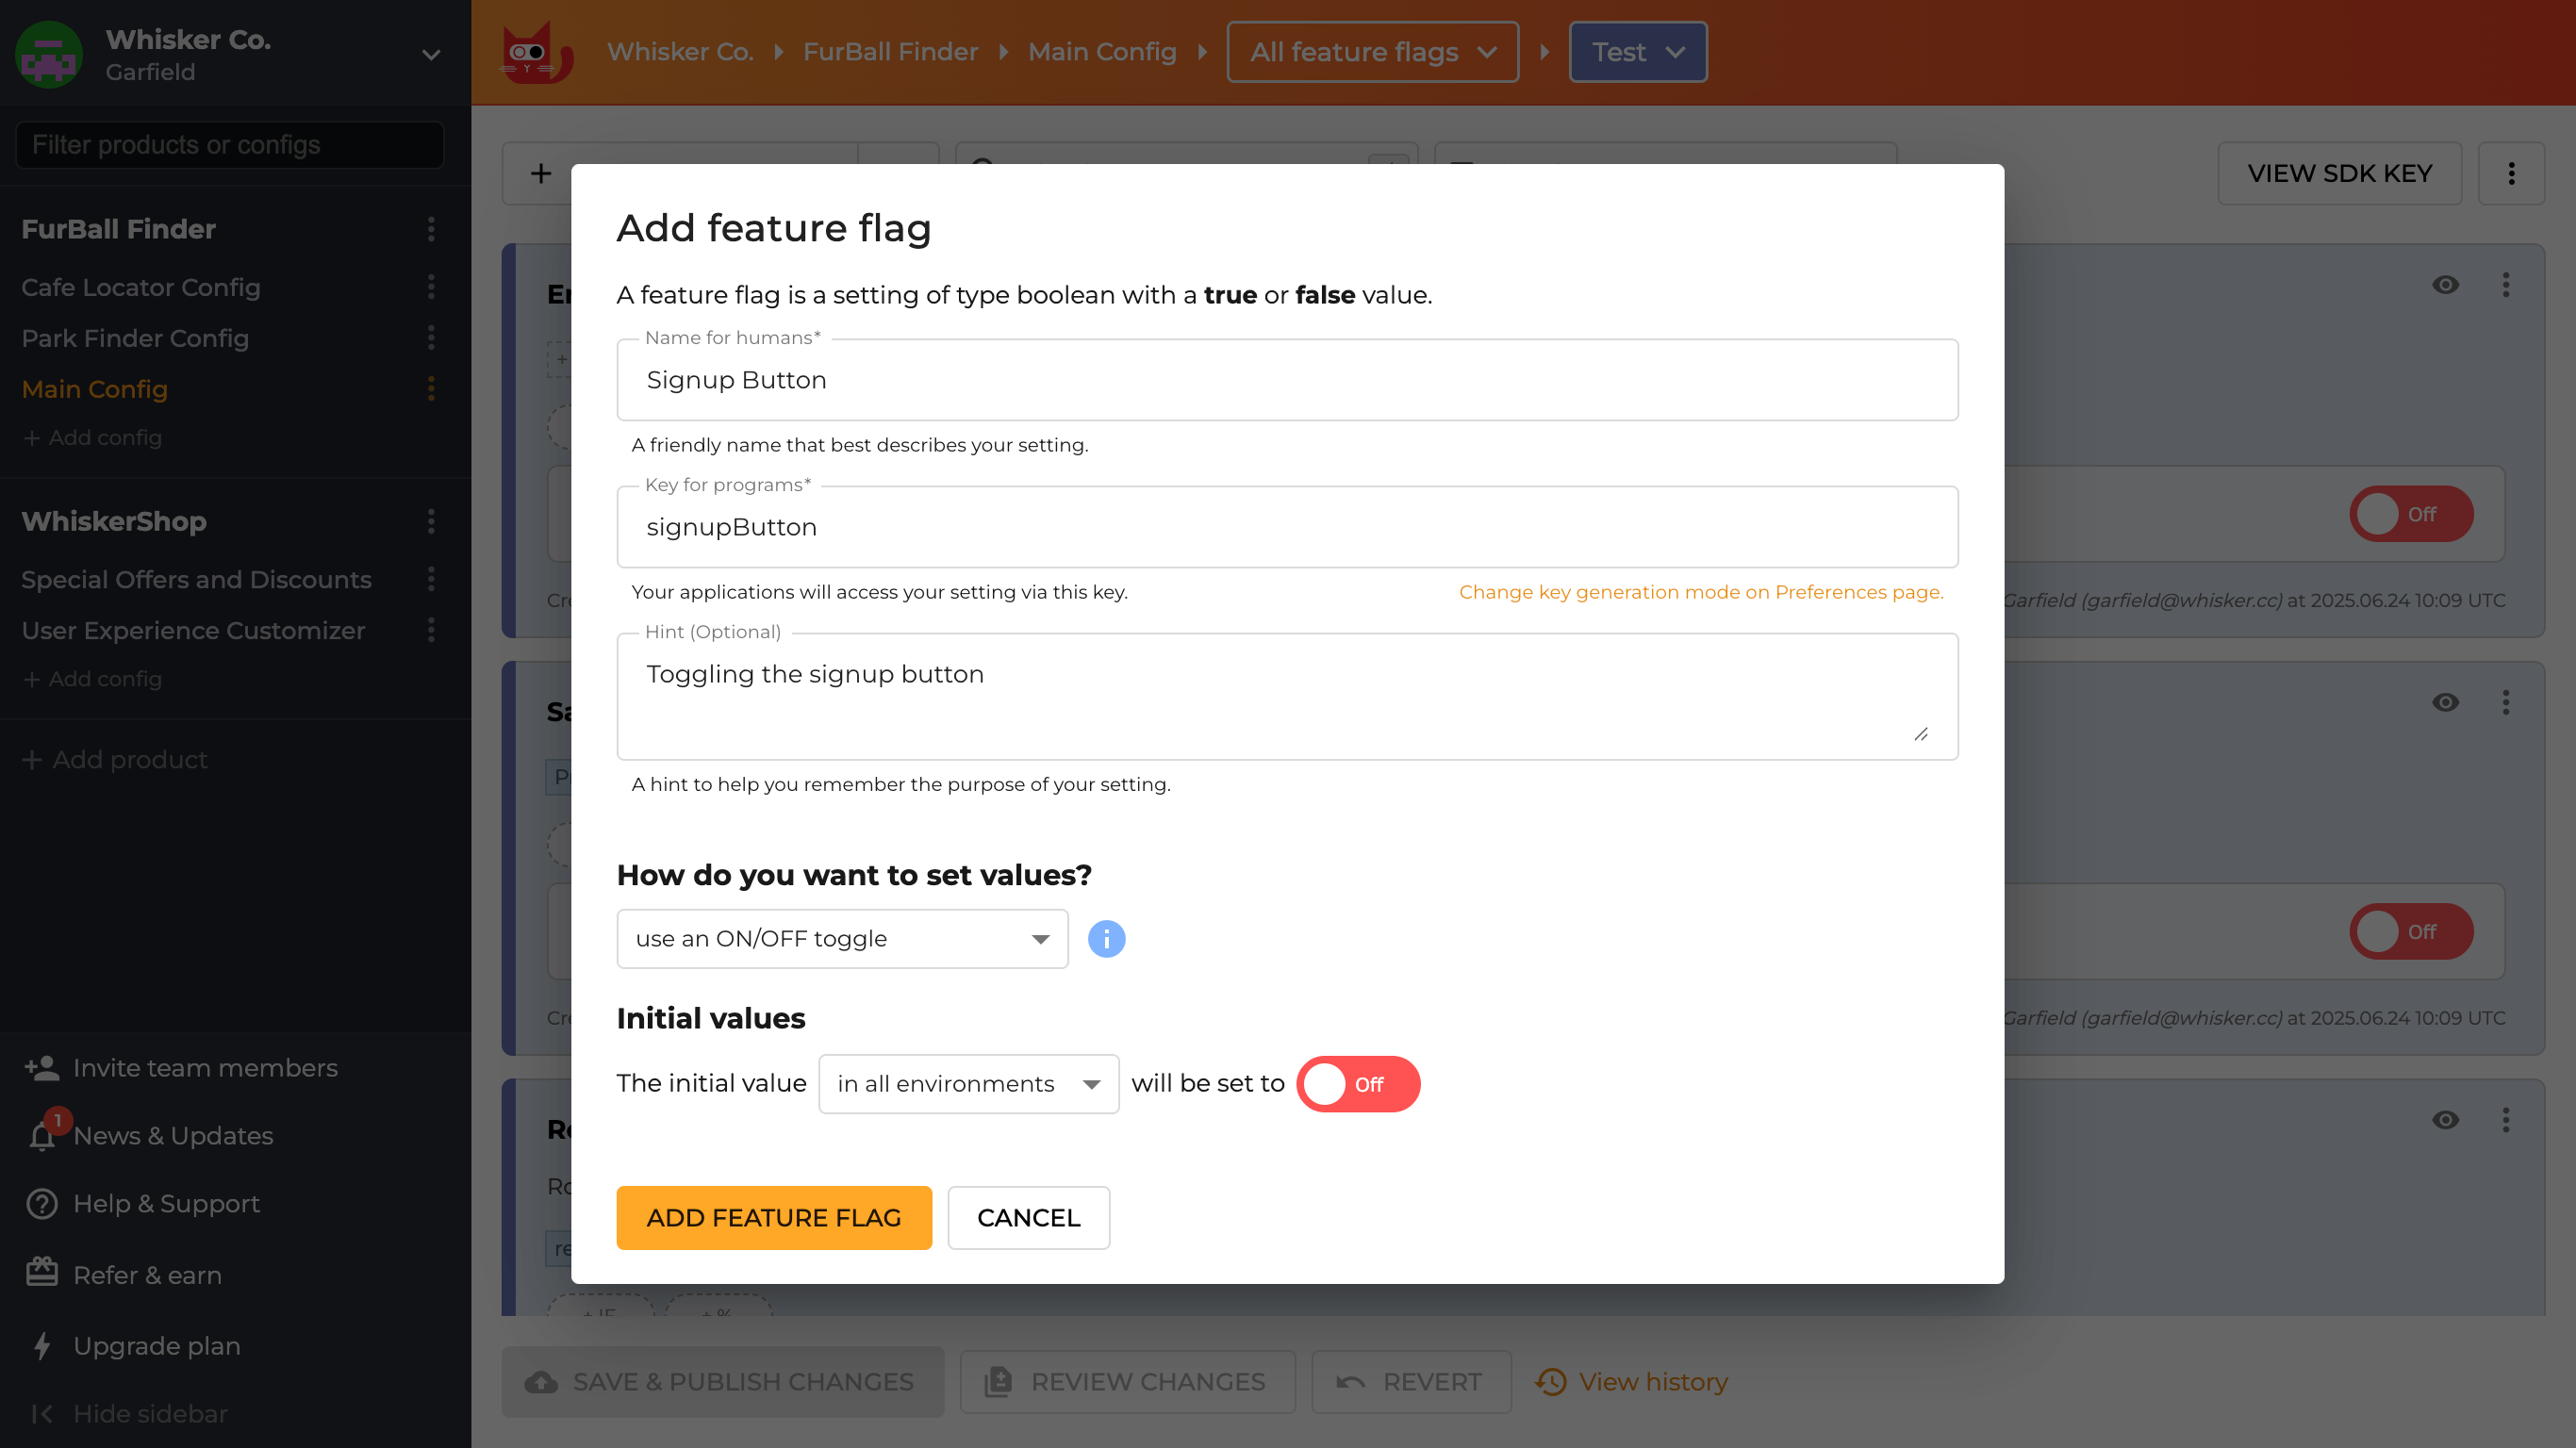
Copy your SDK key by clicking the 'VIEW SDK KEY' button in the top right corner of the dashboard. You will need it in the next section to connect your application.
Step 4: Integrate ConfigCat
Import the 'ConfigCatProvider' and use it to wrap the root component in the App.tsx file as shown below:
import { StyleSheet, Text, TouchableOpacity, View, StatusBar } from "react-native";
import { SignupButton } from "./components/SignupButton";
import { ConfigCatProvider } from 'configcat-react';

export default function App() {
  return (
    <ConfigCatProvider sdkKey="#YOUR_SDK_KEY#"
      options={{ pollIntervalSeconds: 10 }}
    >
      <View style={styles.container}>
        {/* existing code... */}
      </View>
    </ConfigCatProvider>
  );
}

// ...
Replace the placeholder text (#YOUR_SDK_KEY#) with your ConfigCat SDK Key.
Using the options property, I've assigned 10 to the pollIntervalSeconds property to see the feature flag changes faster. Learn more about polling here.
Step 5: Use the Feature Flag
Create a new component for the signup button and use a logical AND operator (&&) to only render the button when the flag (signupButton) is enabled:
import { useFeatureFlag } from "configcat-react";
import { TouchableOpacity, Text, StyleProp, ViewStyle } from "react-native";

export function SignupButton({ buttonStyles }: { buttonStyles?: StyleProp<ViewStyle> }) {
    const { value: isSignupButtonEnabled } = useFeatureFlag(
        'signupButton',
        false
    )

    return isSignupButtonEnabled && (
        <TouchableOpacity style={buttonStyles}>
            <Text>SIGNUP</Text>
        </TouchableOpacity >
    )
}
Step 6: Update the App
Import the signup button component in the App.tsx file. The final code should be:
import { StyleSheet, Text, TouchableOpacity, View, StatusBar } from "react-native";

import { ConfigCatProvider } from 'configcat-react';

import { SignupButton } from "./components/SignupButton";

export default function App() {
  return (
    <ConfigCatProvider sdkKey="#YOUR_SDK_KEY#"
      options={{ pollIntervalSeconds: 10 }}
    >
      <View style={styles.container}>
        <TouchableOpacity style={styles.button}>
          <Text>LOGIN</Text>
        </TouchableOpacity>
        <SignupButton buttonStyles={styles.button} />
        <StatusBar barStyle="default" />
      </View>
    </ConfigCatProvider>
  );
}

// ...
Step 7: Test It
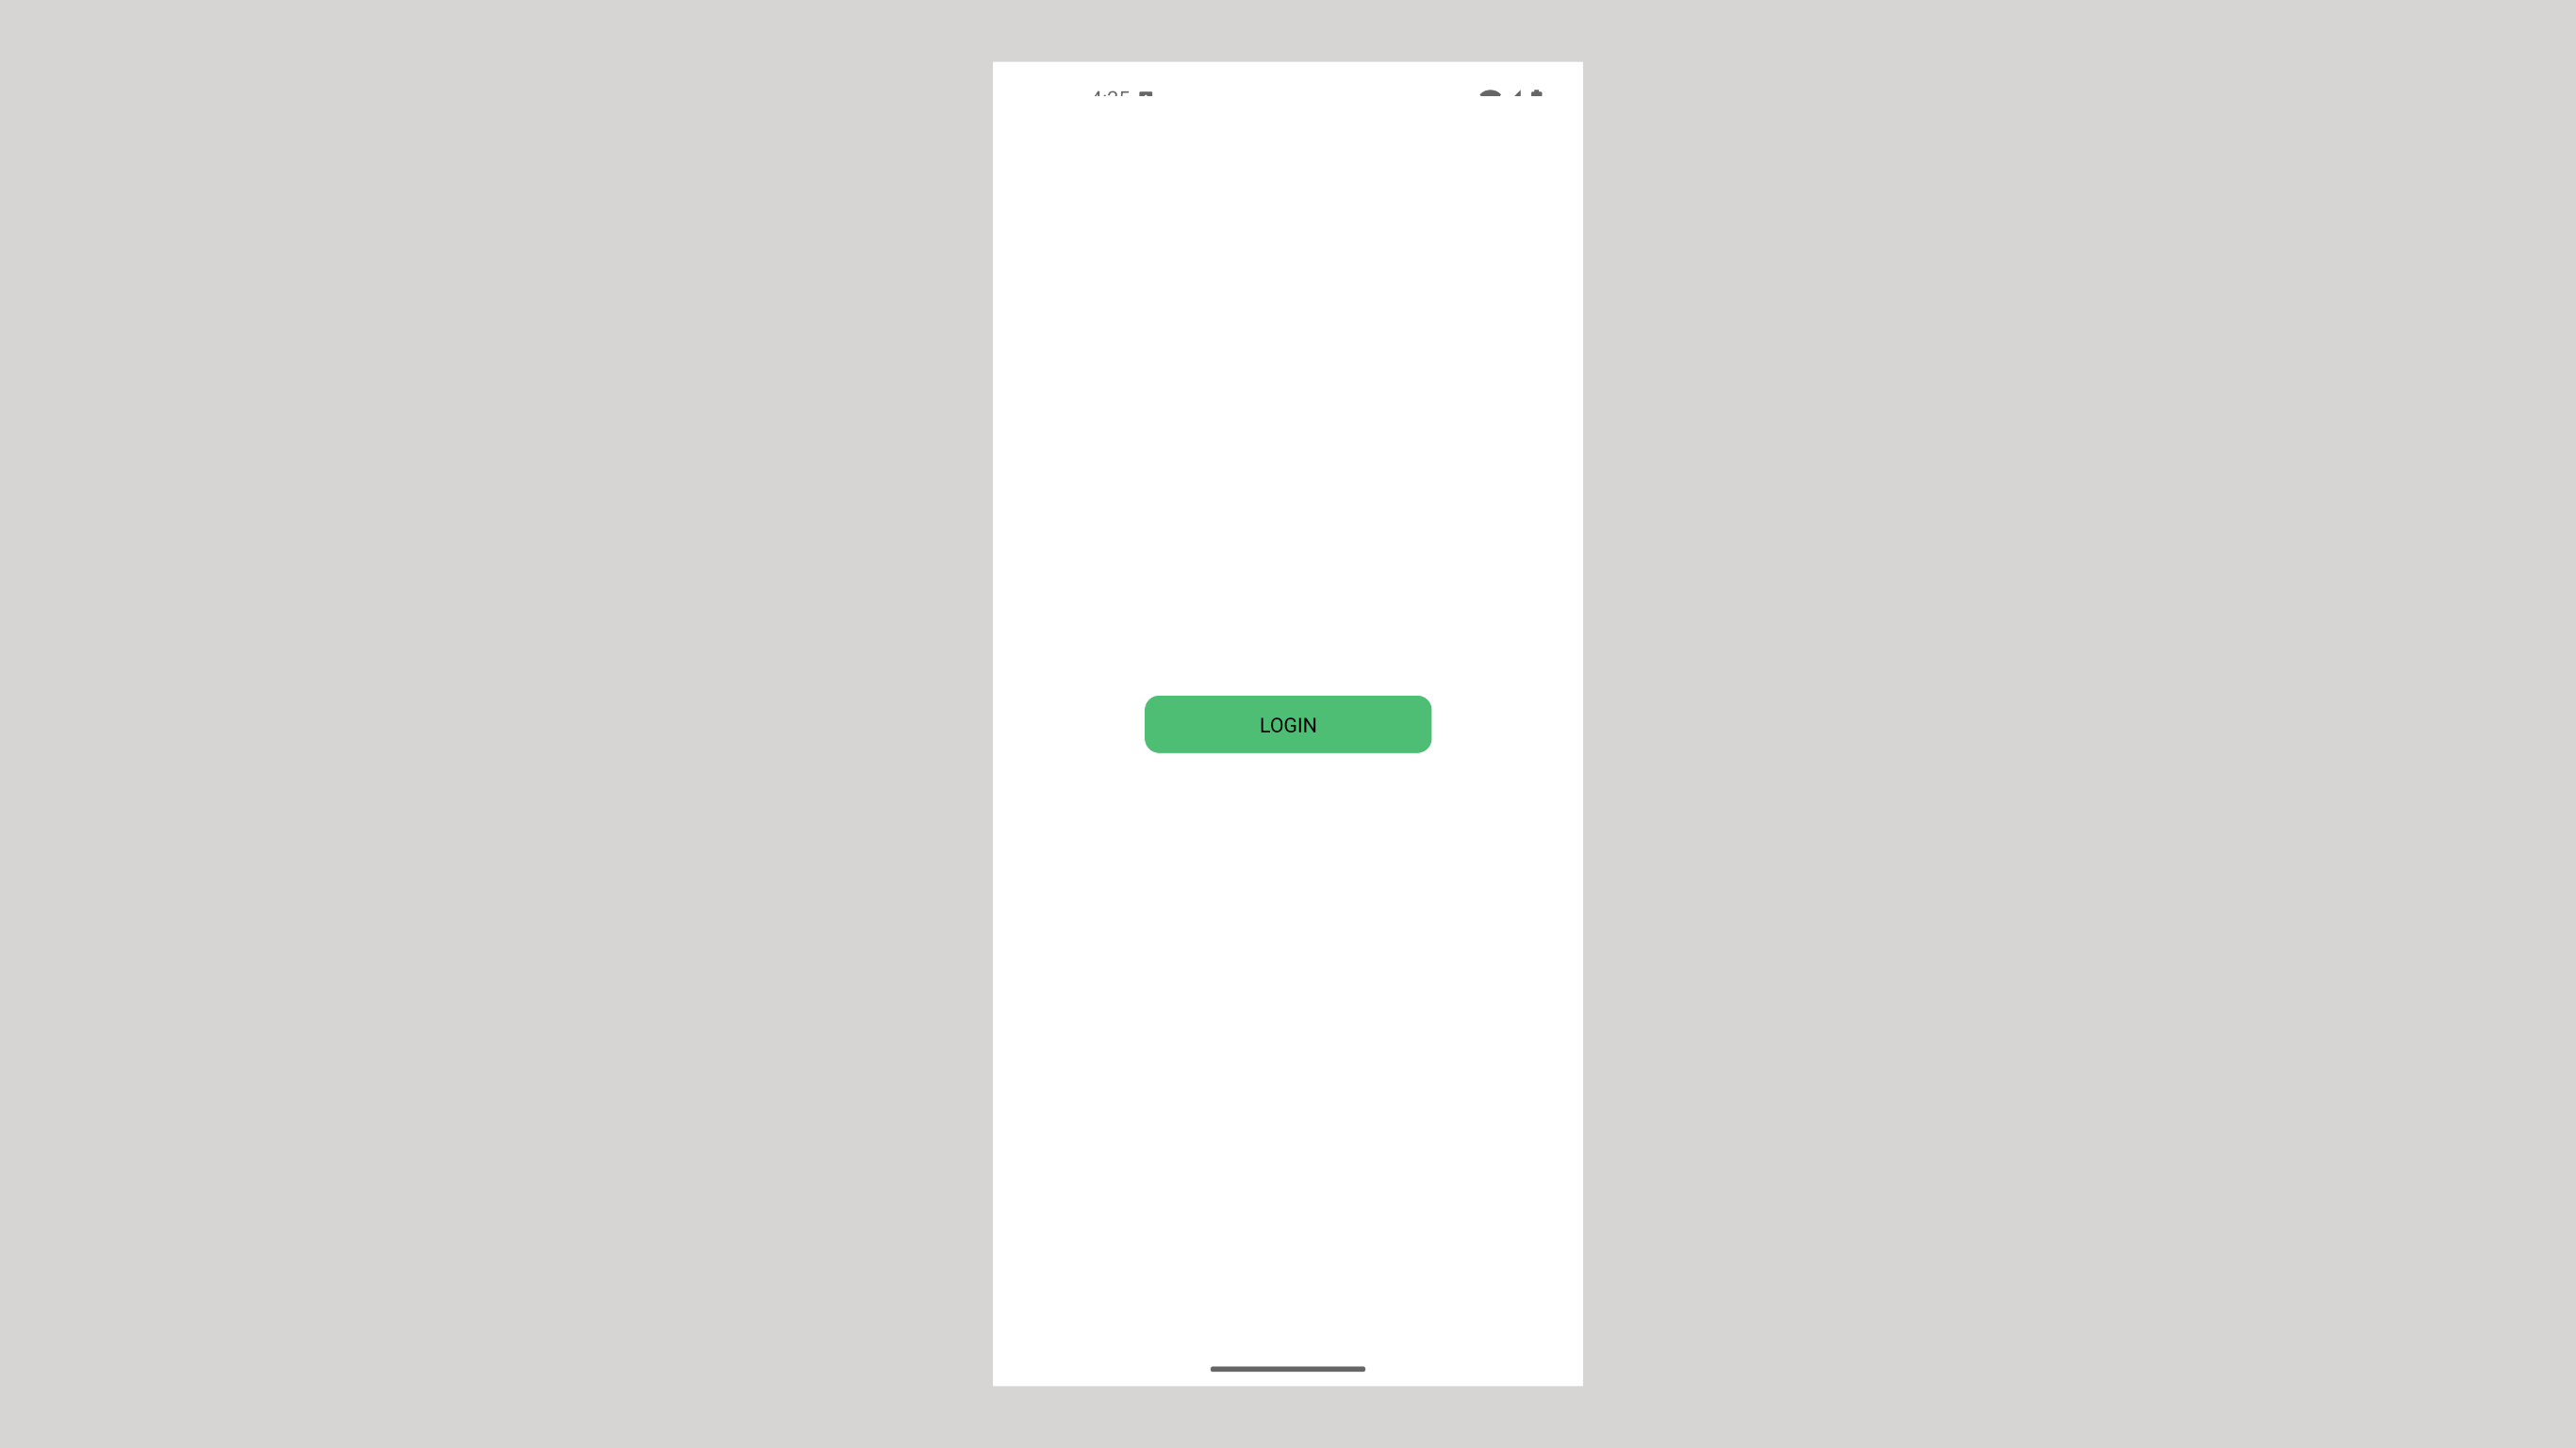
If the flag is off, you will see only the login button:
Head over to the ConfigCat dashboard and enable the flag to see the signup button again:
And just like that, you made it easy to toggle a feature at any time with no additional code deployment.
Key Takeaways
In this article, I've walked you through using feature flags in a React Native mobile application. Here's what we accomplished:
- Create a simple React Native app.
- Install the ConfigCat React SDK.
- Create a ConfigCat feature flag.
- Integrate the flag into the app to toggle the "Signup button".
In addition to toggling features, feature flags can help with scenarios such as staged rollouts, canary releases, A/B testing, user targeting, and more. You can also delegate configuration work to non-technical team members, such as product managers.
For more information, check out ConfigCat's website. You can also keep up to date with the newest developments by following ConfigCat on GitHub, LinkedIn, X, or Facebook.