How to Integrate Feature Flags in NestJS

Software development can be challenging, but deploying and managing new features shouldn't be. With feature flags, you can rest assured that your updates and new features are delivered safely with minimal risk. In this guide, I'll show you how to integrate a feature flag into a NestJS application.
Before we dive in, let's take a moment to understand how feature flags work.
How Do Feature Flags Work?
Feature flags, sometimes called feature toggles or feature switches, are mechanisms used to conditionally hide or display features in an application. A feature flag typically holds a Boolean value that your code can use to enable or disable a feature. Feature flag evaluation can also take into account an evaluation context, such as user role or request data, to enable user targeting.
With feature flags, developers can include an unfinished new feature in the codebase and then toggle it on with just a click.
To learn more about feature flags and how they can benefit your development workflow, click here.
Sample App
To show you a practical example of feature flags in action, I've created a demo auto dealership website using NestJS. The new feature is a fuel mileage calculator to be displayed under the banner on the home page. To put this feature behind a flag, I'll use ConfigCat feature flag system. ConfigCat provides a wide range of SDKs and integrations, making it easy to effectively manage your own feature flags across your tech stack.
To follow along, check if you have the following:
Prerequisites
- A code editor, e.g., Visual Studio Code.
- Node.js version 22 or higher installed on your machine.
- Basic knowledge of NestJS and JavaScript.
- A ConfigCat account to create and manage the feature flag.
Sample App Setup
-
Create a new directory for the project. You can name it
feature-flags-in-nestjs-sample. -
Install the Nest CLI tool, and create a new NestJS project with the following commands:
npm i -g @nestjs/cli
nest new feature-flags-in-nestjs-sample
When prompted, select npm as the package manager and give it a moment to complete.
- Launch the NestJS app and access it in your browser at http://localhost:3000/. You should see a "Hello World!" message displayed.
npm run start:dev
- Lets use the Handlebars templating engine to build the frontend. Install it with the following command:
npm install --save hbs
- To configure the NestJS app to use the Handlebars templating engine, update the
src/main.tsfile as shown below:
import { NestFactory } from '@nestjs/core';
import { NestExpressApplication } from '@nestjs/platform-express';
import { join } from 'path';
import { AppModule } from './app.module';

async function bootstrap() {
  const app = await NestFactory.create<NestExpressApplication>(AppModule);

  app.useStaticAssets(join(__dirname, '../', 'public'));
  app.setBaseViewsDir(join(__dirname, '../', 'views'));
  app.setViewEngine('hbs');

  await app.listen(process.env.PORT ?? 3000);
  console.log(`Application is running on: ${await app.getUrl()}`);
}
bootstrap();
-
Create a new folder called views in the root directory, then create an
index.hbsfile inside it for the home page, using the content from here. -
Update the
src/app.controller.tsfile as shown below. This code instructs the app to call the App Service (src/app.service.ts) to get the view name for rendering. Later, we’ll add some future feature flag logic to it.
import { Controller, Get, Res, Req } from '@nestjs/common';
import { AppService } from './app.service';
import type { Response, Request } from 'express';

@Controller()
export class AppController {
  constructor(
    private readonly appService: AppService,
    private readonly configCatService: ConfigCatService,
  ) {}

  @Get('/*')
  root(@Req() req: Request, @Res() res: Response) {
    const viewName = this.appService.getViewName(req);
    res.render(viewName);
  }
}
- In the
src/app.service.tsfile, I've added a URL to view map. ThegetViewNamefunction in the previous step uses the map to get the view based on the request URL.
import { Injectable } from '@nestjs/common';
import type { Request } from 'express';

@Injectable()
export class AppService {
  private readonly urlToViewMap: Record<string, string> = {
    '/': 'index',
  };
  getViewName(req: Request): string {
    return this.urlToViewMap[req.url] || 'not-found';
  }
}
Launch the app and go to http://localhost:3000/ to view the home page. You'll see the text Fuel Per Mileage Calculator is coming soon. Stay tuned! at the bottom.
Let's use a ConfigCat feature flag to display the mileage calculator when the flag is enabled and show the text when it is disabled.
Setup and Integrate the Feature Flag
- In your ConfigCat dashboard, create a feature flag with the following feature name and key:
| Field | Value |
|---|---|
| name | Mileage Calculator Feature |
| key | mileageCalculatorFeature |
- NestJS is a server-side framework, so I'll install ConfigCat's Node SDK:
npm i @configcat/sdk
- I'll create a custom ConfigCat feature service that I can import and use in other files. In the
srcdirectory, create aconfigcat.service.tsfile with the following content:
import { Injectable } from '@nestjs/common';
import * as configcat from '@configcat/sdk';
import type { IConfigCatClient } from '@configcat/sdk';

@Injectable()
export class ConfigCatService {
  private readonly configCatClient: IConfigCatClient;

  constructor() {
    this.configCatClient = configcat.getClient('YOUR-CONFIGCAT-SDK-KEY');
  }

  async getValue(key: string, defaultValue: boolean): Promise<boolean> {
    return this.configCatClient.getValueAsync(key, defaultValue);
  }
}
- I'll update the
src/app.controller.tsfile. I'll use the feature service to query the value of the feature flag and then pass it to the view.
import { Controller, Get, Res, Req } from '@nestjs/common';
import { AppService } from './app.service';
import type { Response, Request } from 'express';
import { ConfigCatService } from './configcat.service';

@Controller()
export class AppController {
  constructor(
    private readonly appService: AppService,
    private readonly configCatService: ConfigCatService,
  ) {}

  @Get('/*')
  async root(@Req() req: Request, @Res() res: Response) {
    const viewName = this.appService.getViewName(req);

    // Get the value of the feature flag
    const isMileageCalculatorFeatureEnabled =
      await this.configCatService.getValue('mileageCalculatorFeature', false);

    res.render(viewName, {
      isMileageCalculatorFeatureEnabled, // Pass the value to the view
    });
  }
}
- In the
index.hbsfile, I'll use theisMileageCalculatorFeatureEnabledvariable passed from the controller with conditional logic to render the mileage calculator feature, as shown below:
  <div class='container'>
 {{#if isMileageCalculatorFeatureEnabled }}
    <!-- Render the mileage calculator feature -->
    <div class='mileage-calculator'>
      <h2>Fuel Per Mileage Calculator</h2>
      <div class='calculator'>
        <!-- HTML code for the calculator -->
      </div>
    </div>
 {{else}}
    <!-- Else, render the following text -->
      <p>
 Fuel Per Mileage Calculator is coming soon. Stay tuned!
      </p>
 {{/if}}
  </div>
App Demo
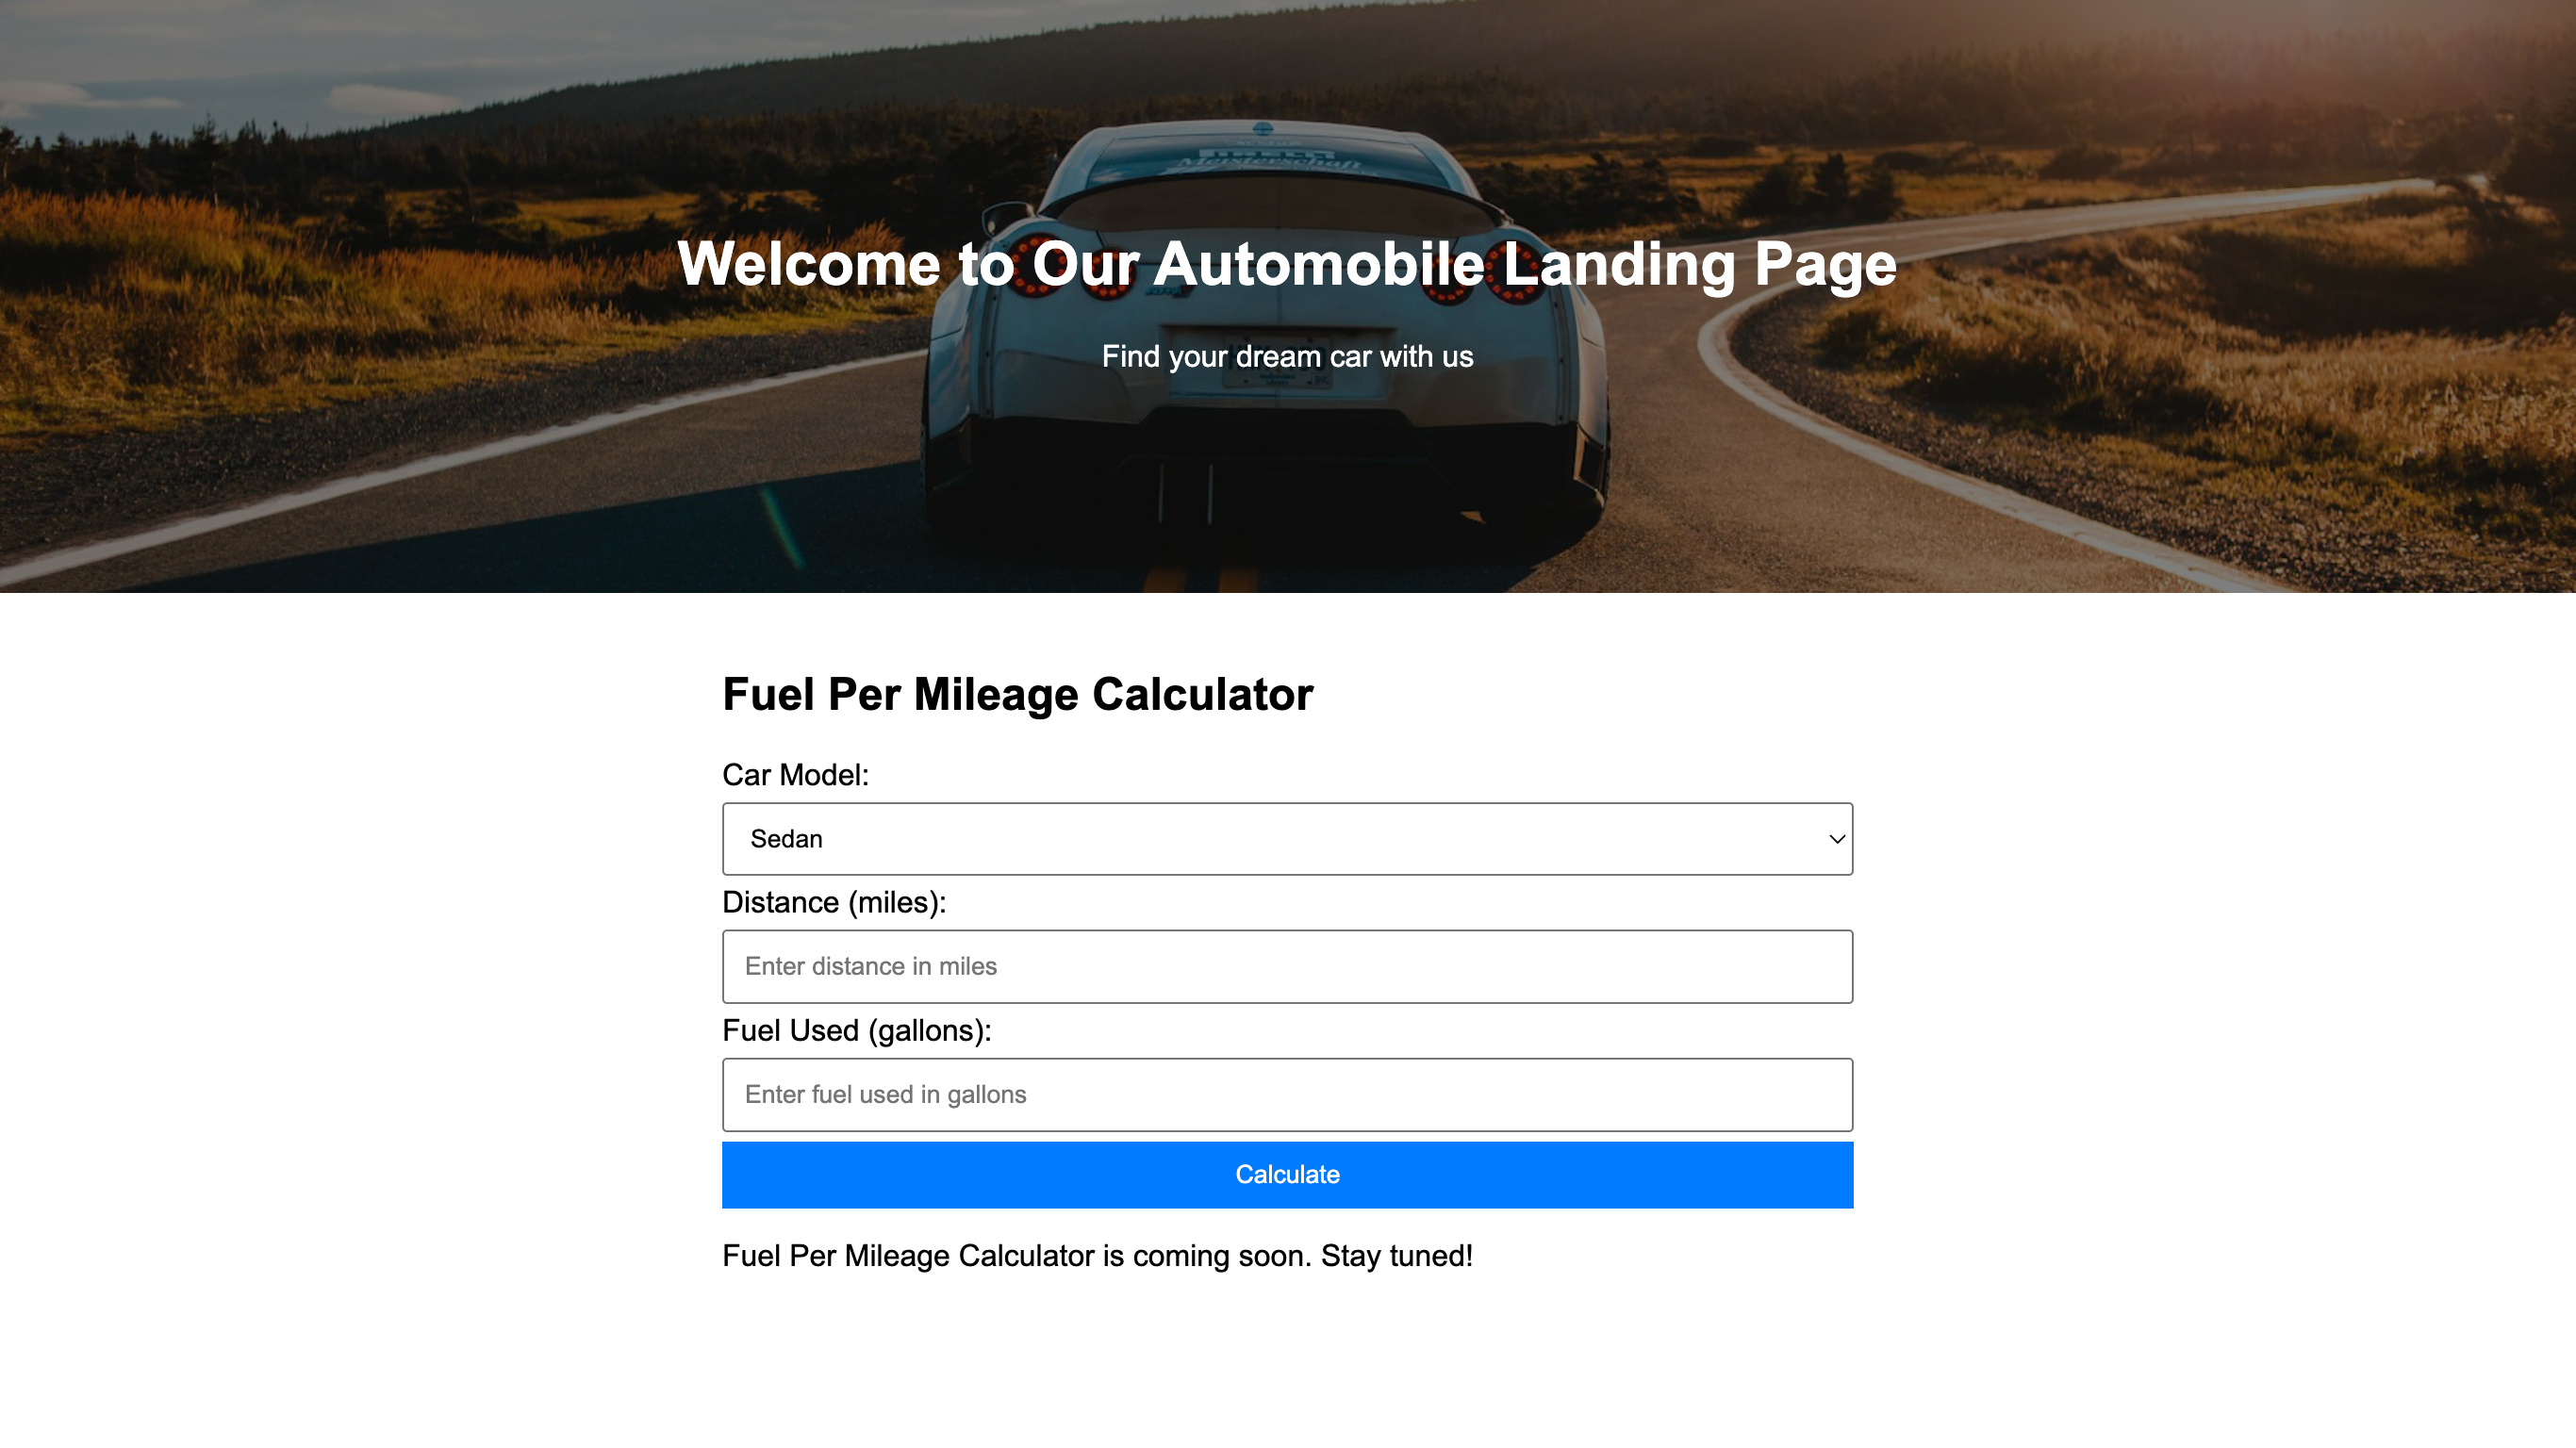
- When the feature flag is on in the ConfigCat dashboard, the home page should look like this:
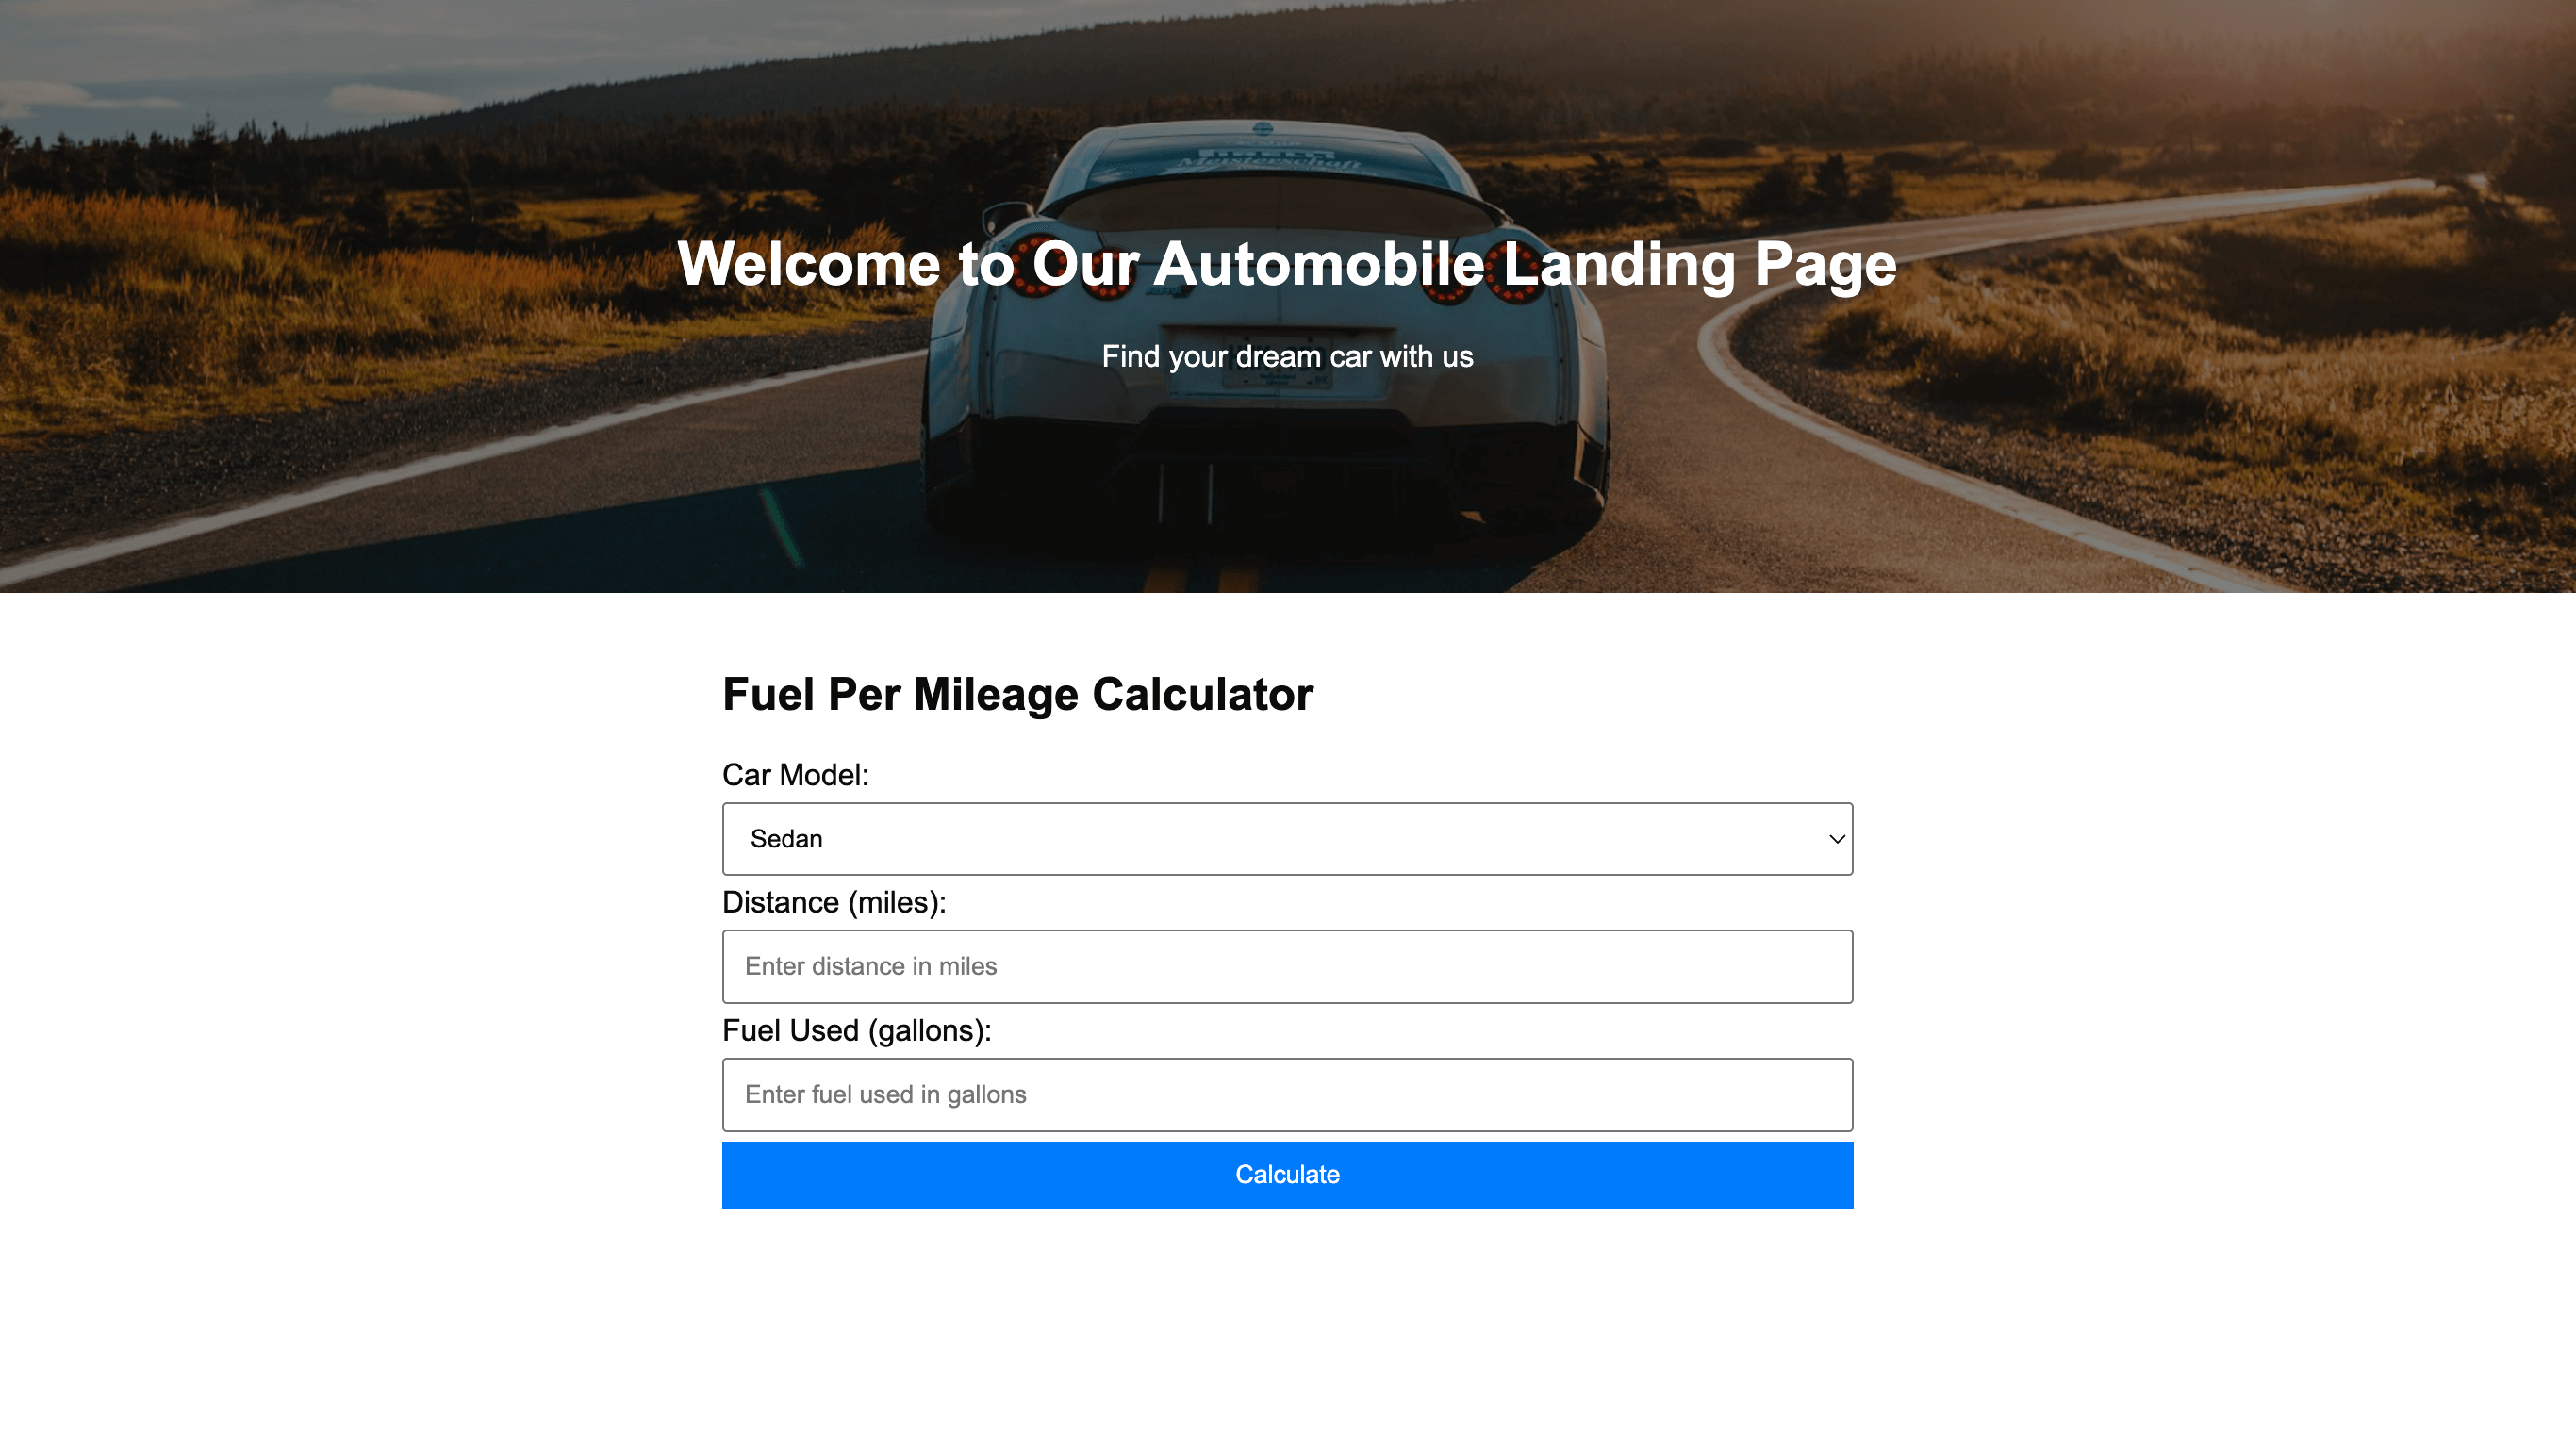
- When the feature flag is switched off, the following text will be displayed on the home page:

By default, the ConfigCat client SDK uses AutoPoll to check the status of the feature flag every 60 seconds, eliminating the need to restart the app. You can also adjust this interval to your choosing. Learn more about it here.
Summary
In this guide, we covered how to integrate feature flags into a NestJS application using ConfigCat's feature management service.
Feature flag services like ConfigCat make it easy to manage and release new features from a central dashboard, allowing you to toggle features on and off without redeploying your app.
Beyond NestJS, ConfigCat provides a wide range of SDKs and integrations to integrate feature flags across your technology stack. To learn more, check out ConfigCat's official documentation.
For more posts like this and the latest updates, follow ConfigCat on X, Facebook, LinkedIn, and GitHub.